
I learned all types of hand stitches. Trust me when I say this starting point of stitch is easy, but the ending is what makes it complicated! I spent hours and hours thinking about how to end a stitch while hand sewing until I found some ways.
To end a hand stitch, make a small knot close to the fabric, pull the needle through nearby stitches to hide the thread, and trim the excess.
But there are more methods too. Let’s teach you all about it. Learn how to end a stitch.
At A Glance:
- There are 6 methods to end a stitch hand sewing.
- Hand knot is the most easy way to end stitch.
- Weaving stitch is the eye catchy stitch.

Table of Contents
How To End A Stitch By Hand At A Glance Image!
Before we dive into how to end a stitch by hand, let’s take a quick peek at the whole journey. It’s like a roadmap. You’ll see where we’re starting, how the stitch flows, and where it all neatly ties off at the end.
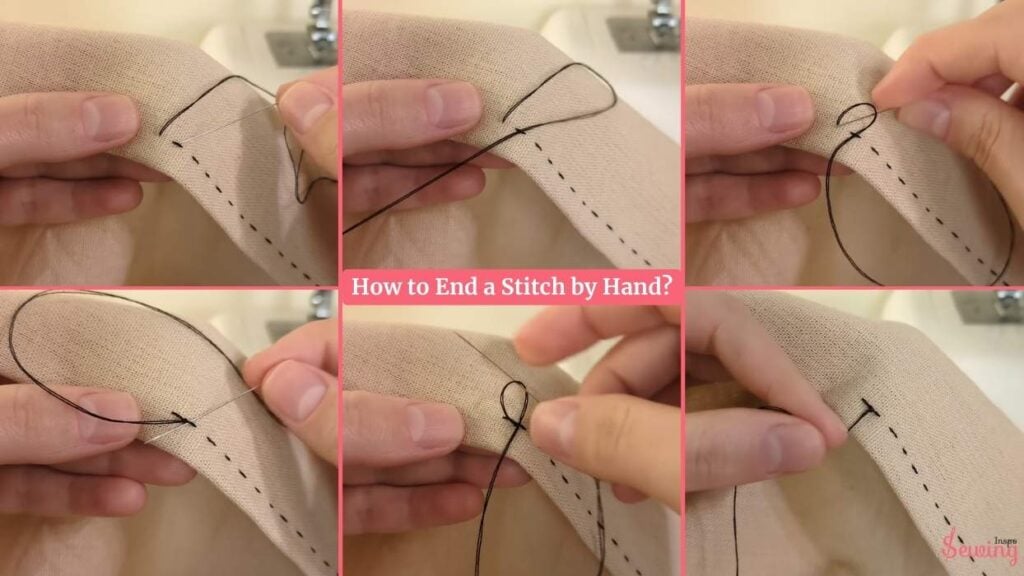
And to make it even clearer, here’s a simple image to guide you through the process at a glance:
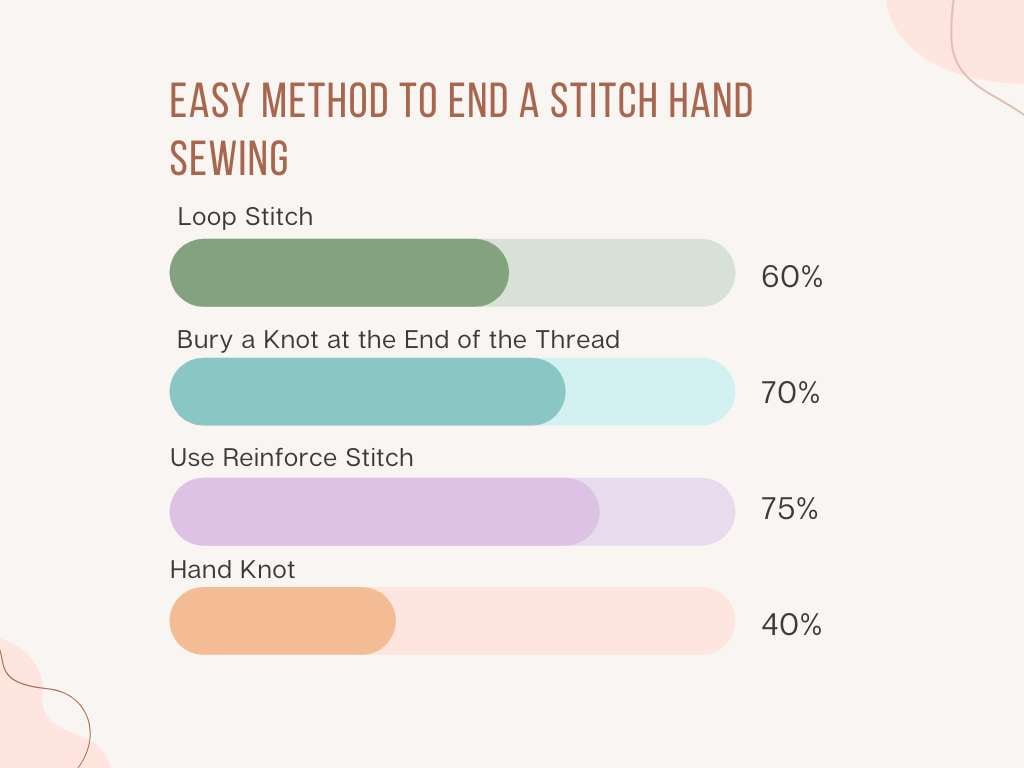
How To End A Stitch Hand Sewing?
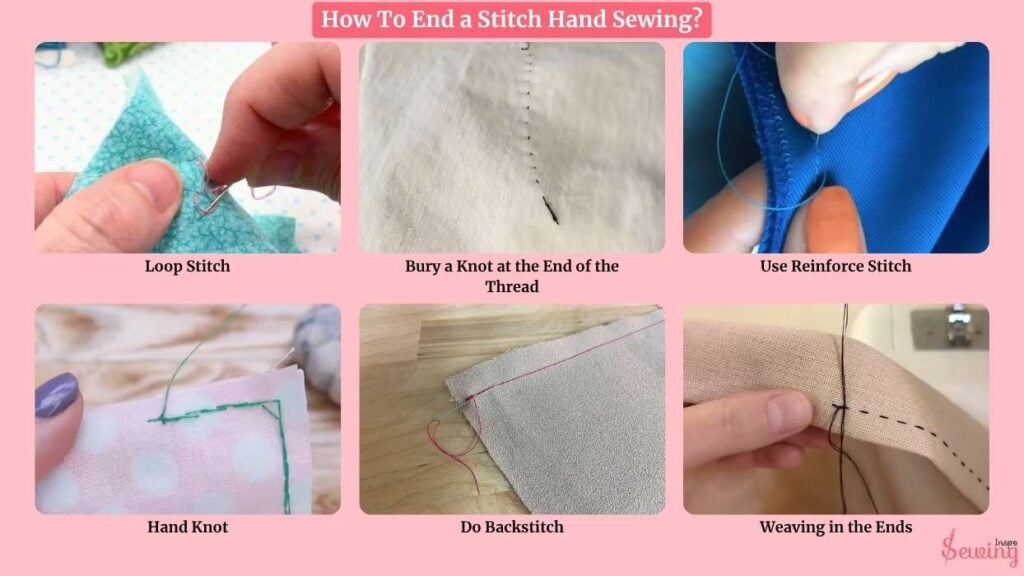
To end a stitch hand sewing you can use 6 methods such as.
- Loop Stitch
- Bury a Knot at the End of the Thread
- Use Reinforce Stitch
- Hand Knot
- Do Backstitch
- Weaving in the Ends
Loop Stitch
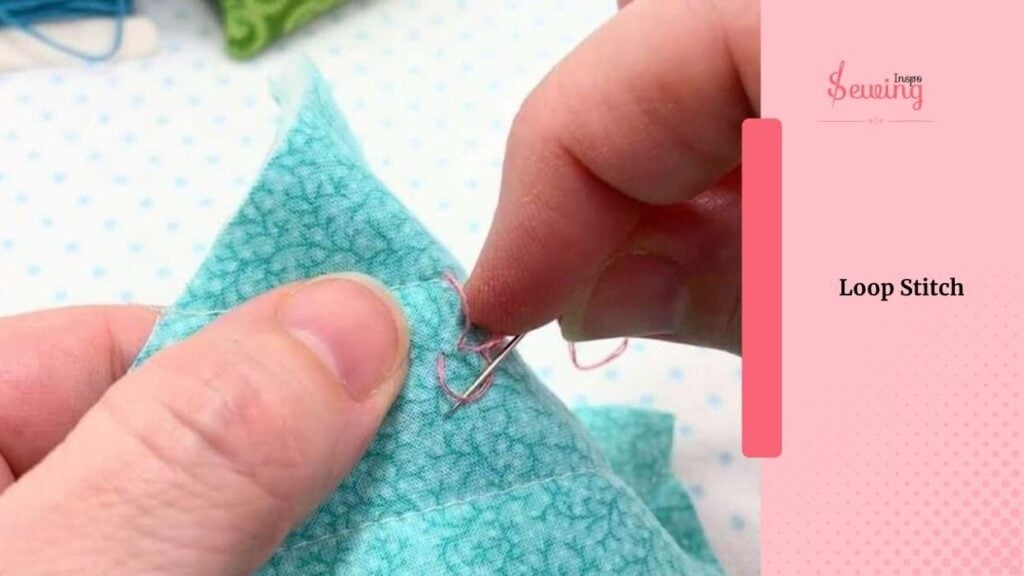
Loop Stitch!
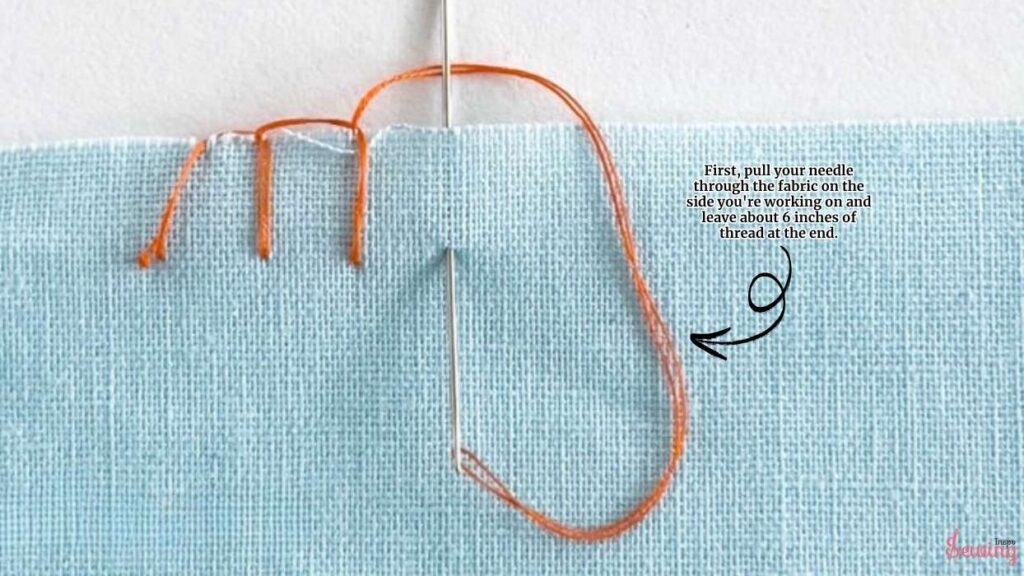
To loop stitch first, pull your needle through the fabric on the side you’re working on and leave about 6 inches of thread at the end. I do this loop stitch hand sewing for all embroidery.
This gives you some extra to work with. Next, push your needle back into the fabric close to where the thread comes out, but don’t pull it through yet. You’ll see a small loop forming on the fabric’s surface like an overcast stitch.
Gently push your needle through that loop, which should be 1 inch (2.5 cm) wide. Then, pull the thread tight until it forms a secure knot against the material.
After that, slide your needle under a few nearby stitches on the wrong side of the fabric. This hides the needle and the extra thread, making everything look tidy. And then snip off any remaining thread close to your knot. This also can be used as stitch for stretchy fabric.
Just be careful not to cut into your stitches or the fabric itself. This keeps your work neat and polished.
Bury a Knot at the End of the Thread
To bury a knot at the end of the thread Hold the thread a couple of inches above the quilt top. Wrap the thread end around the needle (still threaded) 2 times.
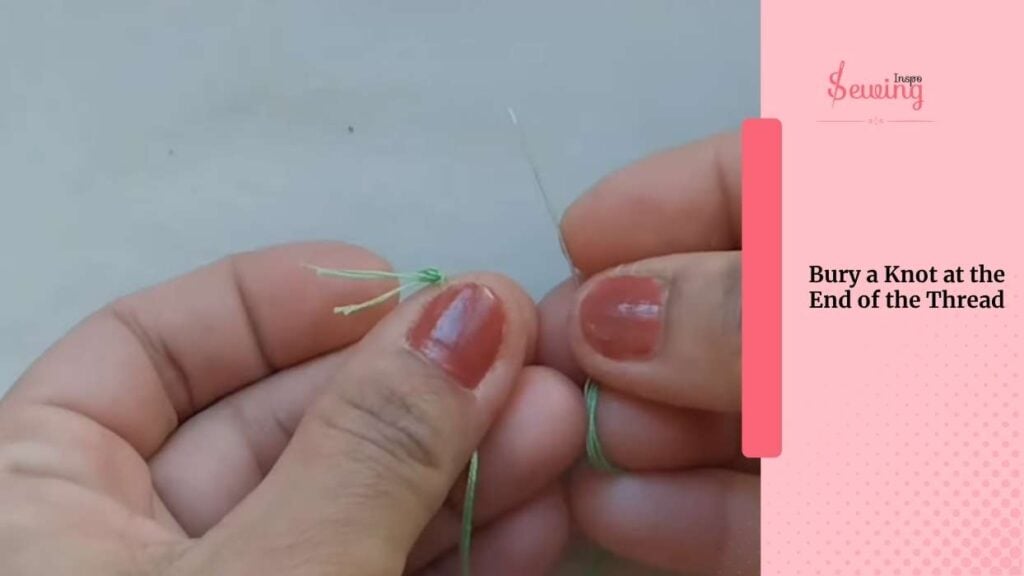
Pull the needle through and tighten the knot. The knot should be about 1/4″ from the quilt top. Next, hold the thread out of the way, opposite where you were quilting.
This will help you see the hole made by your last stitch. Now, insert the needle back into that hole and travel through the batting layer about 1/2″ away.
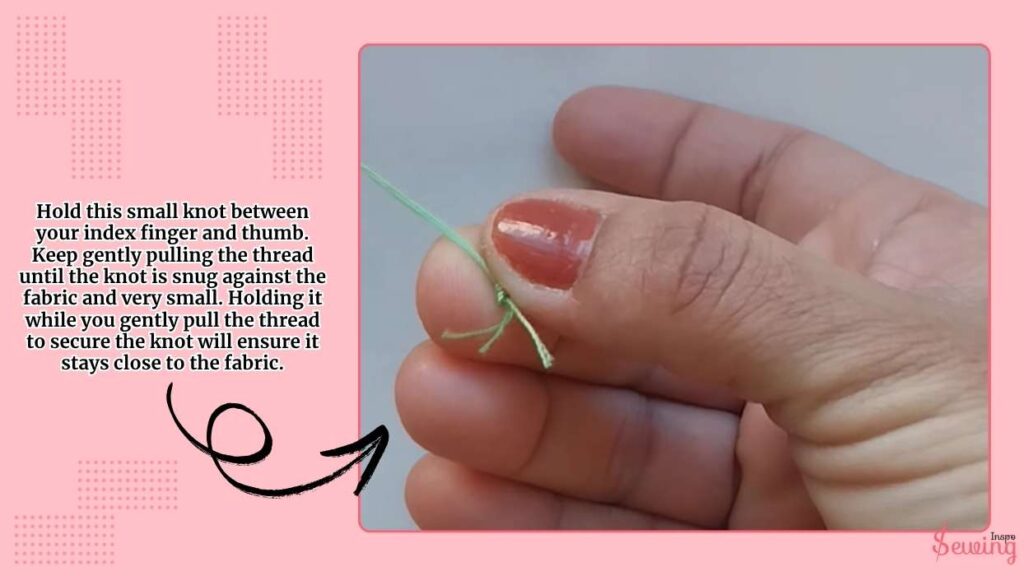
Hold this small knot between your index finger and thumb. Keep gently pulling the thread until the knot is snug against the fabric and very small. Holding it while you gently pull the thread to secure the knot will ensure it stays close to the fabric.
Next, put the needle into the top layer of fabric and push it through to the wedding, but don’t let it go through to the back of your quilt. Bring the needle out of the top fabric, a little away from the quilting stitches you just made. Pull the thread until the knot rests on the fabric.
Give the thread a gentle tug to pop the knot through the top layer and into the wadding.
Finally, snip off the thread close to the fabric. And it’s done!
3. Use Reinforce Stitch
Sew each stitch evenly until you’re one stitch away from the seam allowance mark, ensuring you have about 5 to 6 inches of thread left to make the knot.
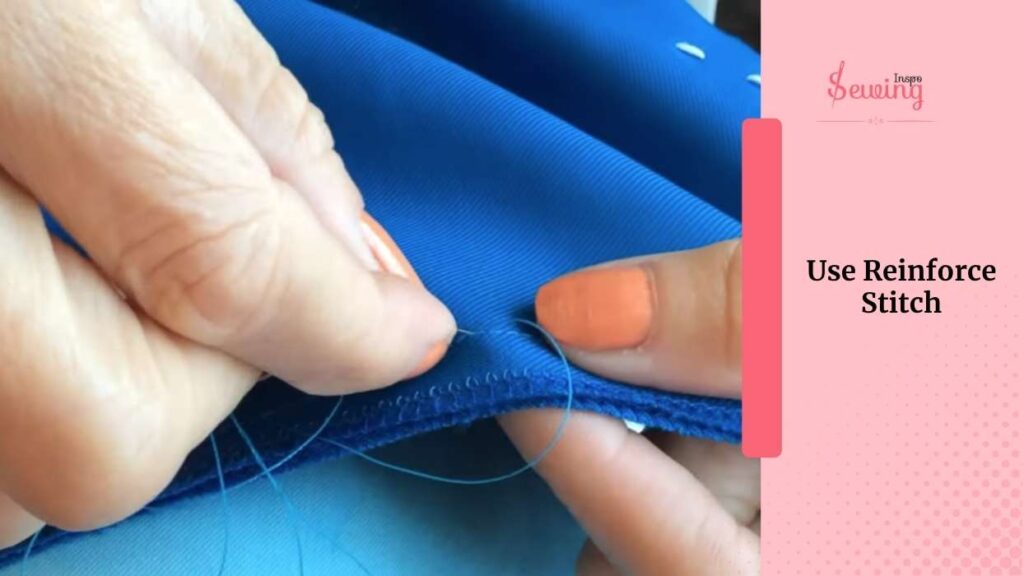
To make the last stitch, insert the needle from the back to the front where the final stitch should end and pull the thread to complete the stitch. That’s how to sew a circle hole by hand, too.
Repeat this stitch, but don’t pull the thread through, leaving a loop. Then, pass the needle through the loop you just made pull the needle, and thread softly all the way through. Repeat this step to create a double knot. Once the knots are secure and tight, cut off the excess thread for a neat finish. This will ensure your stitching is secure and looks tidy.
4. Hand Knot
To hand knot, start by making the last stitch of your seam, leaving about 1 (0.4 in) and 1.5 cm (0.6 in). This leaves a 1 – 1.5 cm long strand of thread at the back of your work.
Next, remove the needle by either cutting the threads near the needle or measuring the 6 to 7 inches and cutting the threads there.
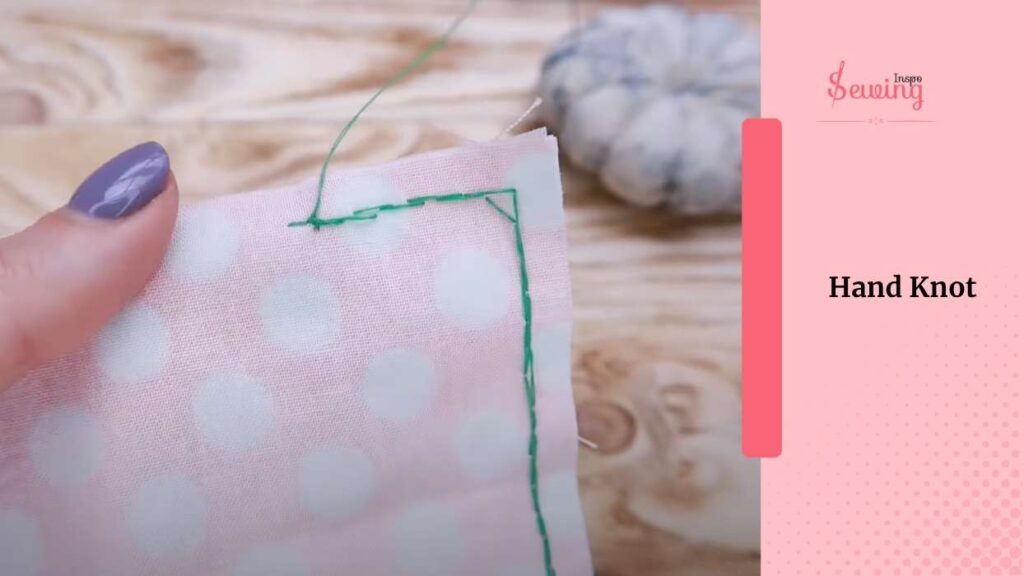
Then, tie the knot by separating the ends of the threads, crossing them, and taking the thread on the bottom through the loop. Pull both threads in opposite directions, but not too hard to avoid damaging or wrinkling the fabric.
Make another knot by repeating this step to create a double knot. Finally, cut off the excess thread for a cleaner finish. This will ensure your seams are secure and tidy.
5. Do Backstitch
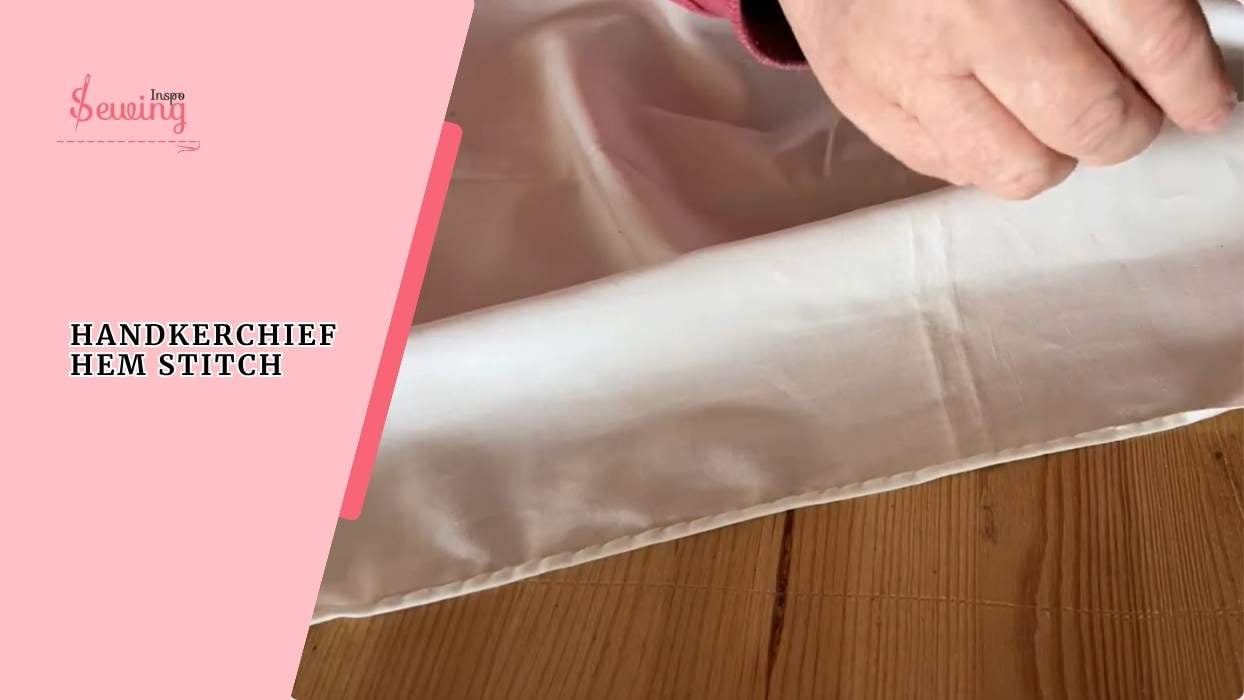
To do backstitch, make sure you have at least 6 inches of thread left for knotting. Then, insert the needle into the middle of the last stitch and move it forward to where the final stitch should go.
This is even my favorite kind of ending a stitch. It helps me to do a handkerchief stitch hem.
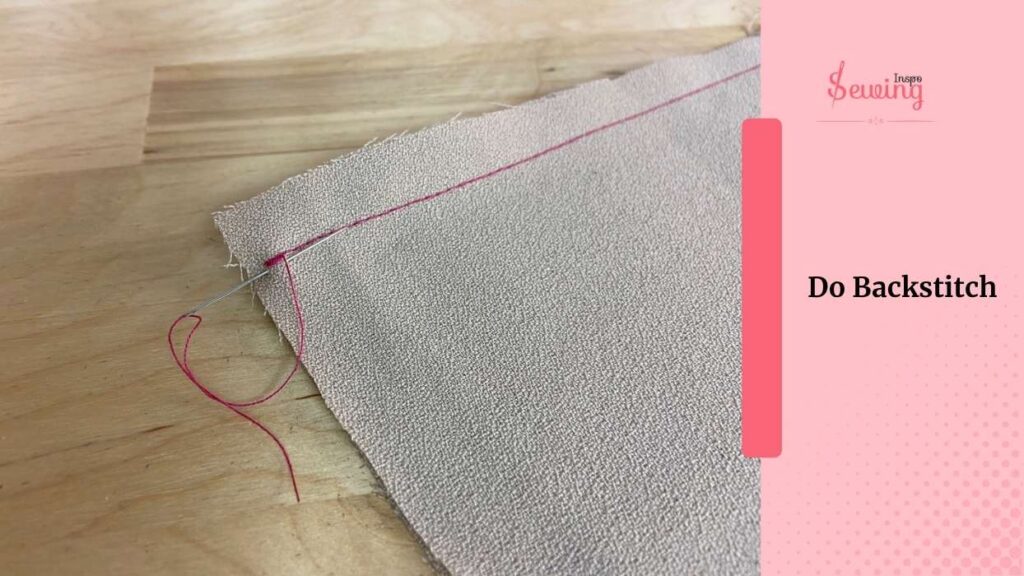
Gently pull to create a loop, pass the needle through it, and pull to close it. Repeat this step to double-secure the knot. Once you’ve made the knots, trim any excess thread for a neat finish.
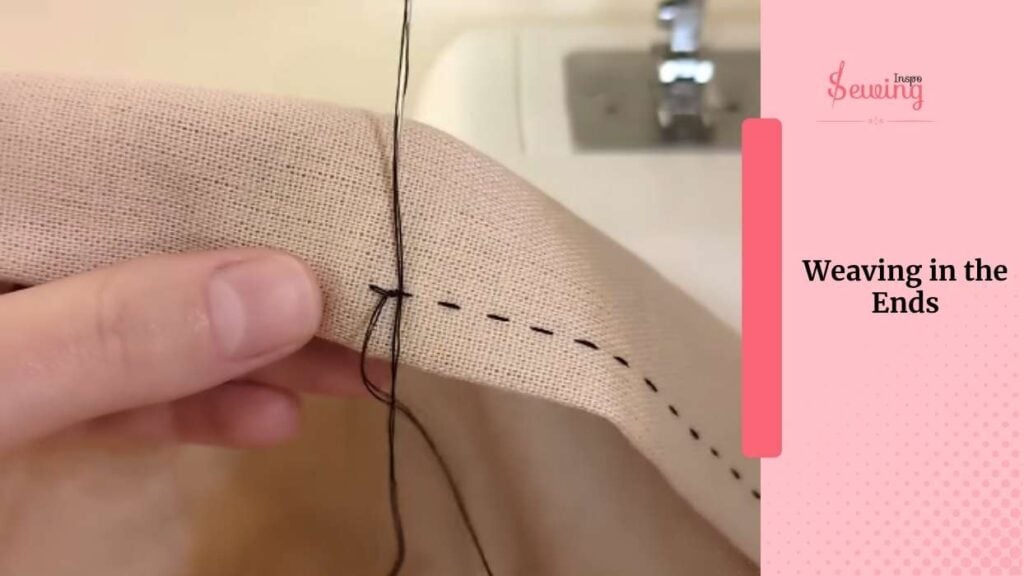
6. Weaving in the Ends
To weave, after making your last stitch with about 6 inches of thread remaining, thread the end onto your needle.
Instead of knotting, weave the needle under several stitches on the backside of your fabric to secure the thread. I use this technique for blanket stitch.
Repeat this a few times, ensuring the thread is well tucked in. Finally, trim any excess thread carefully for a neat finish. This method keeps your work tidy and ensures the thread won’t come loose over time.
-So among all those 6 methods To end a stitch hand sewing. Which one is easy?
-I find hand knot is the easiest way to end a stitch hand sewing. 🪡
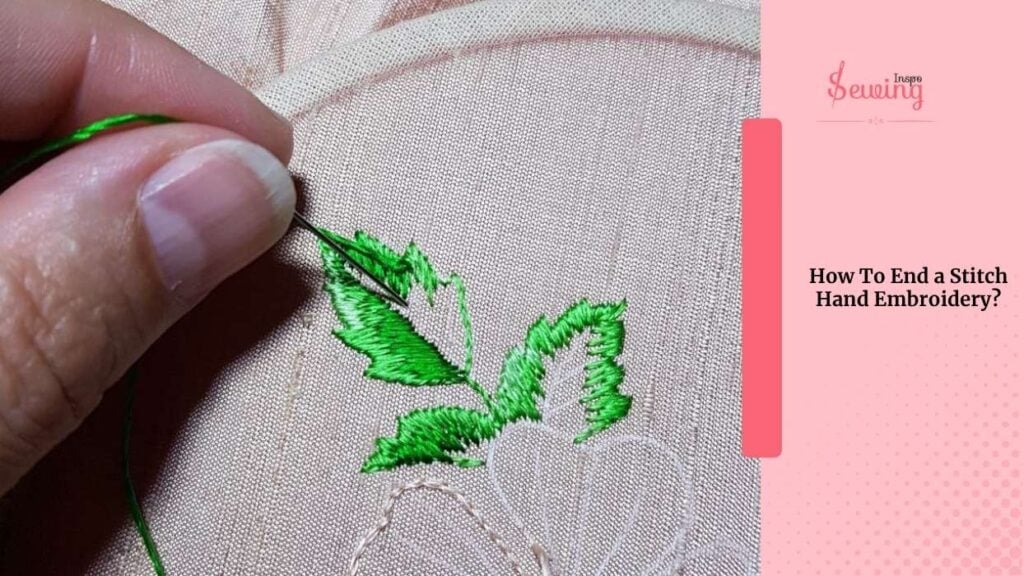
How To End A Stitch Hand Embroidery?
To end a stitch in hand embroidery, after completing your last stitch, insert the needle close to where the thread emerges from the fabric and make a small anchoring stitch.
Leave a small loop before pulling the double thread through to form a knot against the fabric. Optionally, repeat for a double knot. Trim the excess thread close to the knot for a neat finish.
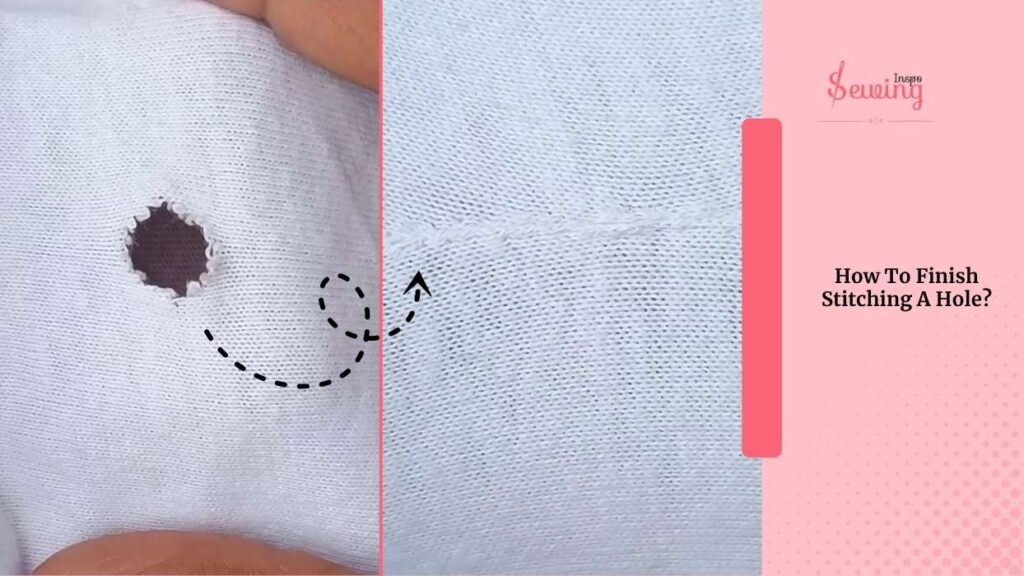
How To Finish Stitching A Hole?
To finish stitching a hole, start by ensuring your last stitch is secure. If you’ve stitched around the hole, gently tighten the stitches to close it. Secure the thread by making a knot close to the fabric or material where you finished stitching. Trim any excess thread carefully to tidy up the finish.
Optionally,
You can apply a small amount of fabric glue or fray check around the stitched area to reinforce the closure and prevent unravelling. This method will close the hole effectively and leave your sewing project neat and professionally finished.
That’s all! That’s how to finish a hand stitch.
Frequently Asked Questions
What To Do At The End Of Stitching?
At the end of stitching, whether by hand or machine, secure the thread by making a knot or backstitching to prevent unraveling. Trim the thread leaving a short tail. For hand sewing, tie a knot close to the fabric and optionally weave in the ends for a tidy finish. For machine sewing, backstitch at the end of the seam and trim the thread close to the fabric. This ensures your stitching is secure and your project looks neat.
How To Tie An End Knot?
To tie an end knot in hand sewing or embroidery, insert the needle near where you want the knot, leaving a small loop. Pass the needle through the loop and gently pull to tighten the knot against the fabric. Optionally, repeat for a double knot. Trim the excess thread close to the knot for a neat finish. This method securely ends your thread, ensuring your stitches or embroidery remain intact and tidy.
Warp up
Now you know how to end a stitch hand sewing, right?
Great then tell us which method of ending stitch is more suitable for you.
Comment down below.

Leave a Reply