
Grandma, you explained what a slip stitch is very clearly that day. Now, teach me how to do a slip stitch hand sewing.
haha!😂 I knew you would say that.
So-
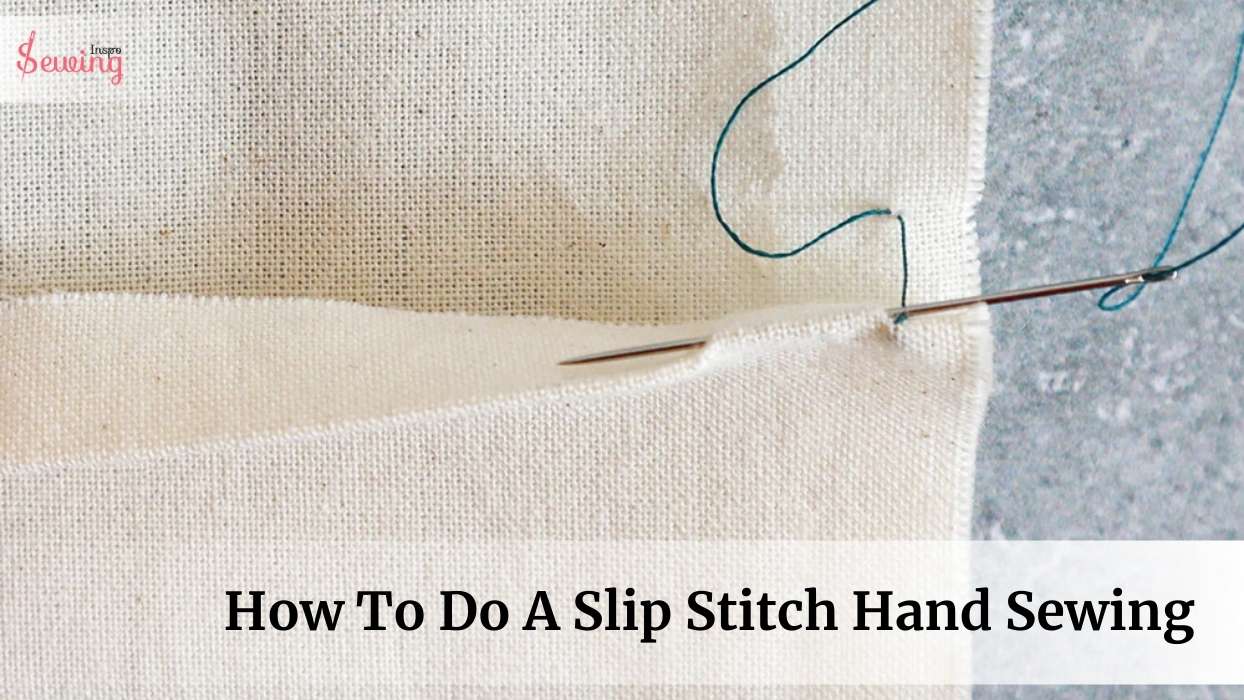
Slip Stitch Hand Sewing
To do a slip stitch by hand, sew through the folded edge of the fabric and pick up a small bit of the opposite fabric, repeating this hidden stitch along the seam.
-I know, Grandma, that’s not the full process! 😒 Teach me the whole process. This stitch seems interesting among all the types of stitches.
I won’t teach you, I’ll show you. So, tag alone to see how to sew a slip stitch by hand. I’ll show the slip stitch steps clearly so you won’t be left alone.
Sewing Project Overview of how to do slip stitch sewing:
- Use a size 004 saddler’s harness needle.
- Give a quarter-inch gap between the 2 edges.
- End the stitch with a knot.
Table of Contents
What Is Slip Stitch In Sewing?
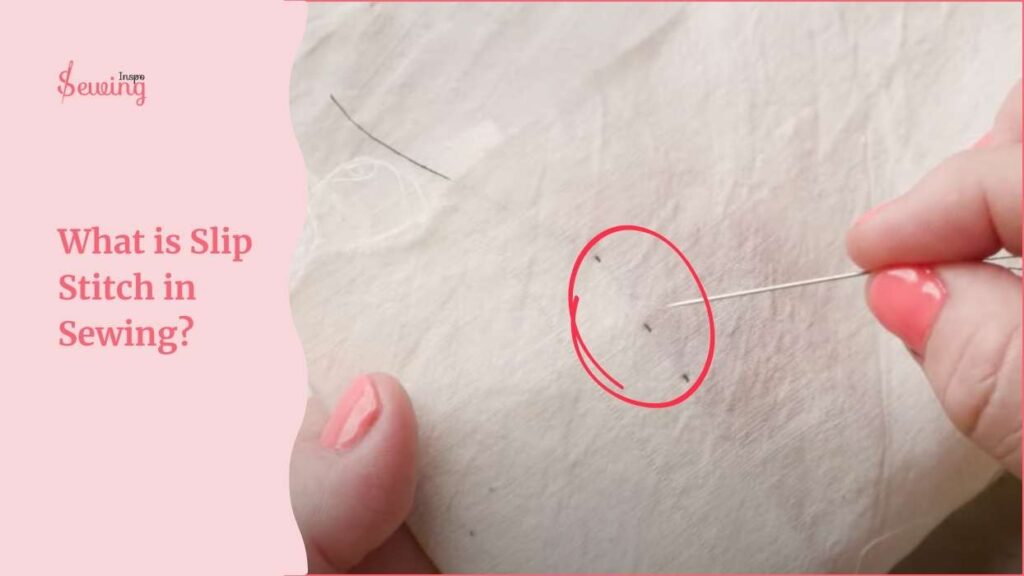
Slip stitch hand sewing is a nearly invisible stitch often used for hemming, closing seams, or attaching linings. You take tiny stitches by catching just a bit of fabric on each side so the thread stays hidden. That’s why sometimes it’s also called slip hemming stitch.
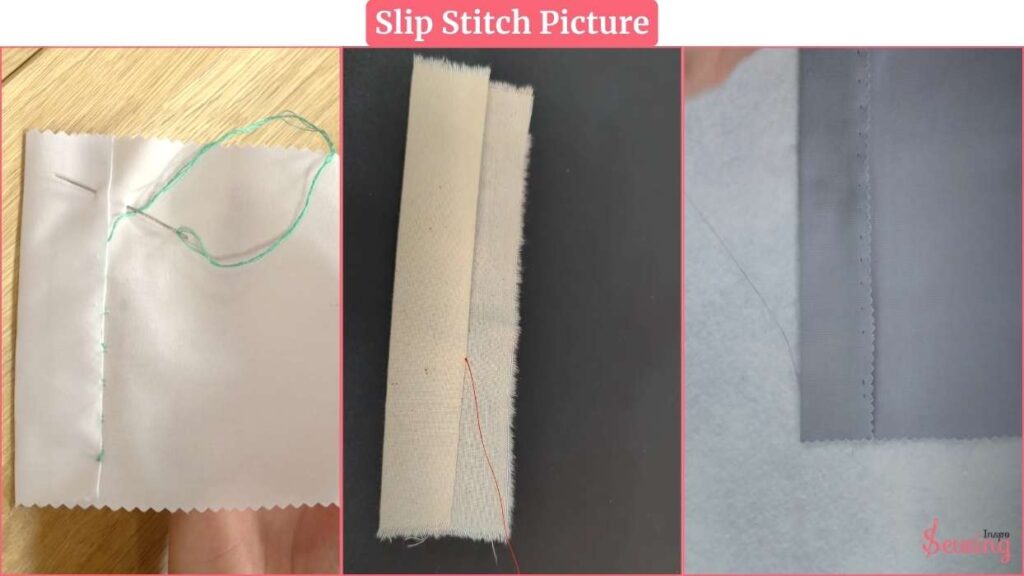
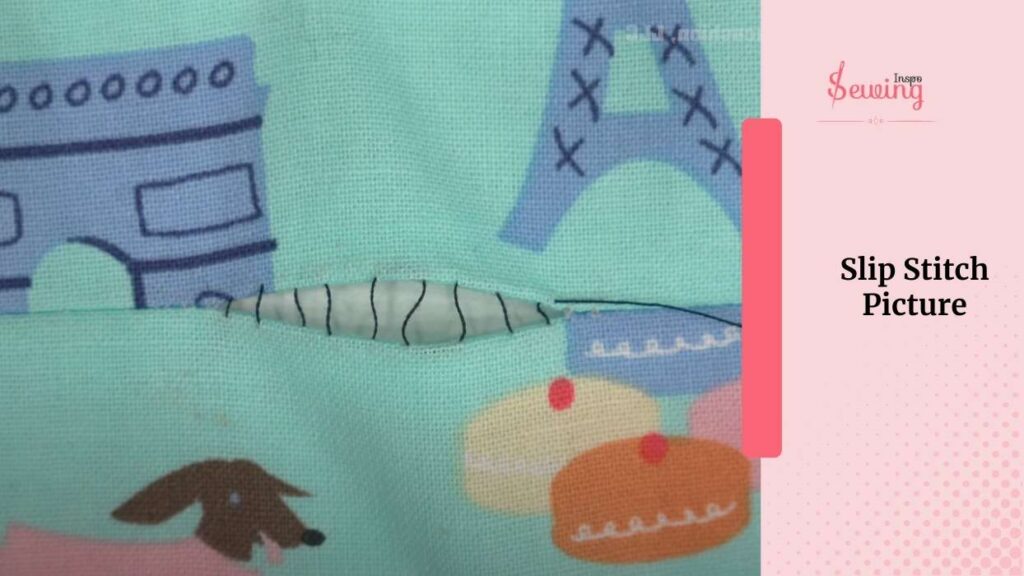
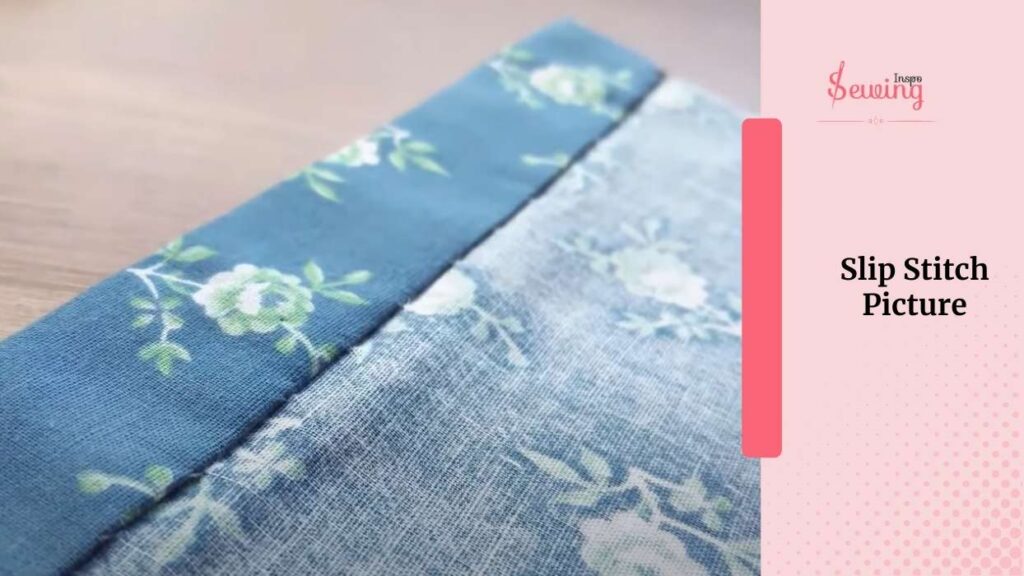
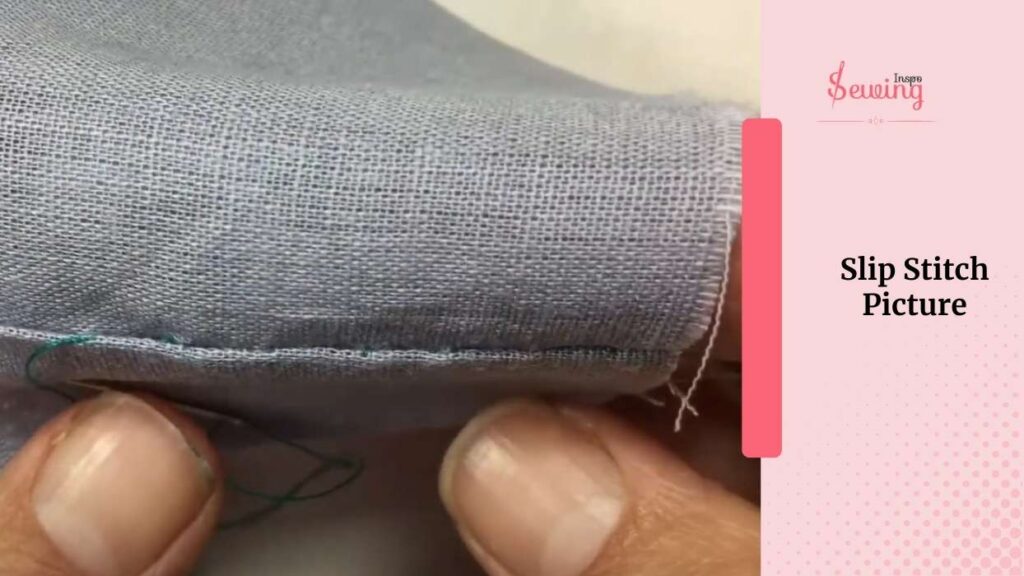
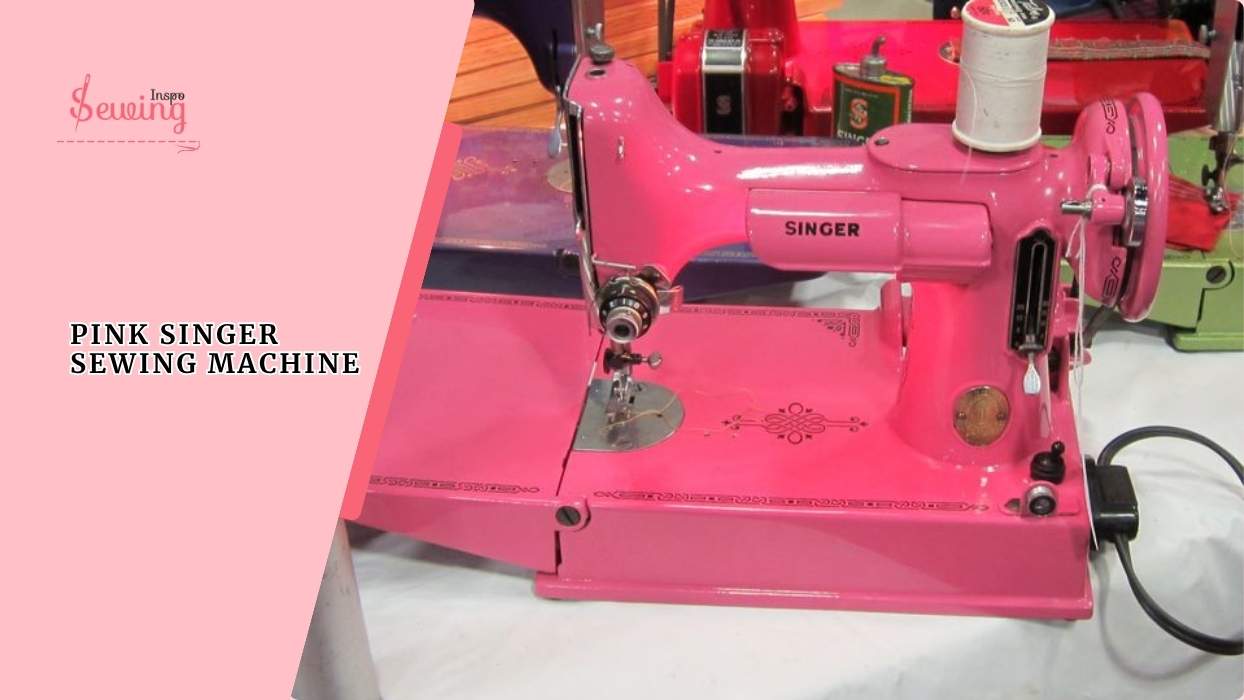
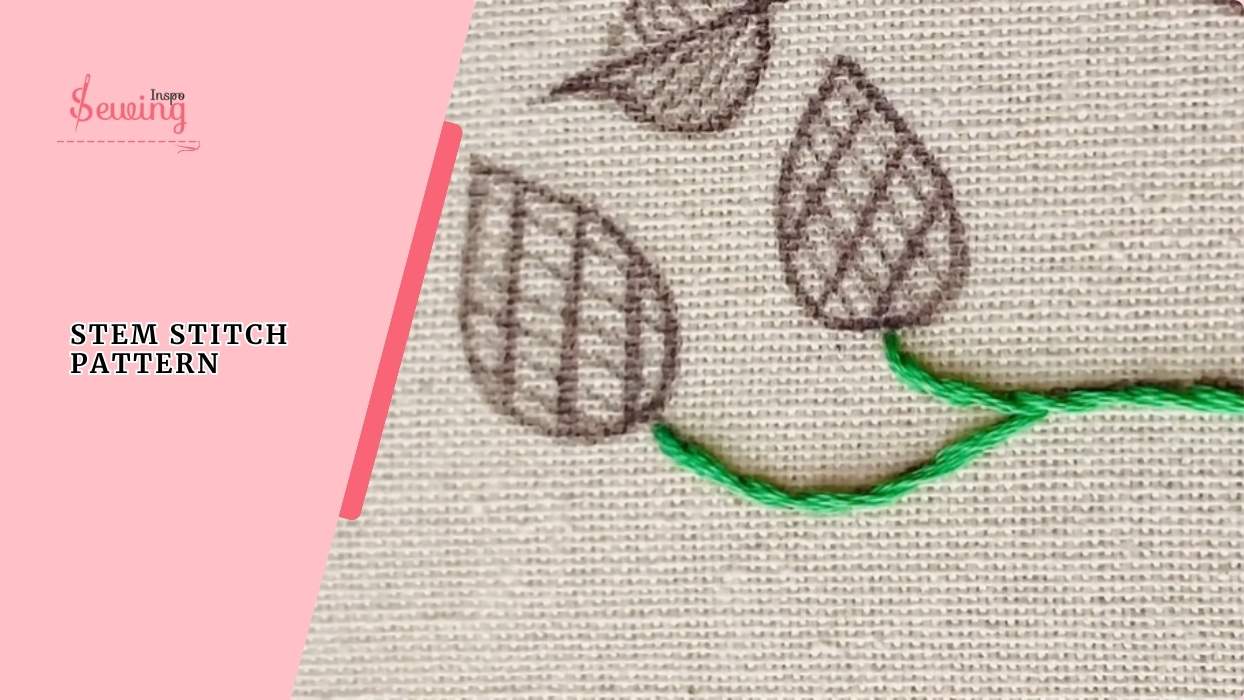
Slip Stitch Picture/ What Does A Slip Stitch Look Like?
If you are still confused about slip stitch then see some pictures. You can get an idea from here of what a slip stitch sewing pattern can be.
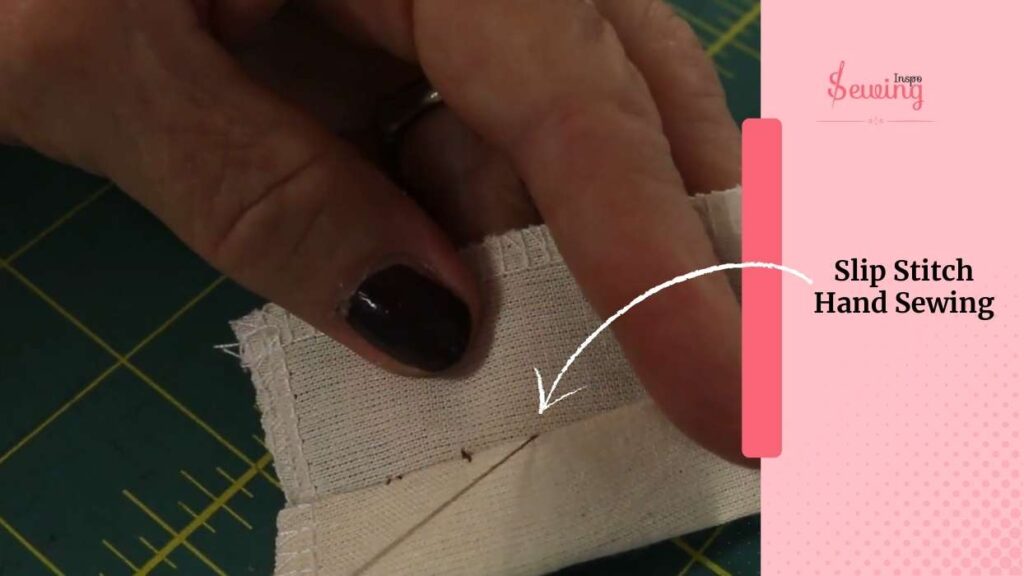
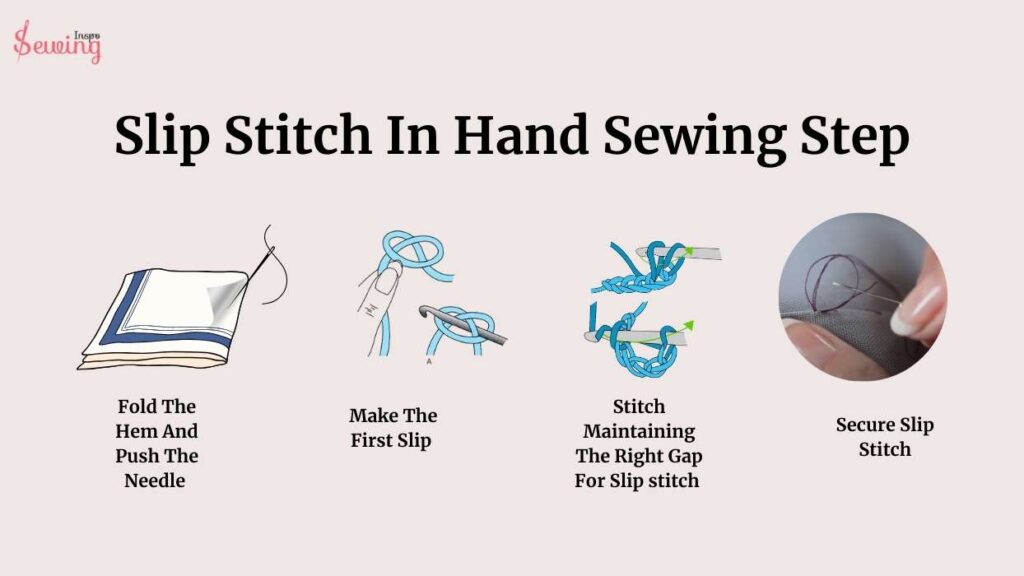
How To Do A Slip Stitch In Hand Sewing?
To do a slip stitch, you need to follow 4 steps.
- Fold The Hem And Push The Needle
- Make The First Slip
- Stitch Maintaining The Right Gap For Slip stitch
- Secure Slip Stitch
Now let’s do a slip stitch sewing. And get a clear idea of how to sew a slip stitch.
Fold The Hem And Push The Needle Slip Stitch By Hand
Fold the hem to the wrong side of the garment twice. It’s helpful for slip stitch sewing by hand.
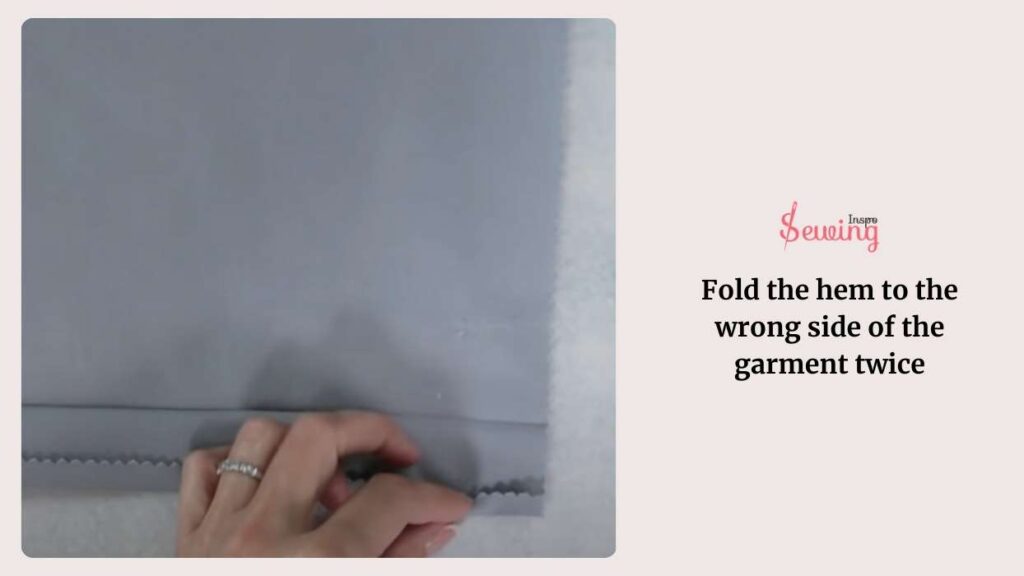
First at ½ inch and then again at 1 ½ inch to sewing stitch. That’s the fundamental hand sewing stitch. This will make your slip stitch hand sewing process easy.

With the wrong side facing up, start by hiding the knot behind the first fold of the hem. Bring your sewing tapestry needle and thread out through the folded edge. This is your starting point. That’s where you know how to do slip stitch step by step start.
Now let’s get into how to slip stitch in sewing with needle & thread.
Make The First Slip Stitch
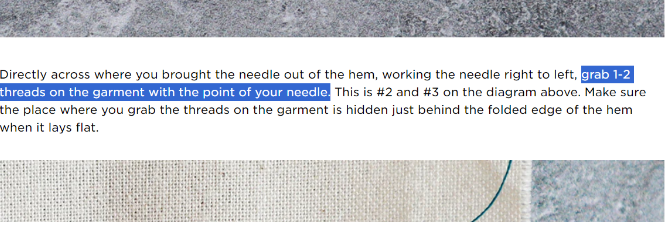
Make the first slip discreet stitch, start stitching directly across from where your needle came out, and insert the needle from right to left, grabbing just 2-3 stands of the pieces of fabric. If you have done a catch stitch then this step would be easy for you.
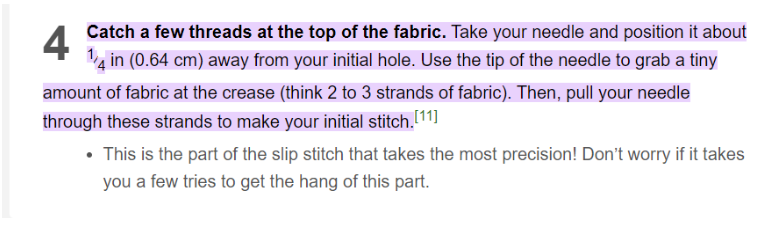
So, that’s how to start a hand sewn stitch. But how many stands is logical to grab, Grandma?
I normally grab 1-2 stands of fabric. It makes an invisible slip stitch.
Make sure you do this just behind the folded edge of the hem so it stays hidden when the hem is flat. Just like hemming stitch. That’s the Understanding Slip Stitch. Place your needle back into the folded hem, close to where your last stitch ended, and run it through the fold.
Stitch Maintaining The Right Gap For Slip stitch
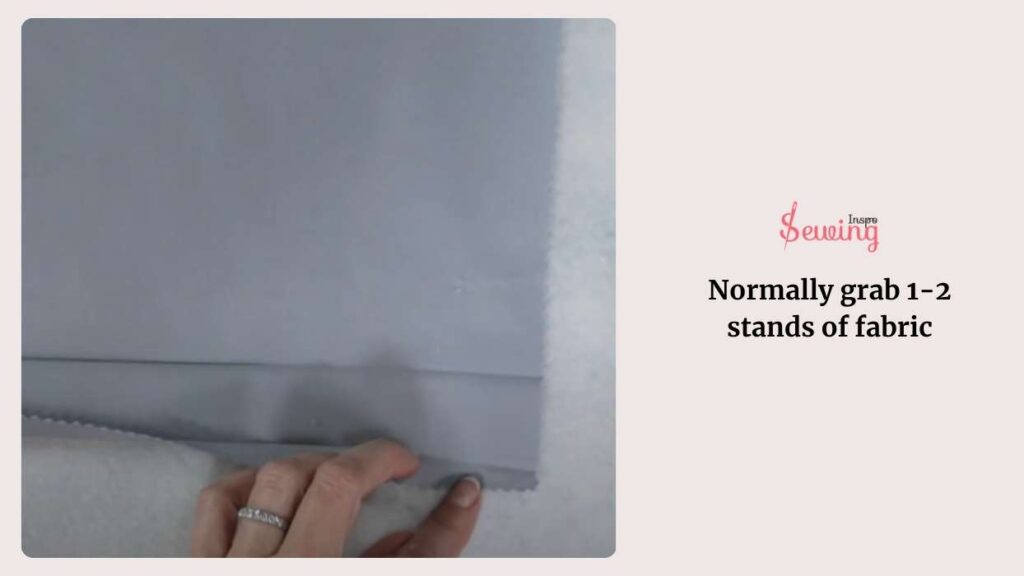
To make a strong slip stitch, you need to maintain a gap in every basic stitch. The distance you go (anywhere from 1/8” to 3/4”) depends on your fabric, the strength of the invisible stitch you need, and your sewing style and hand stitch type.
However, according to mood fabrics
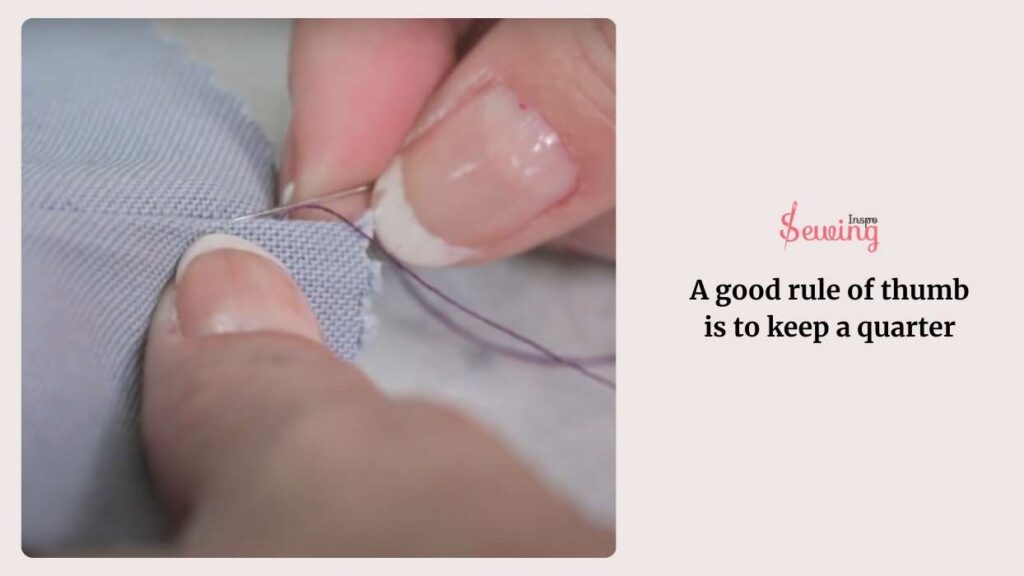
A good rule of thumb is to keep a quarter-inch gap between the 2 edges. Too tight or too loose aren’t good for visible stitches.
Next, slip the needle through the fold of the hem. Just like you would do while doing pad stitch. You’ll notice the needle picks up a thread or two of fabric and then goes through the fold to make the stitch. After pulling the thread through, pick up another thread of fabric directly across from where your needle came out of the fold. Kinda like pick stitching!
Once more, grab a thread 1 or 2 from the fabric and run the needle through the fold again. Just like you would do with saddle stitch. You’ll only see the few threads you picked up on the right side of the garment.
Now, push the needle back into the fold and slip it along the fold for about 1/4 inch (6mm). Gently pull the thread tight, then repeat the process: catch a few threads from the main fabric and slip back into the fold again. And that’s how to do a slip stitch in hand sewing.
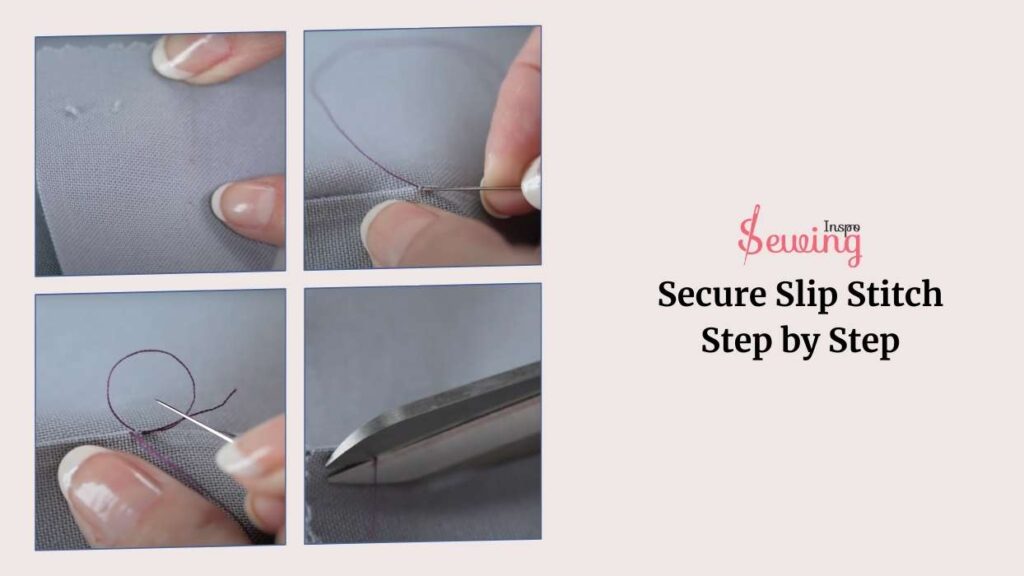
Secure Slip Stitch
To secure a slip stitch, begin by securing your last stitch through the fold as usual. Then, create a knot by inserting the needle under a nearby stitch, pulling the thread through to form a small loop, and passing the needle through the loop before pulling it tight. Repeat this knotting process to ensure it is secure.
The steps kinda remind me of how to finish a running stitch.
Next, hide the tail of the thread by inserting the needle back into the fold of the hem closer stitch to the knot and push it through the fold for about 1 inch. This process is kinda similar to pick stitch.
It won’t look like a blanket stitch picture, and it will stay hidden.
Pull the thread through and cut it close to the fabric, ensuring the end of the thread is hidden inside the fold for a neat finish. Or you can do a few tent stitches here.
Finally, gently tug on the hem to confirm that the stitches are secure and the thread tail is well-hidden. With that, your slip stitch is complete, leaving an almost invisible seam. And creates a perfect finishing stitch.
Watch The Tutorial
How to Hand Sew: Slip Stitch & Blind Hem | Craftsy Sewing Tutorial
Thread And Needle For Slip Stitch
Some people recommend using a needle with a smaller eye and a single thread for slip stitching. Others suggest choosing a needle that’s the same thickness or slightly thicker than your thread.
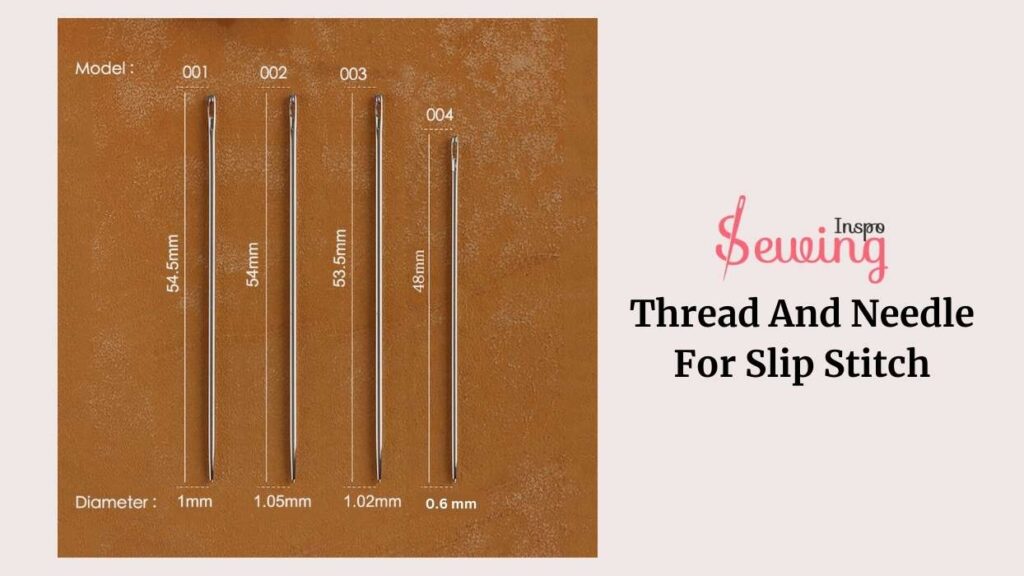
For example, you might use a size 004 saddler’s harness needle with 0.6 mm thread or a size 002 needle with thread that’s between 0.8 and 1 mm. You can also use an embroidery needle, which has a long eye that makes it easier to thread multiple strands. Popular sizes for embroidery needles are 7 and 9.
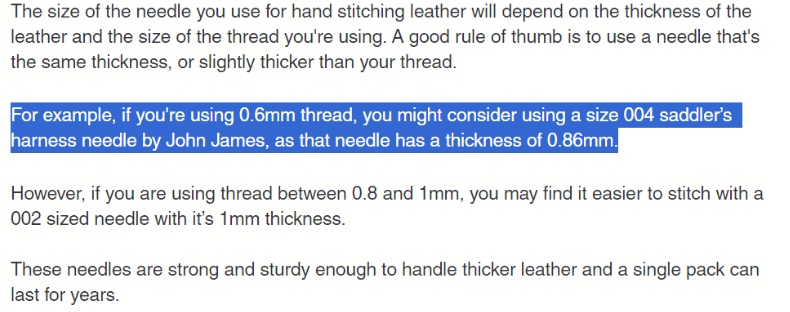
If you ask me then I would say use a size 004 saddler’s harness needle.
When it comes to thread, high-quality options are more durable and can help you work faster.
Perle cotton is a common choice for hand embroidery, and size 8 is popular for most stitches. You can even sew a buttonhole by hand.
Frequently Asked Questions(FAQ’s)
What Is The Point Of A Slip Stitch?
The point of slip stitch is to jjoin rounds, close gaps, or edge projects for a clean finish. Additionally, slip stitches can create decorative textures or provide a sturdy foundation for further stitches. Their versatility makes them an essential technique for both structural and aesthetic aspects of crafting.
How Do You Know Which Way To Slip A Stitch?
The direction to slip a stitch depends on the pattern and desired effect. Generally, in knitting, you slip a stitch purlwise unless the pattern specifies otherwise, which maintains the stitch’s orientation. In crochet, you insert the hook into the specified stitch or space and pull the yarn through both the stitch and the loop on the hook. Always follow the pattern instructions to ensure the correct result.
Why Is My Slip Stitch So Tight?
A slip stitch can become too tight if you pull the yarn too firmly while making it or if your tension is generally tight when working on your project. This tightness can make it difficult to work into the slip stitch in subsequent rows or rounds.
Now It’s Your Turn To Slip Stitch
I have taught you How To Do A Slip Stitch In Hand Sewing. Now it’s your turn to slip stitch.
Can you do it? If yes share your work on sewing inspo.
No? Then tell me your confusion I’ll answer your questions.

Leave a Reply