
Tacking stitches is a fun way to hold fabric seams together. Diagonal tacking stitch is my other favorite after tailor tack stitch. The technique is easy and quick. Perfect for lazy stitcher like me 🤭 And it is one of the temporary stitches types. So you can remove it whenever you want. Here is how to do diagonal tacking stitch-
Diagonal Tacking
To do a diagonal tacking stitch, sew short diagonal stitches across the fabric at regular intervals, securing layers without fully piercing through.
Interesting right? Let me tell you step by step about this type of stitch. After this, you can easily do diagonal tacking stitch.
Main Facts:
- Diagonal tacking stitch got its name because of its diagonal look.
- It kinda looks like an x shape but in fold fabric. It’s also used as tailors tack.
- You need to use the NHN technique to end the diagonal tack.
Table of Contents
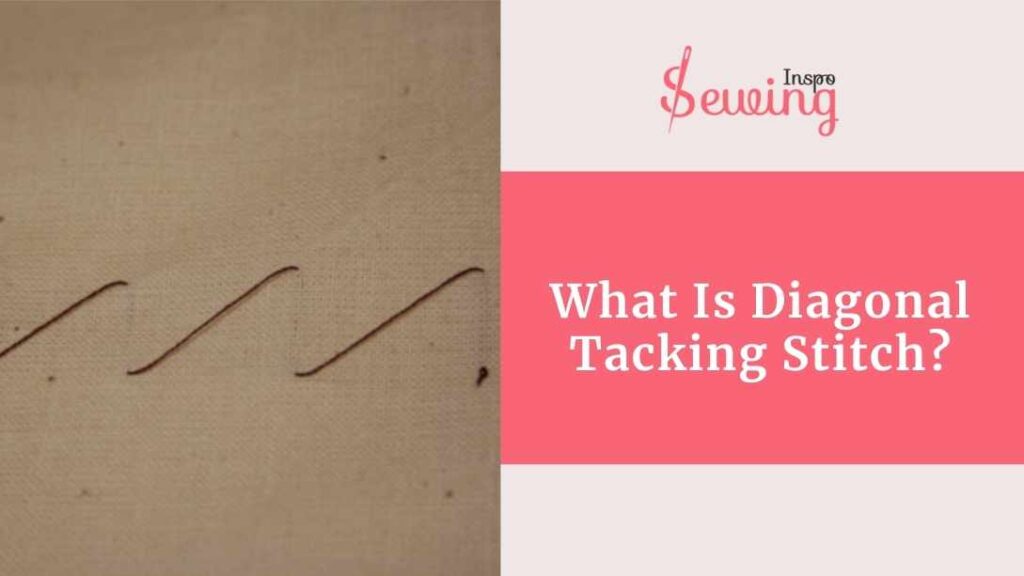
What Is Diagonal Tacking Stitch?
A diagonal tacking stitch is a diagonal version of an even tack stitch. It is a series of sloping stitches crossing the fabric in one direction. Each stitch is fairly long, and the angle of the stitches creates a zigzag-like pattern. This tacking stitch use to fold fabric temporarily.
This kinda looks like,
If you drew diagonal lines across a square or rectangular piece of fabric, each stitch would follow one of those lines, creating an “X” shape across the fabric layers. This is the easiest type of tacking.
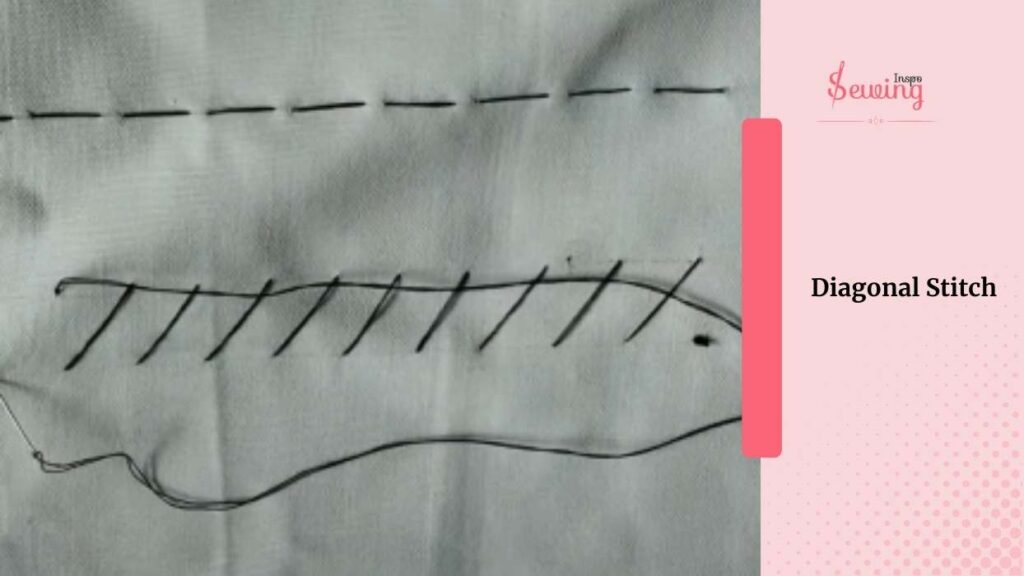
The stitches don’t lay flat like normal hand-sewing stitches. They stand out because they’re loose and prominent, meant to hold fabric temporarily without much tension. They typically run diagonally from one fabric edge of the fabric to another. That’s what a diagonal stitch is for.
If the stitch is done over a long length, it can give the fabric a slightly gathered or puckered look in places where the stitch pulls on the material. That’s what diagonal stitch is.

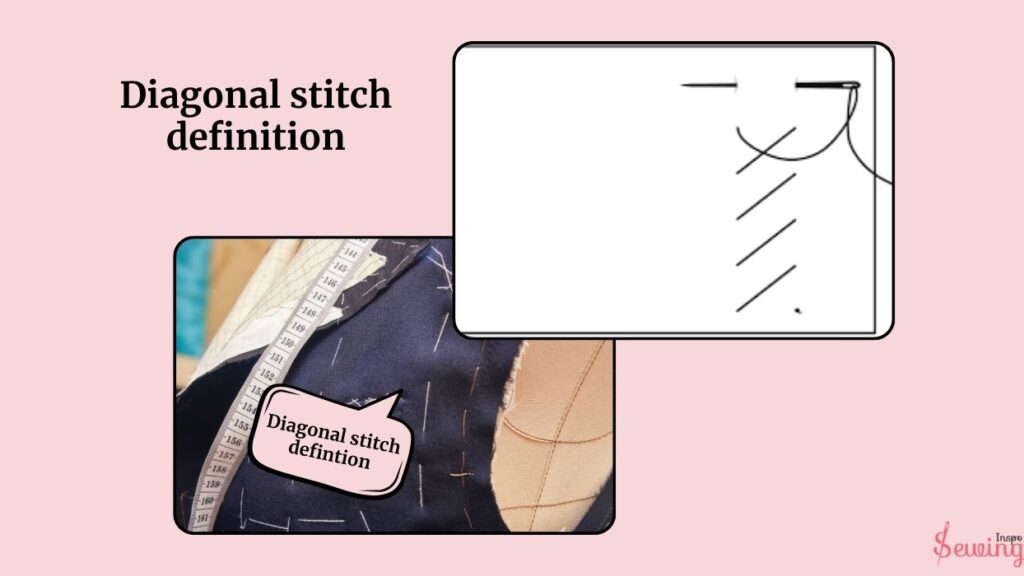
Alternative Diagonal Stitch Definition
A diagonal stitch is a type of sewing stitch that runs at a slant, usually at a 45-degree angle, across the fabric. That’s why I sometimes call it cross tacking stitch.

What Is The Diagonal Tacking Stitch Used For?
The diagonal tacking stitch is used for:
- Temporarily securing layers of fabric together before permanent stitching
- Holding fabric pieces in place during construction or fitting
- Marking hems or seams temporarily
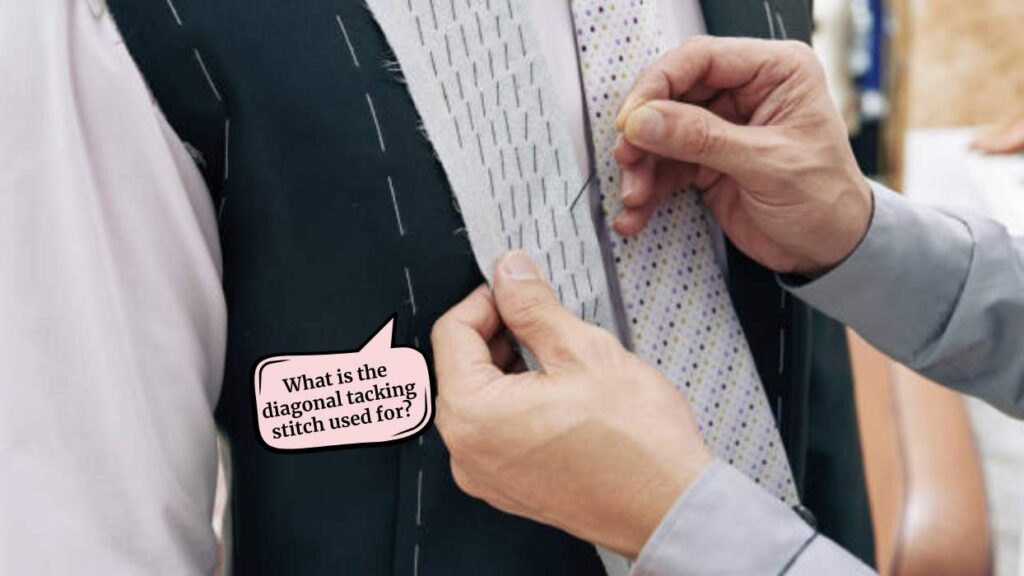
- Preventing fabric from shifting during machine sewing
- Stabilizing delicate fabrics during embroidery or hand stitching
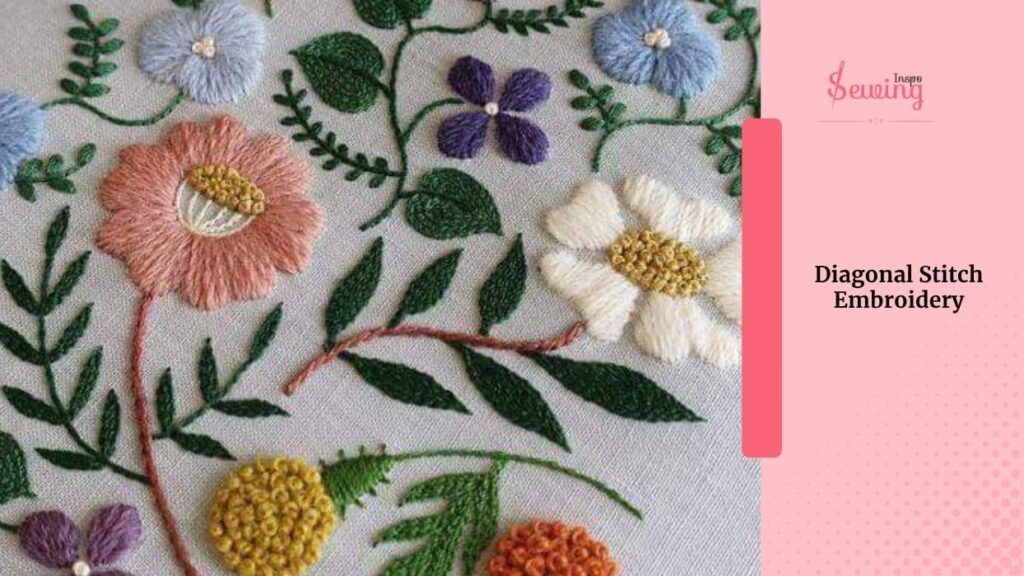
Diagonal Stitch Embroidery
Some people also use this stitch for embroidery when they want a diagonal vibe. Here is how it looks,
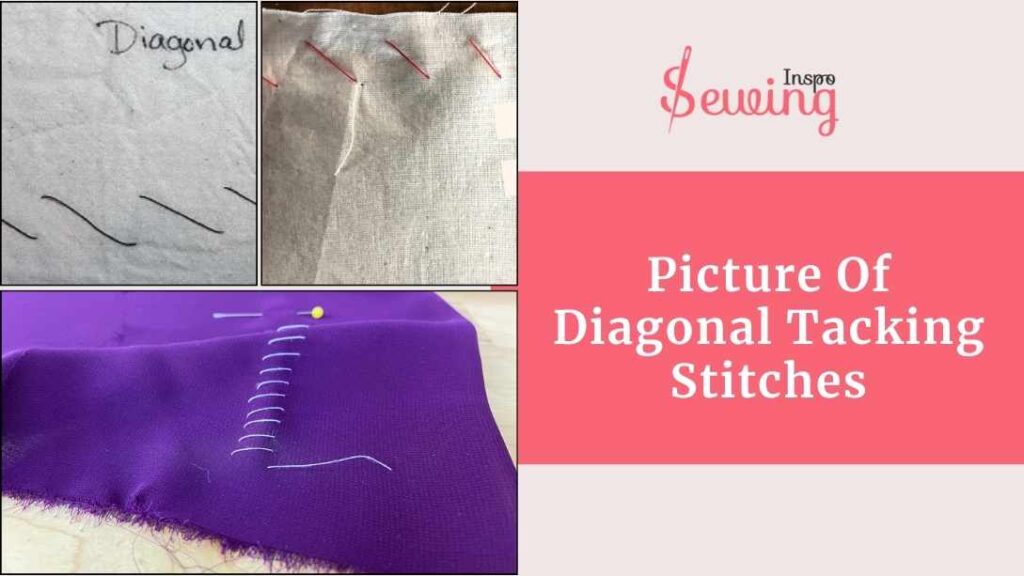
Picture Of Diagonal Tacking Stitches
If my definition doesn’t clear up your doubts, you need to see the tacking stitch picture to clear up. Then there are a few pictures of it:
Would you like a quick guide on how to do it? I know you would do. So let me teach you.
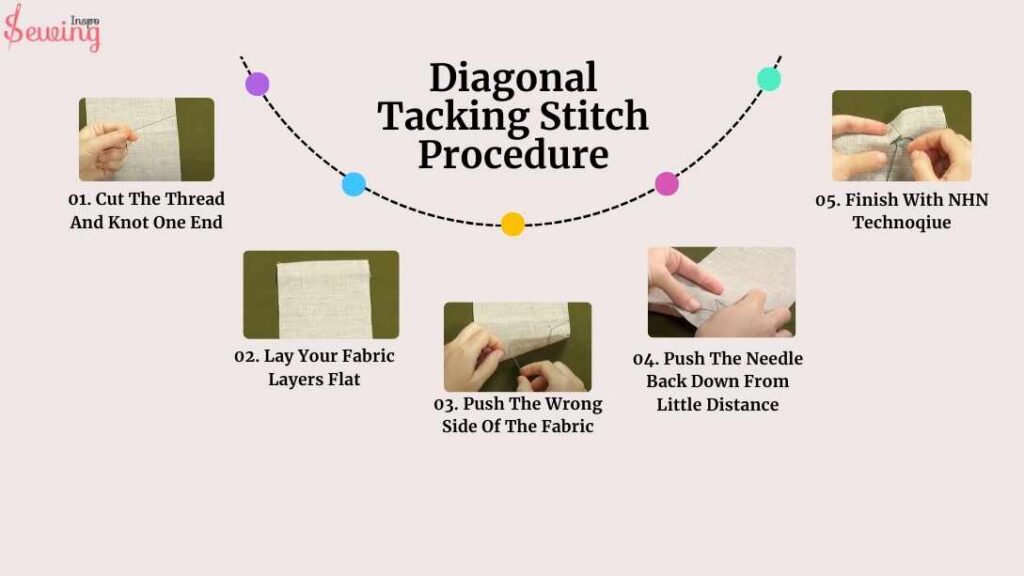
Diagonal Tacking Stitch Procedure
You can do diagonal tacking stitch by following 5 steps.
- Cut The Thread And Knot One End
- Lay Your Fabric Layers Flat
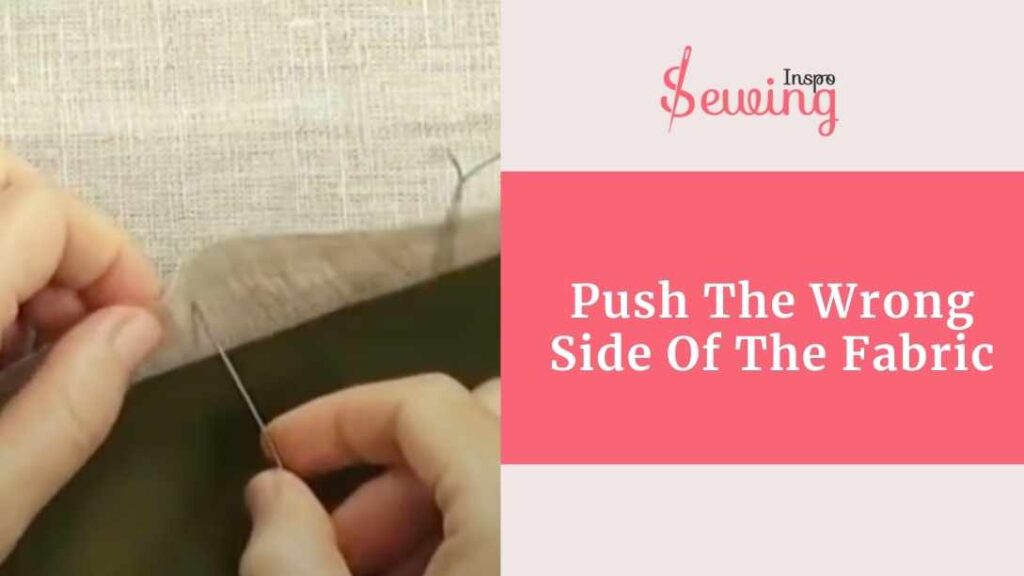
- Push The Wrong Side Of The Fabric
- Push The Needle Back Down From Little Distance
- Finish With NHN Technique
Let’s start the procedure in sewing.
Cut The Thread And Knot One End
So, first things first—cut yourself a decent length of thread. You don’t want it too long, or it’ll get all tangled while you sew.
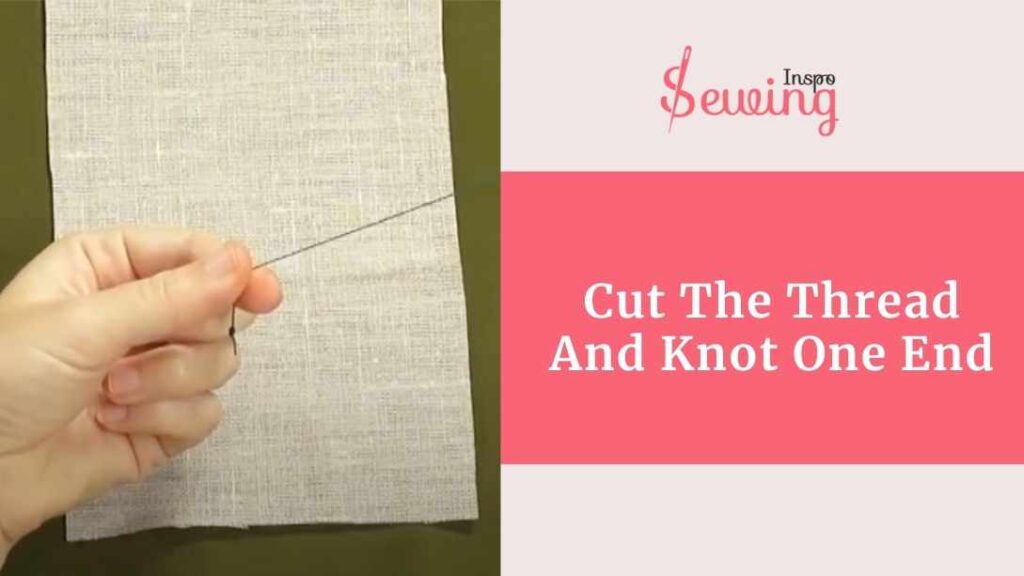
A good starting point is about 18 to 24 inches. Then, tie a small knot at the end of the thread for diagonal stitch holding.
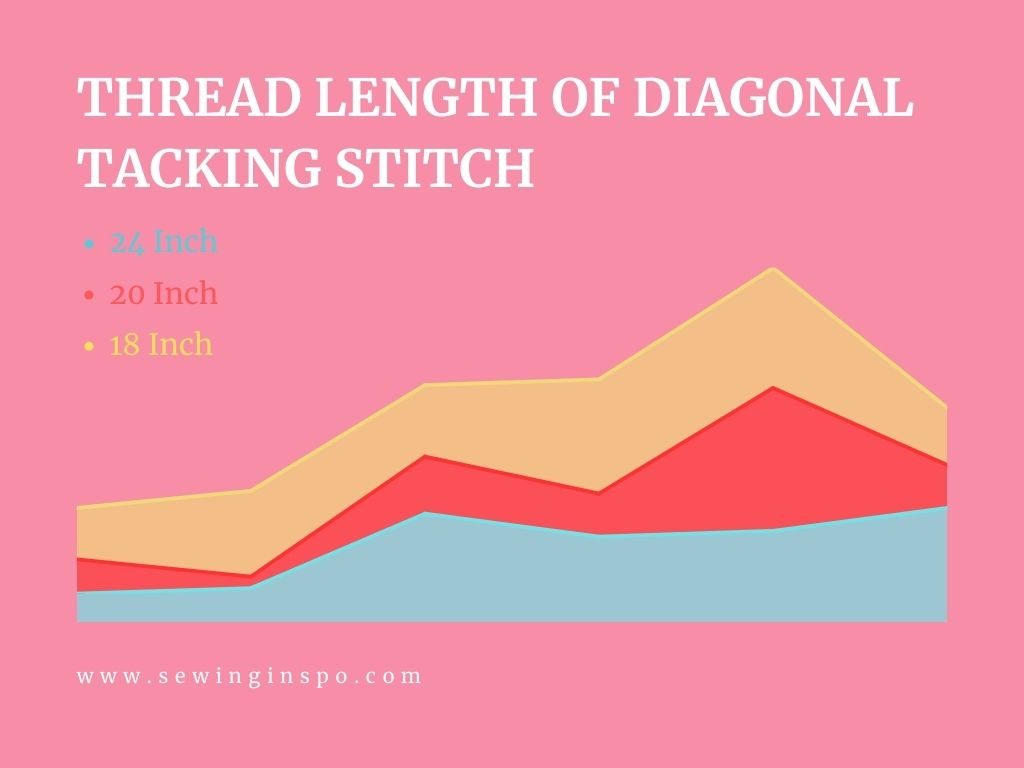
I use 18-inch thread for diagonal tacking stitches and tie knots.
Tying a knot is necessary on other types of tacking stitches, such as tailor tack or even tacking stitch steps, but it is important here. unlike other basic hand stitches.
This little knot will keep the thread from slipping through the fabric when you make your first stitch. That will secure your decorative stitch. No need to stress about making it perfect since this is temporary, but ensure it’s secure enough to stay in place.
This is totally the opposite of doing slip tacking stitch.
Lay Your Fabric Layers Flat
Lay them flat on your work surface. Take a moment to smooth out any wrinkles or uneven edges, as these can affect how clean your stitch looks later on. If the fabric is bunched up or uneven, it’ll be harder to align the layers properly and do a straight stitch.
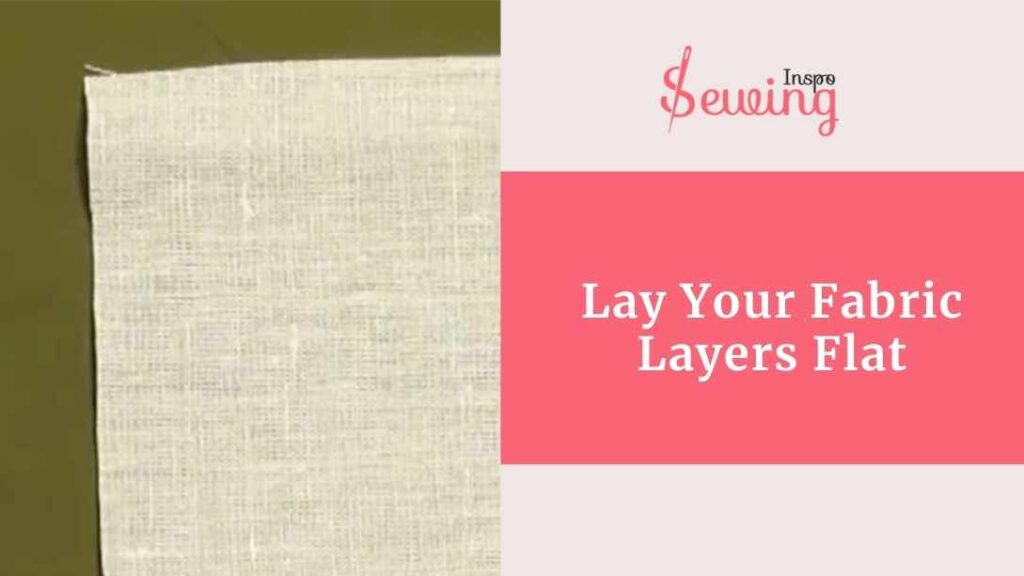
When you sew, you might end up with unwanted puckers or shifts. If you’re working with slippery fabrics, like satin or silk, it helps to use pins to secure the edges and keep everything stable.
Why did you need to do it?
The goal here is to ensure the layers are as neat and aligned as possible so your tacking stitch will hold everything exactly where you want it. This extra bit of care is needed cause you are not doing uneven tacking stitch steps.
Push The Wrong Side Of The Fabric
Flip your fabric to the back side and push your needle up through all the layers, starting from underneath. Pull it through until the knot rests against the fabric. This keeps everything hidden on the backside. Once that knot’s anchored, you can start your first diagonal stitch!
Push The Needle Back Down From Little Distance
Just push the needle back down into the fabric at a slight angle, about ½ to 1 inch away from where you started. That will create the diagonal stitching effect.
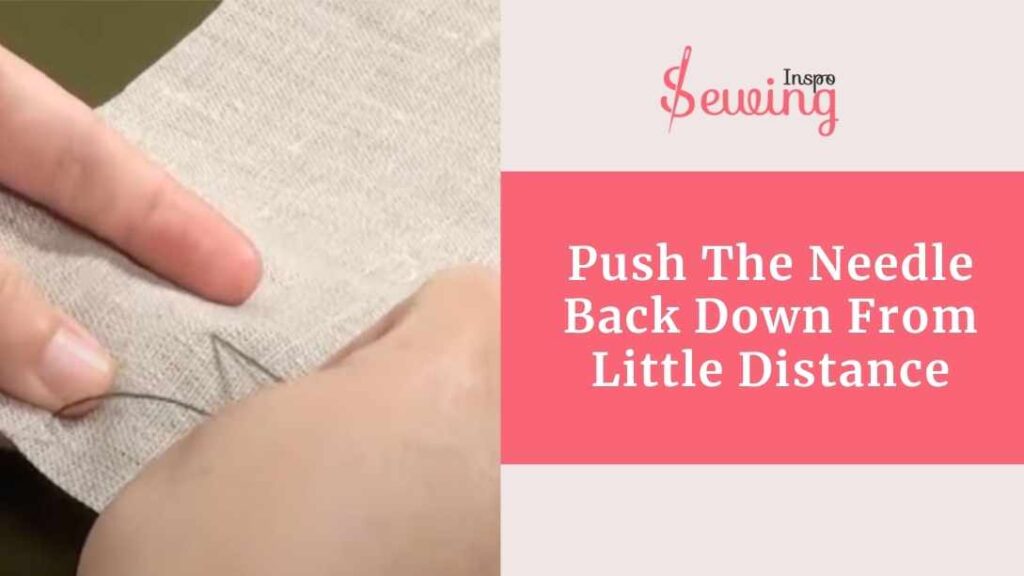
Don’t worry too much about exact measurements. Just aim for a nice, slanted line across the fabric. The stitch should be firm enough to hold the layers together but not too tight.
Pull the thread through, and there you go—your first diagonal stitch! Now, just keep going with the same pattern. It makes each stitch evenly spaced. It doesn’t have to be perfect but try to keep the stitches loose enough that they’re easy to remove later.
Finish With NHN Technique
When you reach the end of the line, finish with one backstitch to secure the thread in place. Use the “needle-in-hand” (NHN) technique for a clean finish. What is it? Well, it is a hand technique. Here is how to do it-
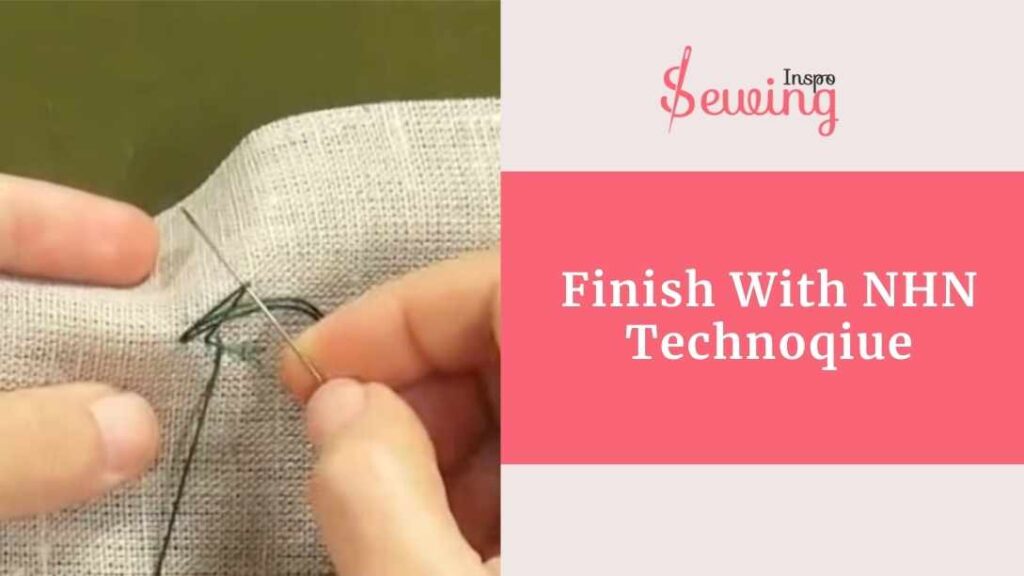
- Hold the Needle: Instead of using a needle holder or a thimble, you keep the needle firmly between your fingers, often with the thumb and index finger. That’s perfect for vertical stitch.
- Guide the Fabric: With your other hand, you manipulate the fabric to align it properly as you sew. This allows for better control, especially when making small or precise stitches. You can use it in every stitches & type of stitches!
- Sewing Technique: As you insert the needle into the fabric, you can quickly pull it out and reposition it without setting it down. This makes the process faster and often more comfortable, especially for hand sewing.
This method will help ensure your diagonal tacking is neat and easy to remove later. But for a short time, it creates perfect diagonal stitch embroidery.
Watch this video tutorial for a better understanding of this hand embroidery
Diagonal Tacking Stitch PDF
The process is easy, but remembering it while doing it is kind of hard. That’s why having a PDF can help while hand sewing stitches. So, here you go-
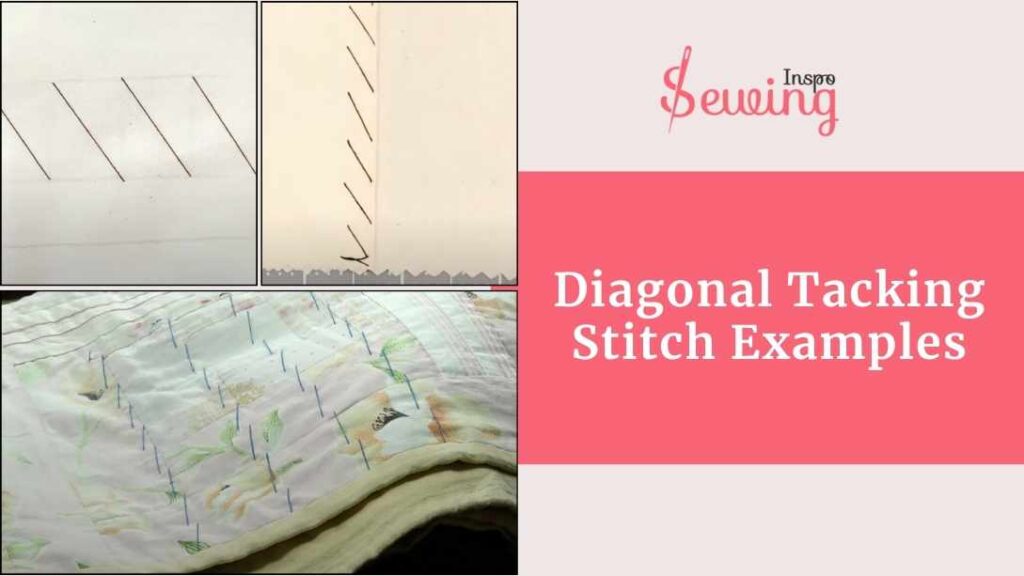
Diagonal Tacking Stitch Examples
The diagonal tacking stitch is perfect for holding 2 fabrics. So, I used it whenever I needed to do embroidery on a specific fabric. Have you look:
Frequently Asked Questions
Will Diagonal Tacking Stitches Leave Marks On My Fabric?
Typically, if you use a contrasting thread and keep the tacking stitches loose, they shouldn’t leave marks. However, always test on a scrap piece of fabric first, especially with delicate materials.
Can I Use A Diagonal Tacking Stitch On All Types Of Fabric?
Yes, you can use it on various fabrics, but be cautious with delicate or slippery fabrics. Consider using pins or weights to keep everything in place while you sew.
How Do I Ensure My Diagonal Tacking Stitches Are Even?
As you sew, keep a consistent stitch length and angle. Practice will also help you develop a steady hand. If you’re unsure, using a ruler or guideline can help.
Warp Up
Diagonal tacking stitch is one of the easiest temporary stitches. You just push the needle through in and out, and it is good enough to hold the fabric. You should try it out, too.
Please try it and share it with us. I would like to see how my technique becomes your sewing inspiration.


Leave a Reply