After knowing about stitch I was sewing and getting frustrated! 😡 Cause no matter what, I couldn’t do a straight stitch. So I went to grandma and asked how to hand sew a straight stitch.
My one stitch is in the sky and the other one is in the ground.
My grandma laughed and said-
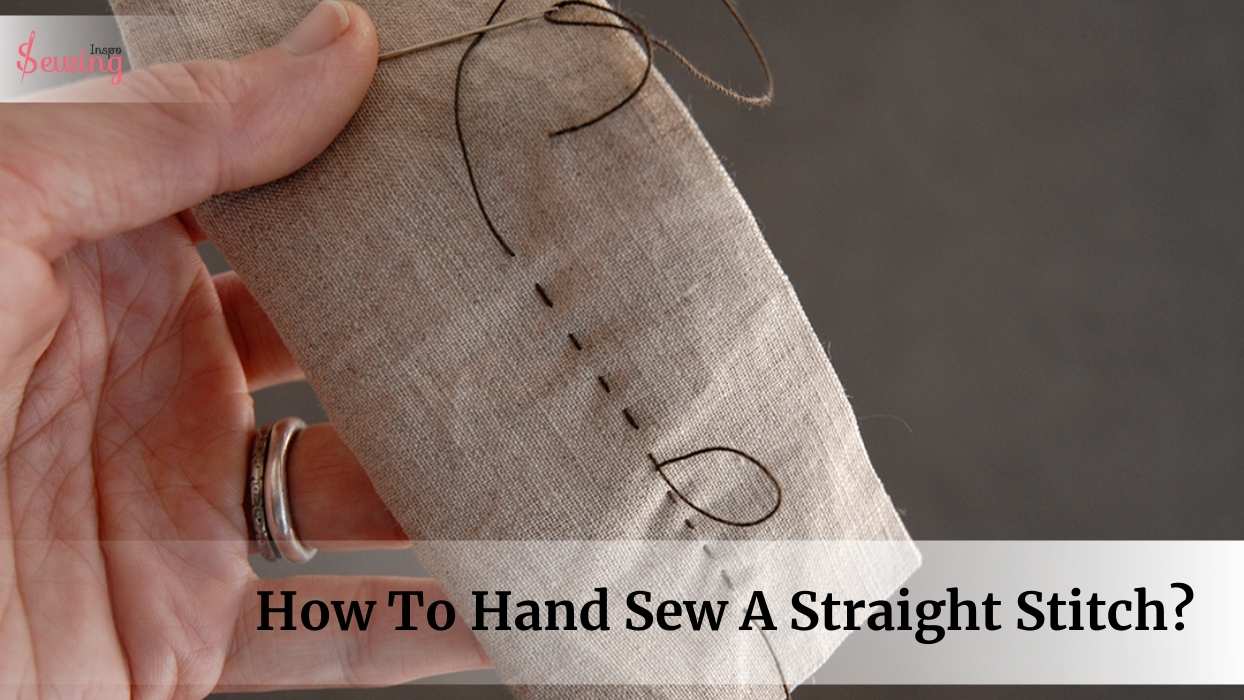
Hand Sew A Straight Stitch
To hand sew a straight stitch, thread the needle, knot the end, push the needle through the fabric from back to front, then continue making evenly spaced stitches in a straight line.
Come on, Grandma, I know this isn’t that easy! Show in depth.
Haha!😁 Ok, let’s go and see how to hand sew straight stitch. Let’s learn about straight stitch by hand.
Project Overview of sewing a straight line by hand:
- Draw a straight line on the fabric with a ruler to guide your stitches.
- Push the needle up through the fabric.
- Secure the stitch by making small backstitches or tying a knot at the end of the line.
Table of Contents
Can You Do A Straight Stitch By Hand?
Yes, you can do a straight stitch by hand. It’s a simple and versatile technique that’s perfect for basic seams and decorative details. It can also be difficult to keep the stitches consistently straight, particularly on thick or slippery fabrics.
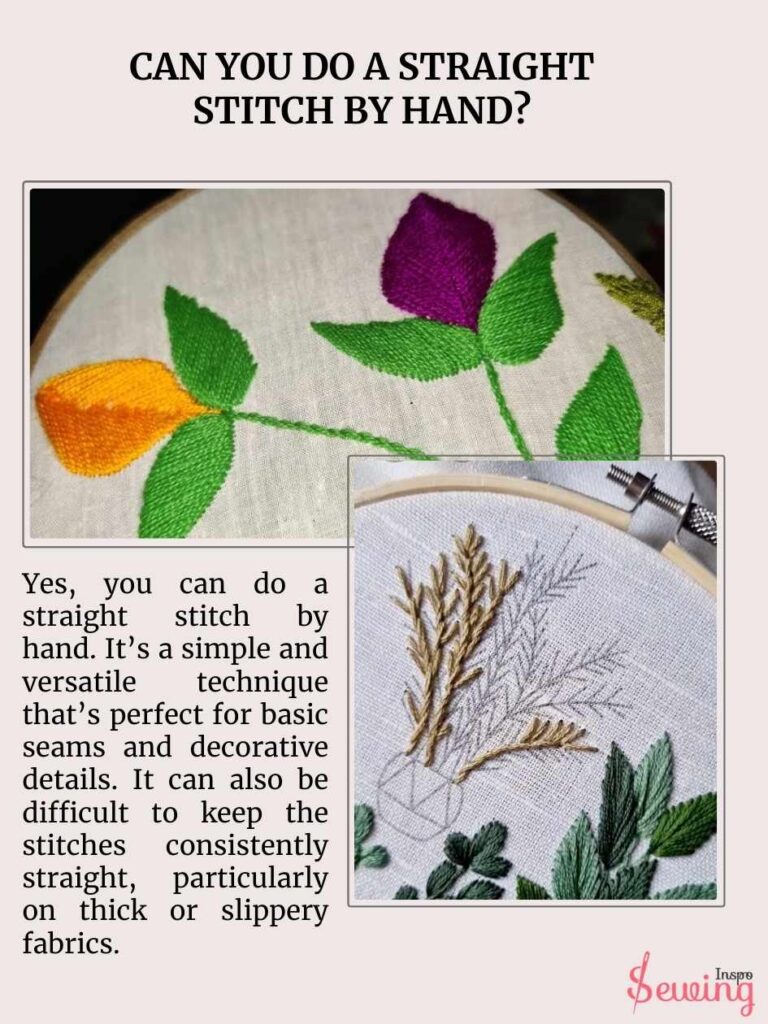
Another challenge is the time it takes, as hand-sewing is slower compared to using a sewing machine. Additionally, hand-sewing requires more precision to avoid puckering or tension, which could affect the final result.
But if you can crack the technique of sewing a straight line by hand, then you can have a perfect line. That’s also how to end a stitch.
Straight Stitch By Hand Patterns
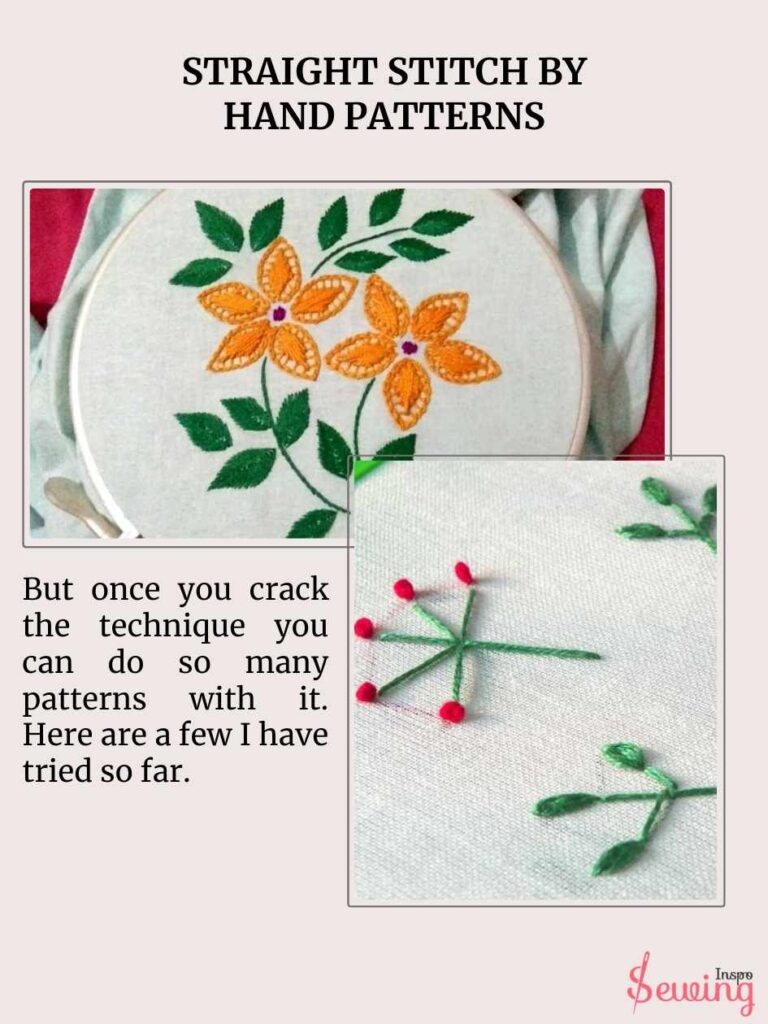
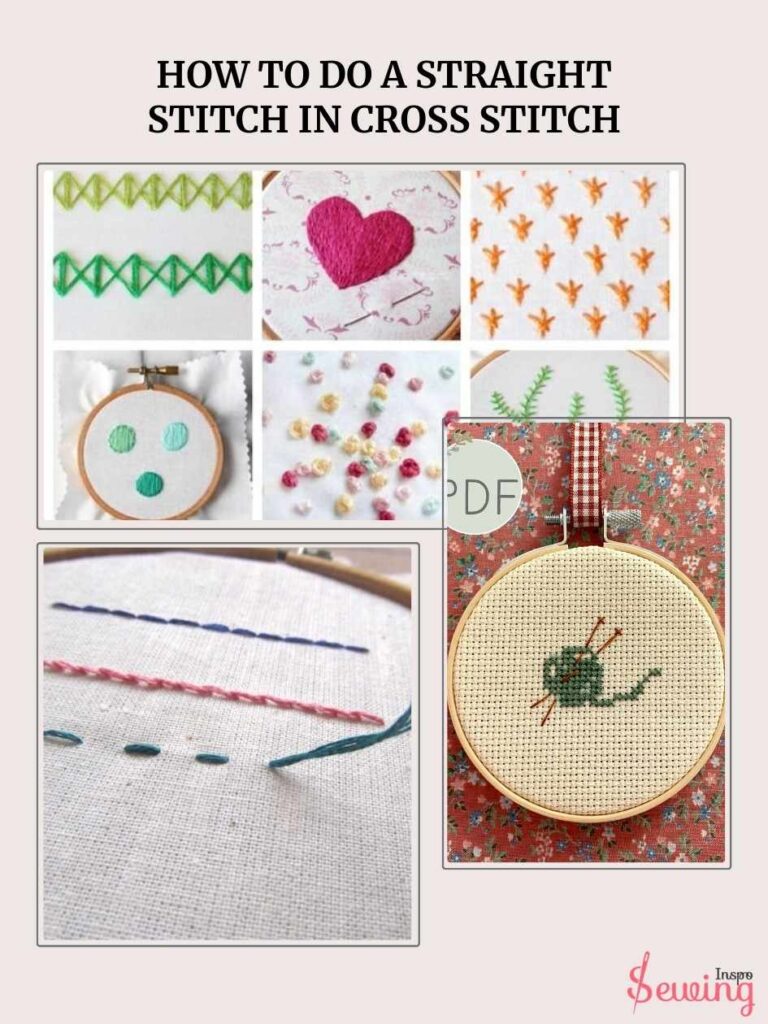
But once you crack the technique you can do so many patterns with it. Here are a few I have tried so far.
What Does A Straight Stitch Look Like?
A straight stitch looks like a series of small, evenly spaced, parallel lines running in a straight line across the fabric. Each stitch has a small hole where the needle position passes through, creating a clean and simple seam.
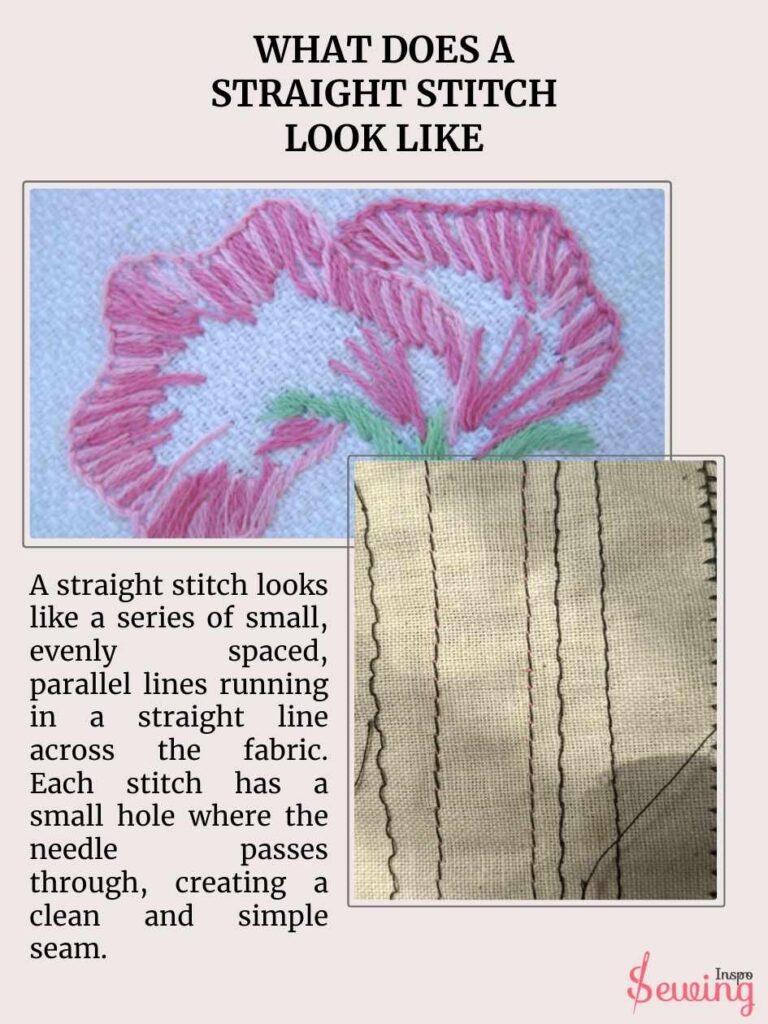
The stitches are in length and appear consistent from start to finish, with the thread lying flat against the fabric surface. It’s one of the most basic and straightforward stitches, giving a neat, minimalistic look to your sewing projects.
How To Hand Sew A Straight Stitch?
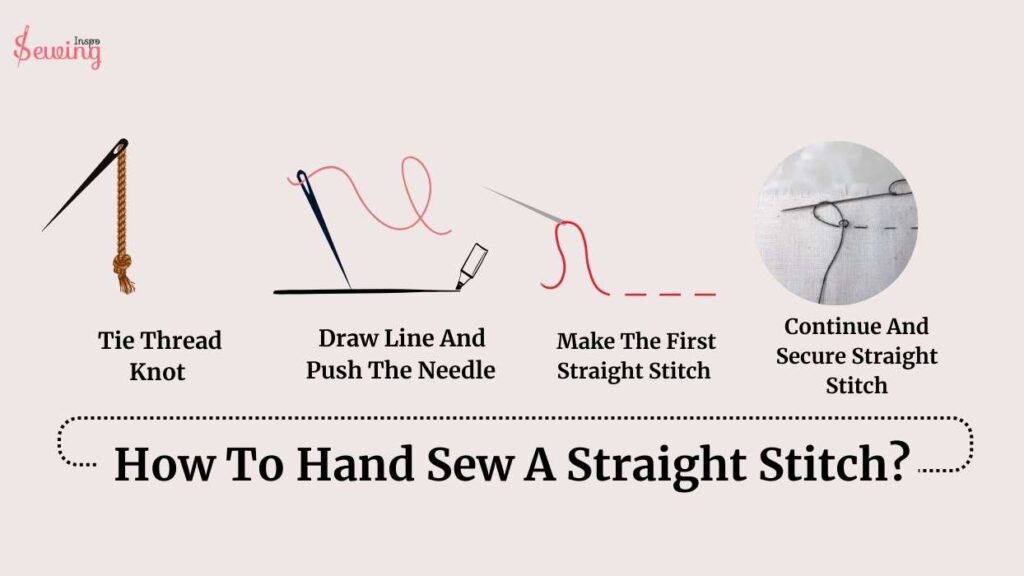
To hand sew a straight stitch, you need to follow 4 steps.
- Tie A Knot In Thread For Hand Sewing
- Draw Line And Push The Needle
- Make The First Straight Stitch
- Continue And Secure Straight Stitch
Now let’s teach you how to hand sew a straight line.
Tie A Knot In Thread For Hand Sewing
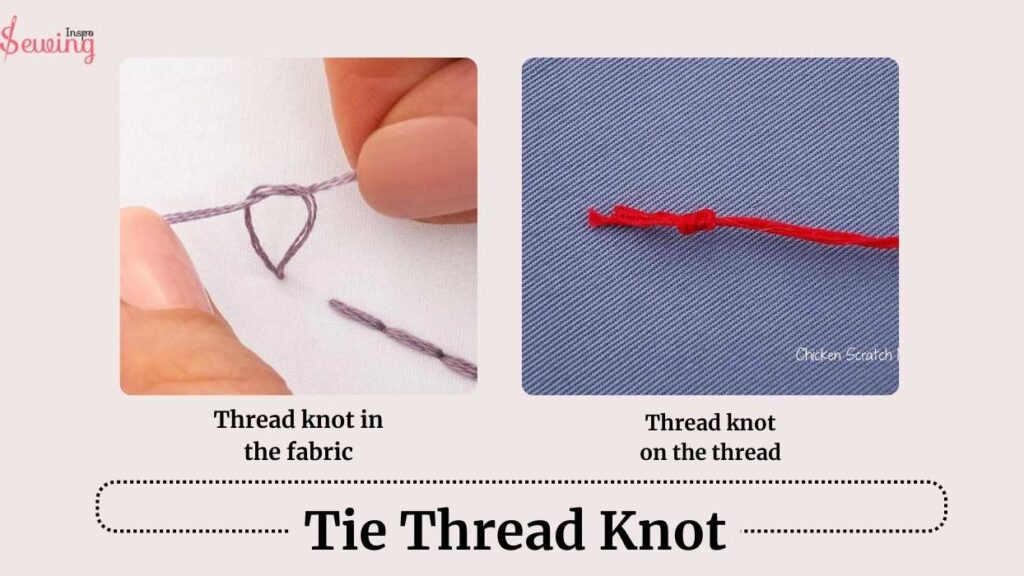
You can tie the thread knot in 2 ways. As in:
- Thread knot in the fabric
- Thread knot on the thread
-describe those 2 methods, Grandma.
-Ok, well-
To make a thread knot in the fabric, make a slip knot just like a Hand-Applied Basting Stitch. Then, to start stitch run the thread through a small section of the fabric. Remember doing a slip stitch? Yes, just like that Slip the needle through the slip knot hole and pull everything tight. Your thread should now be secured.
This method is most useful if you do a tacking stitch.
Another method is to create a loop by slipping the needle into the fabric. Then, slip the needle through the loop and pull it tight. Repeat this to make a second knot.
Confused? Then watch this video tutorial-
Watch The Tutorial
How to Tie Off – Sewing By Hand
And,
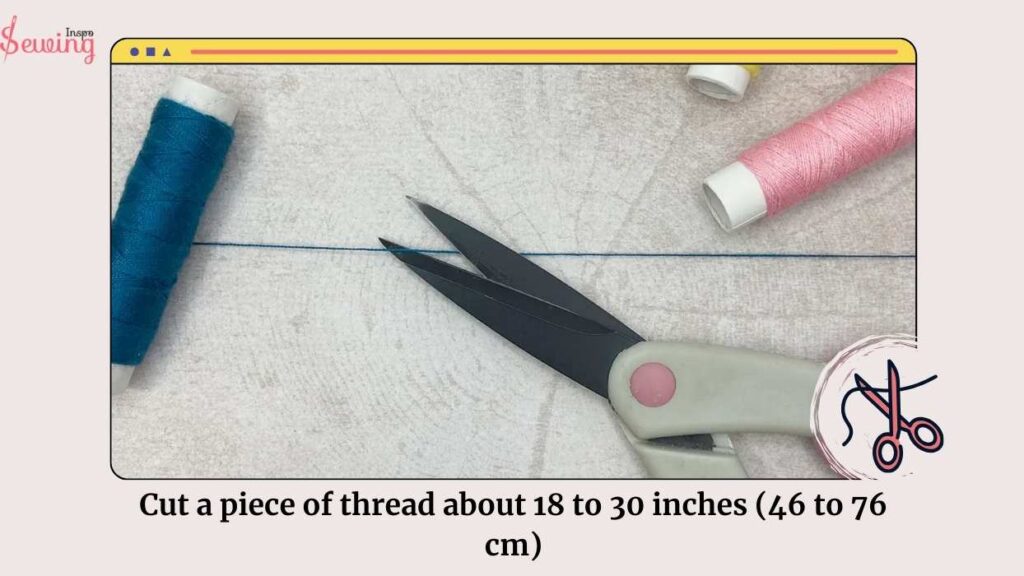
To thread a knot on the thread, Cut a piece of thread about 18 to 30 inches (46 to 76 cm) long. You can also use this ratio for running stitches.
This will help you with individual stitches. Push one end through the eye of your sewing needle. At the other end, tie a basic knot and put an embroidery hoop. just like you would do while doing an embroidery stitch. You can knot it 2 or 3 times if you want the thread to be extra secure. This will help you to do the easy type of hand stitch.
Draw Line And Push The Needle
Drawing a stitching line in the fabric will help you do a straight stitch as a beginner. This isn’t like saddle stitch so you have gotta be specific about it. So, bring your fabric, put a ruler on it, and draw a straight line on it. That’s how to start a stitch hand sewing.
Now, put gentle pressure your sharp needle from behind the fabric. Hold your threaded needle on the back side of the fabric where you want to start your favorite stitch.
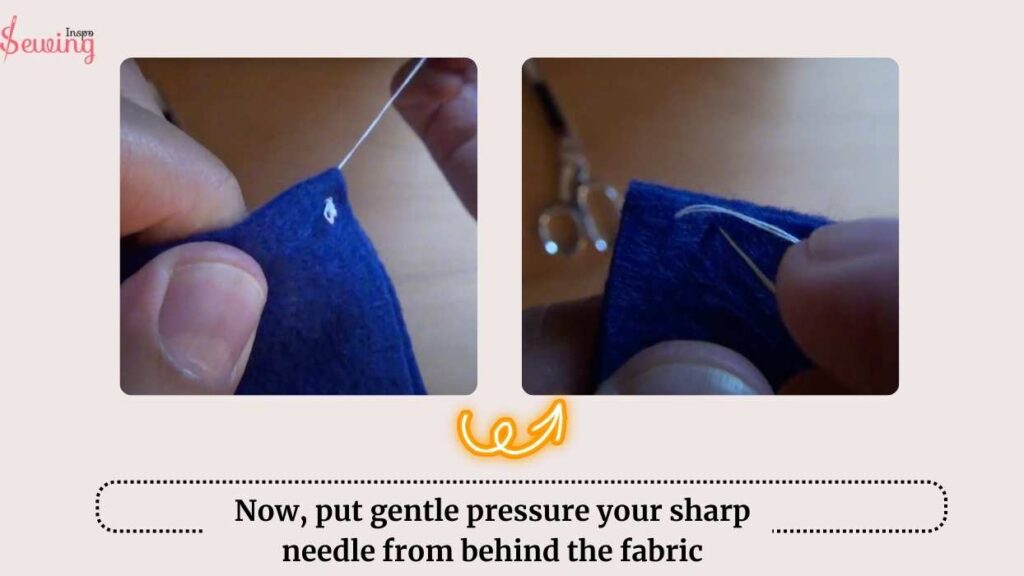
Push the needle up through the fabric and keep pulling until the knot catches on the back.
The needle should be at 90 degree angle to create the perfect invisible stitch. That will create a decorative border and adaptable stitches.

Pull the thread slowly to avoid tangles. If you pull too fast, it might knot up. Also, be careful not to pull too tightly when you feel the knot catch, or you might accidentally pull it through the fabric. Since isn’t like a tent stitch you need to be specific about it.
Make The First Straight Stitch
Make the first straight stitch. Push the needle down through the layers of fabric to make a stitch about 1/4 inch (0.64 cm) larger stitches.
You can adjust the strong stitch length and gaps between stitches to whatever works best for your project. Place the needle on the fabric surface, push it through to the back, and pull the thread all the way through. Shorter stitches are strong and secure, while longer stitches are quicker but less sturdy.
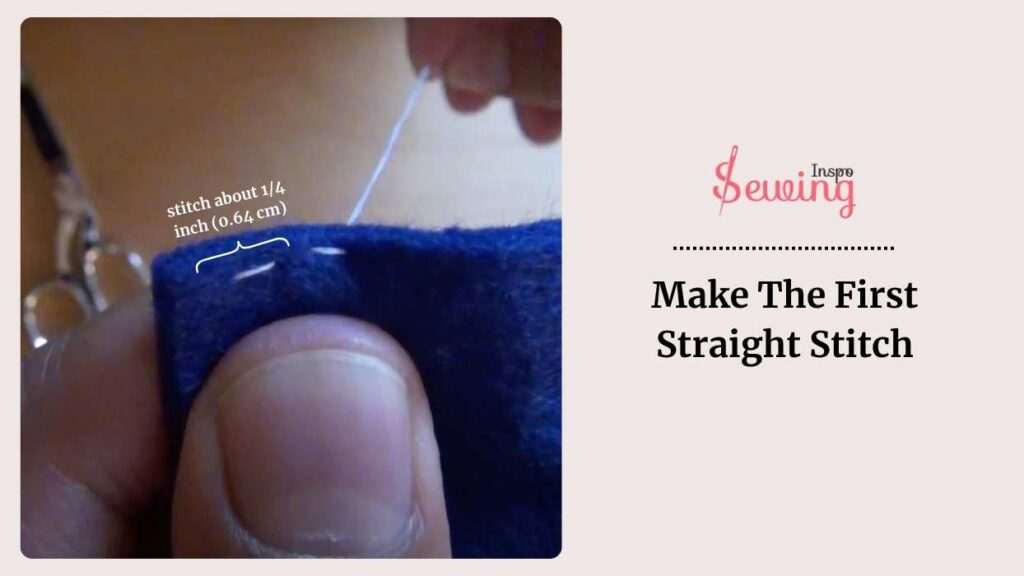
Long stitches are good for joining edges or creating a noticeable dashed line. The stitch length is totally up to you and varies on stitching type, such as:
However, The distance between stitches can vary, such as:
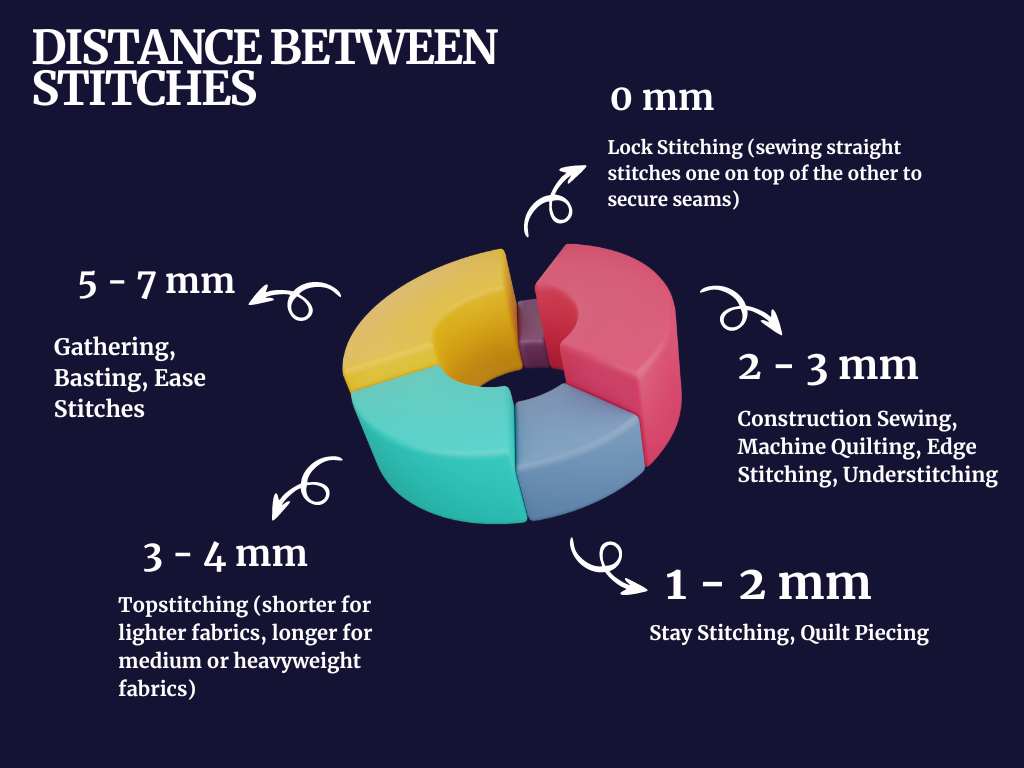
-For practice, try making 1/4 inch straight stitches.

Continue And Secure Straight Stitch/How To End A Straight Stitch
Continue straight stitch according to a specific length. Once you are done, it is time to secure it for the perfect straight stitch hand sewing.
To secure a straight stitch, you can make a few small backstitches (also known as reverse stitches) at the end of your line by stitching backward over your last few stitches.
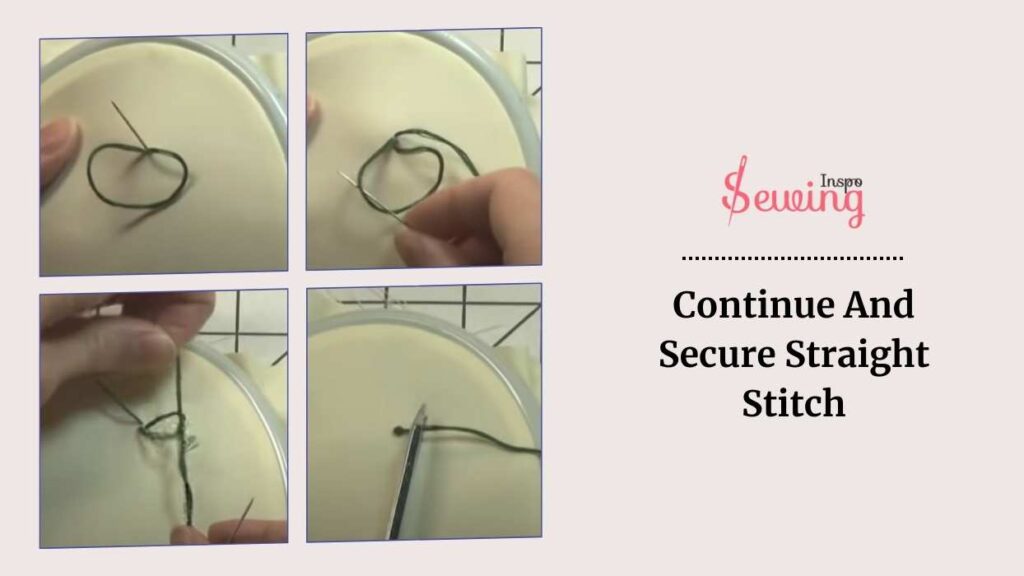
Or, you can tie a knot by bringing the needle to the back of the pieces of fabric, loose stitches, creating a small loop with the thread, and passing the needle through the loop. And make a parallel stitch. Pull it tight to form a knot, and repeat this a couple of times for extra security. Finally, trim the excess thread close to the knot to keep everything neat. Make an excellent hand stitch.
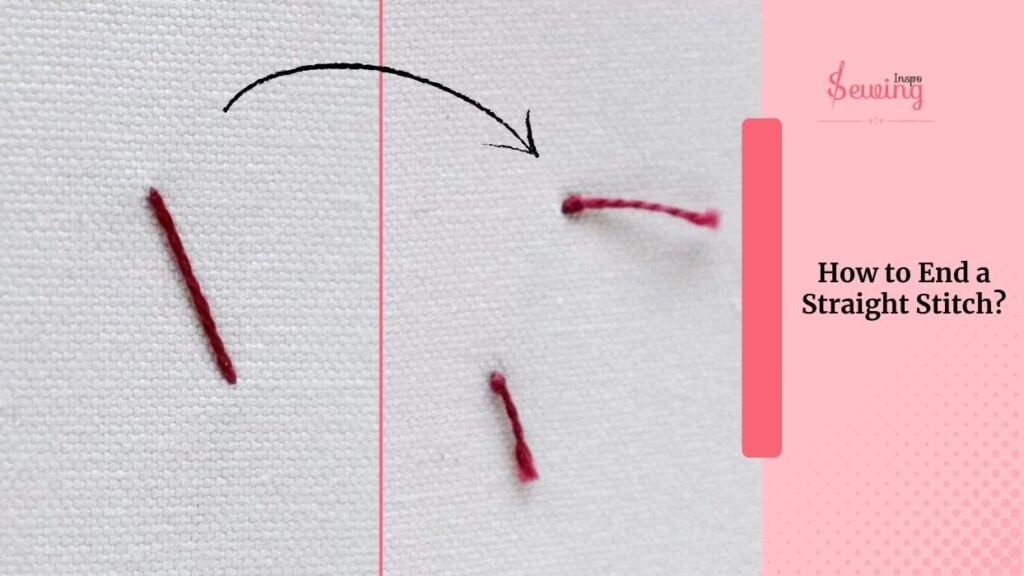
So, yes that’s how to hand sew a straight line.
Video Tutorial Sewing A Straight Stitch By Hand
straight stitch hand sewing is easy, but if you are a newbie, then you may find it tricky. So watch this video.
Straight Stitch Embroidery Tutorial
And if you wanna learn more about stitching like this then read out our blanket stitch step by step with pictures.
How To Sewing A Straight Line By Hand?
To sew a straight line by hand you need to follow 7 steps:
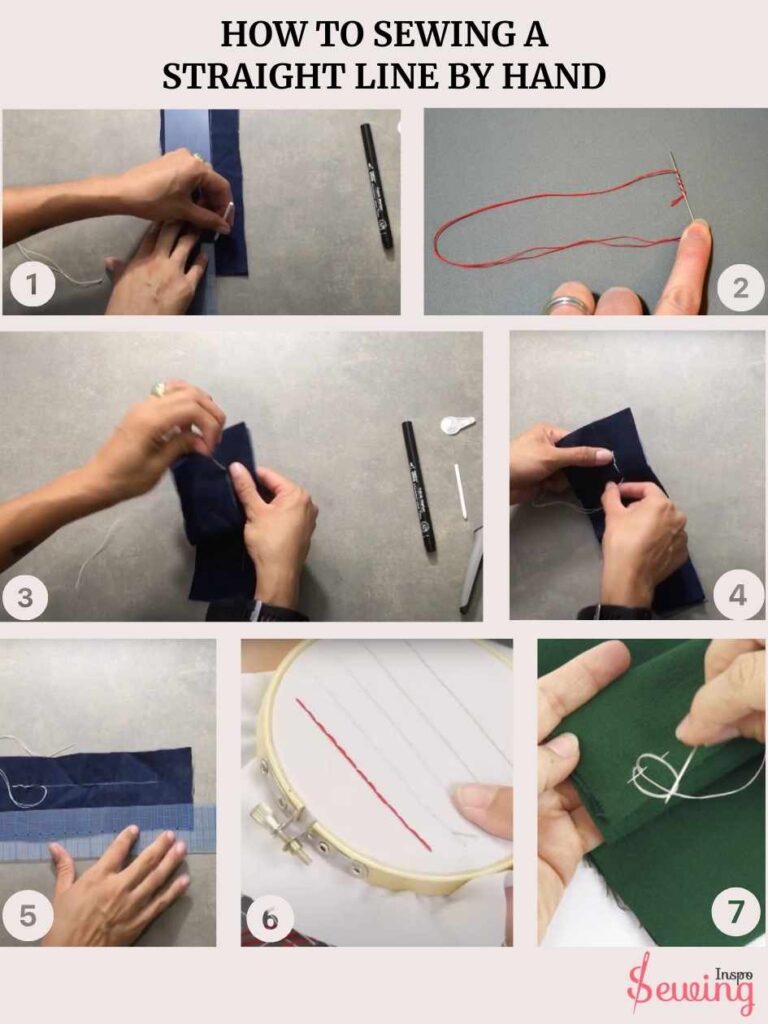
- Prepare the fabric and mark a straight line where you want to sew using fabric chalk or a pencil.
- Thread your needle and tie a knot at the end.
- Start sewing from the underside of the fabric, pushing the needle up through the fabric at the beginning of the marked line.
- Keep each stitch the same length and spaced evenly to maintain a straight line.
- Use a ruler or guide to help keep the stitches aligned.
- Continue sewing until you reach the end of the line.
- Tie off the thread securely on the underside of the fabric.
How To Do A Straight Stitch In Cross Stitch?
In cross-stitch, a straight stitch is typically used for the foundation or for outlining certain designs. To do a straight stitch in cross-stitch:

- Thread the Needle: Start by threading your needle with embroidery floss and tying a knot at the end.
- Pick Your Starting Point: Bring the needle up from the back of the fabric where you want your straight stitch to start. This is kinda like sewing pick stitch.
- Make the Stitch: Move the needle diagonally across the fabric to the point where you want the stitch to end, then pull the thread through to the back.
- Return to Start: To complete the straight stitch, bring the needle back up at the starting point and go back to the endpoint again to create a straight line.
- Repeat: Continue making straight stitches along the desired path.
This creates a neat, continuous line of straight stitches, often used to outline or fill areas of your cross-stitch project. It’s like doing an overcasting stitch design above straight stitch.
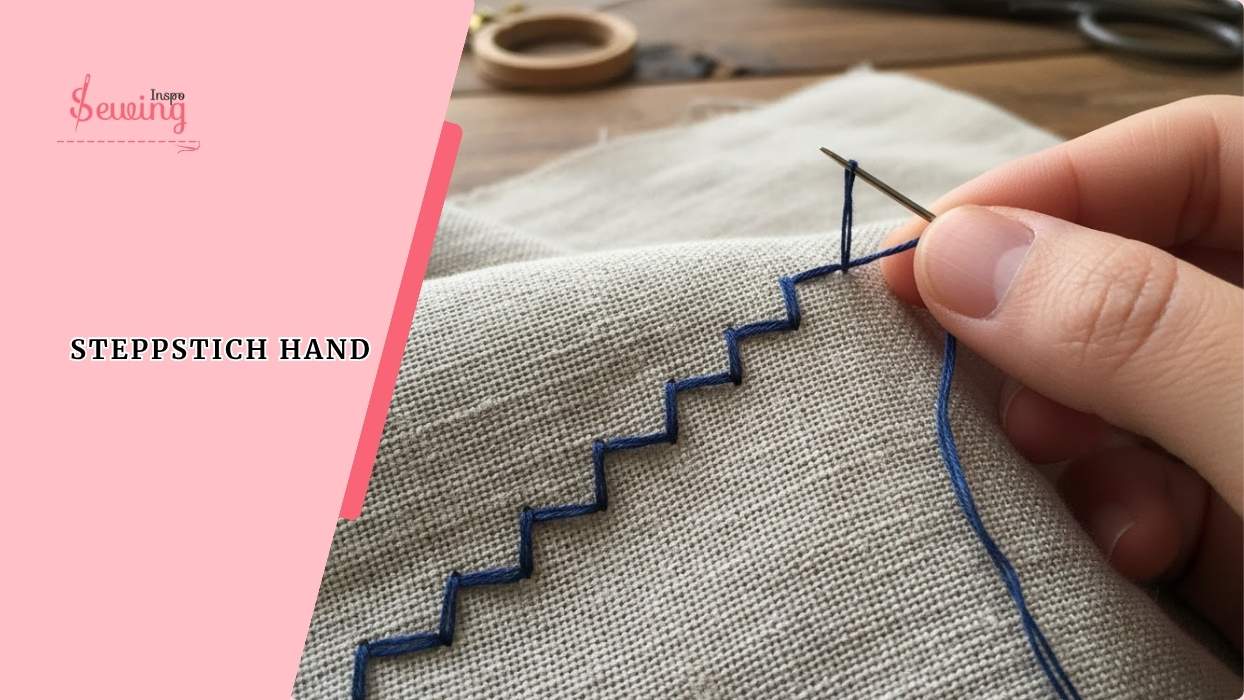
How To Sew Herringbone Stitch By Hand?
To sew a herringbone stitch by hand, bring the needle up through the fabric at the starting point. Move the needle to the right and slightly down, inserting it back into the fabric. Pull through, then bring the needle up diagonally to the left of the initial stitch, forming an “X” shape.
Continue by repeating this process, making sure each new stitch crosses the previous one at a consistent angle, creating a zigzag pattern. Maintain even spacing and tension for a neat finish.
Straight Stitch Hand Embroidery
Now that you know how to do a straight stitch by hand.
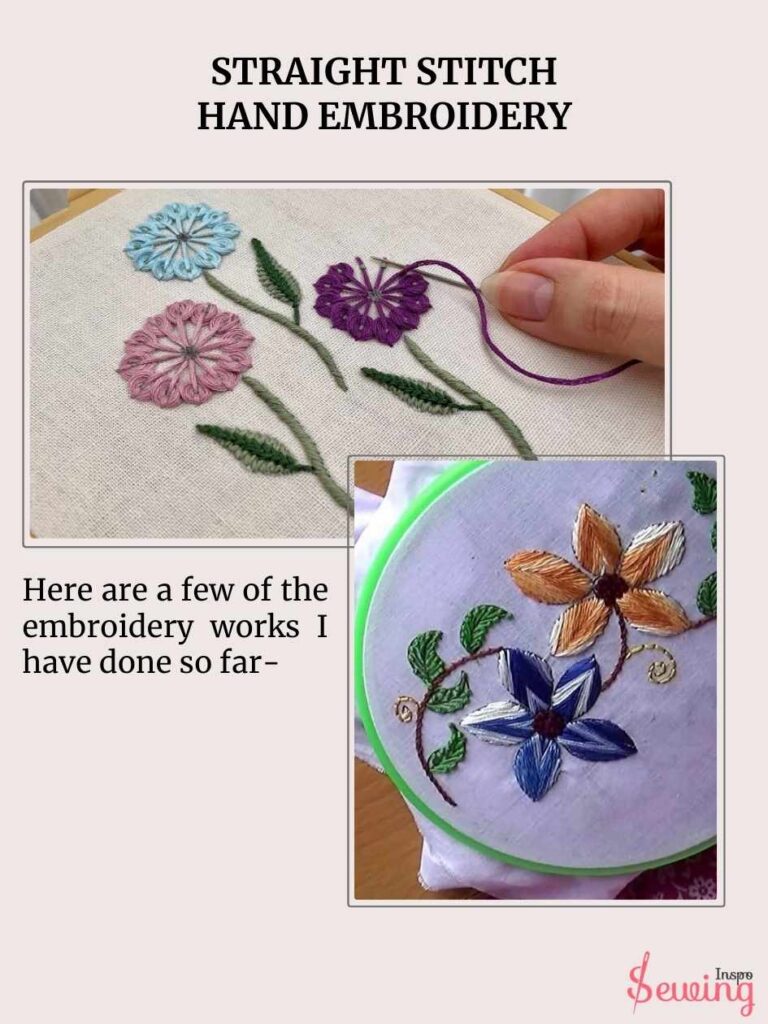
Here are a few of the embroidery works I have done so far-
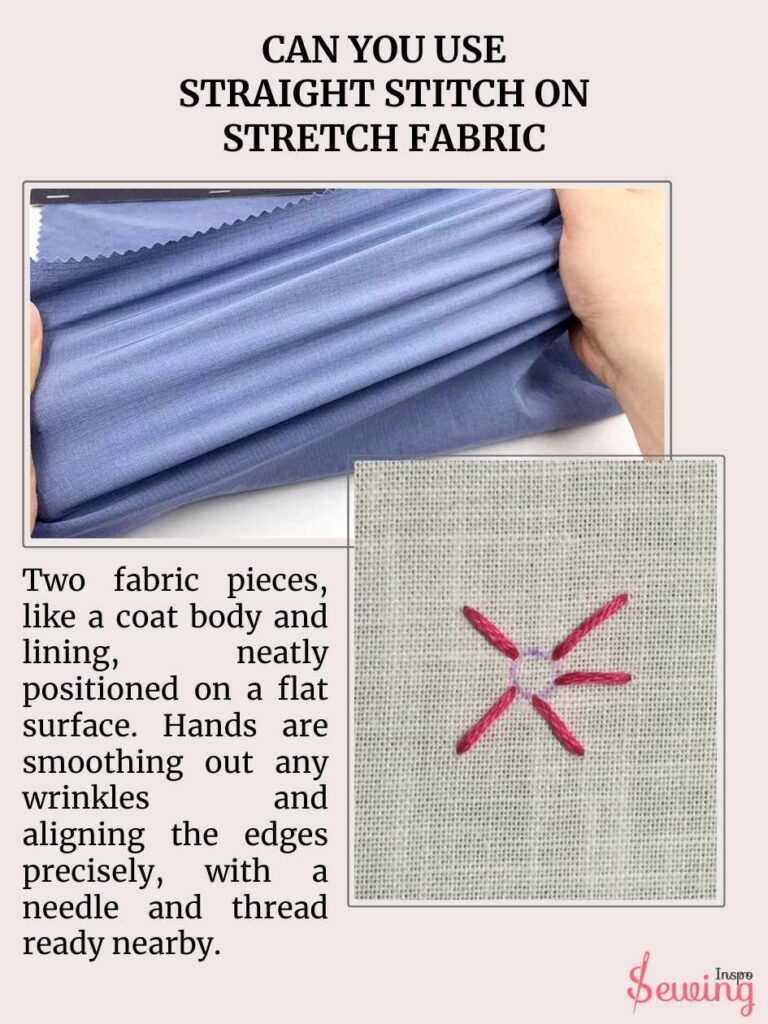
Can You Use Straight Stitch On Stretch Fabric?
No, A straight stitch doesn’t have the flexibility to stretch with the fabric, which can lead to the stitching breaking or popping when the fabric is stretched.
For better results on stretch fabrics, it’s recommended to use a zigzag stitch, stretch stitch, or a knit stitch, as these allow the fabric to stretch without damaging the seam.
Frequently Asked Questions (FAQ’s)
What Is A Straight Stitch Used For?
Straight stitches are commonly used for various sewing tasks such as seam construction, topstitching, quilting, and exact stitches.
How Do I Adjust The Stitch Length For A Straight Stitch?
To adjust the length of the straight stitch. Consult your sewing machine manual for specific instructions on how to change the stitch length.
How Do I Prevent My Straight Stitch From Puckering The Fabric?
To prevent puckering, ensure that you’re using the appropriate needle and thread for the fabric pieces weight and that your tension settings are adjusted correctly. Additionally, practice sewing with even tension and avoid pulling or stretching the edges of the fabric as you sew.
Sum Up
Now I know how to hand sew a straight stitch, and I did it successfully! I hope our guide also helps you straighten and relieve your frustration. Want more update like this? Then stay with sewing inspo.



Leave a Reply