
I was smocking the other day and i wanted to do something new. That’s when one of my fellow stitchers suggested me to use wave stitch.
I thought, “Hmm, this could add such a fun, flowing texture to my projects!”
It’s one of those stitches that looks fancy but is actually super satisfying to create. And no it’s not only for crochet projects. You can also do it in sewing too. This is perfect for borders, hems, or even adding a subtle decorative touch to plain fabric.
It sounds complicated but it isn’t. You just need to use the right technique to do.
Wave Pattern
To do a wave stitch pattern, guide your fabric steadily under the needle while sewing a series of gentle, flowing curves that create a continuous wave effect.
As I started stitching, I realized how versatile it is. It can be bold and dramatic or soft and delicate, depending on your thread and fabric choice.
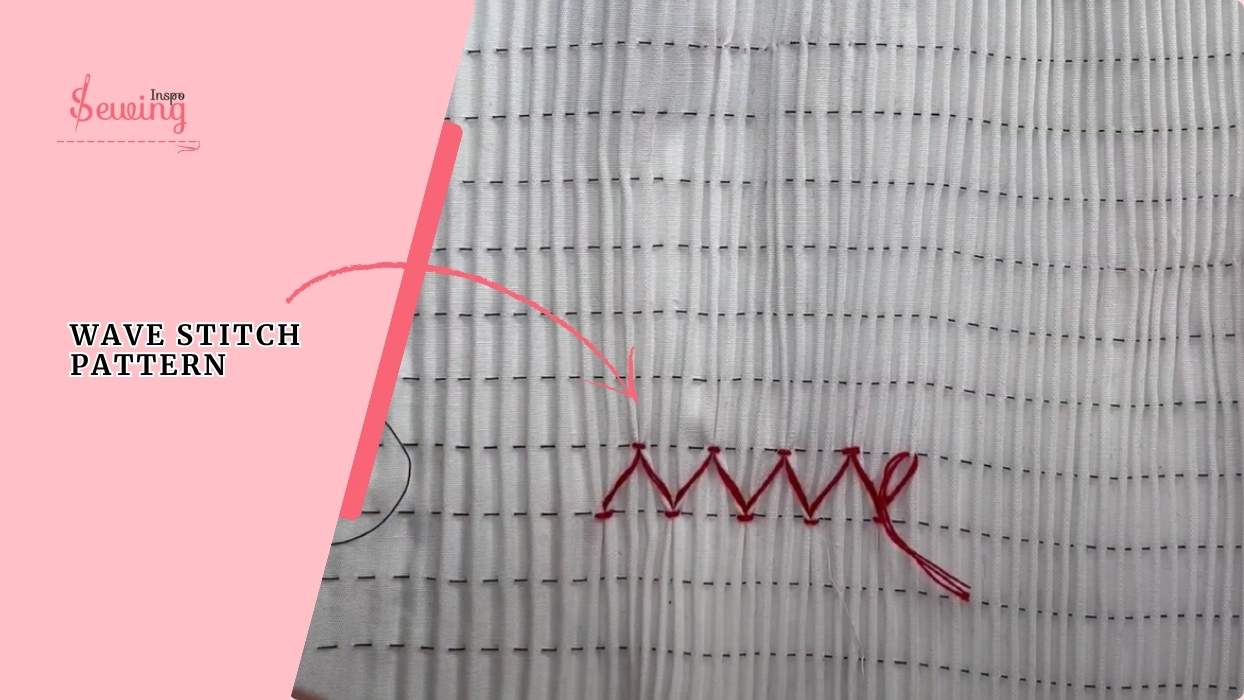
Table of Contents
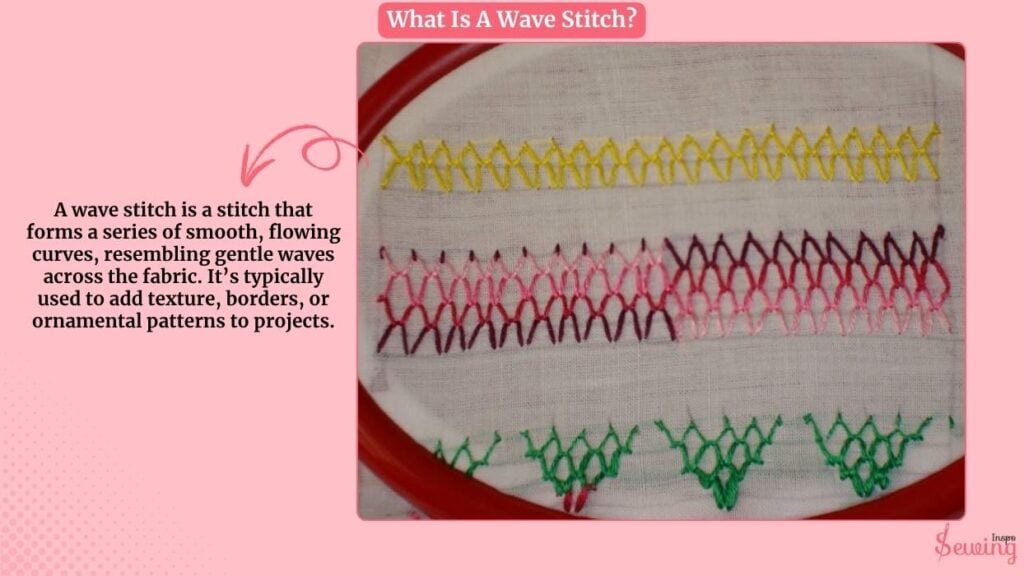
What Is A Wave Stitch?
A wave stitch is a stitch that forms a series of smooth, flowing curves, resembling gentle waves across the fabric. It’s typically used to add texture, borders, or ornamental patterns to projects.
Unlike straight or zigzag stitches, the wave stitch creates a rhythmic, undulating pattern. It gives your fabric a sense of movement.
It can be done by hand or with a sewing machine, and the look can vary depending on thread thickness, stitch length, and spacing.
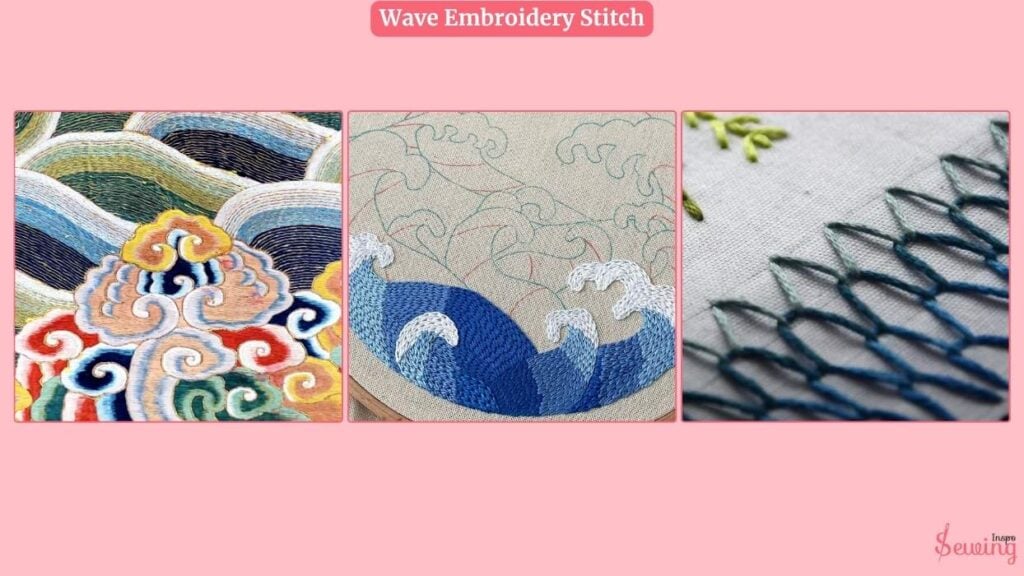
Wave Embroidery Stitch
If you never heard about wave stitch before and it’s natural to feel lost. So here is some example-
How To Make A Wave Stitch Pattern In Sewing?
To do wave stitch pattern follow the bellow steps-

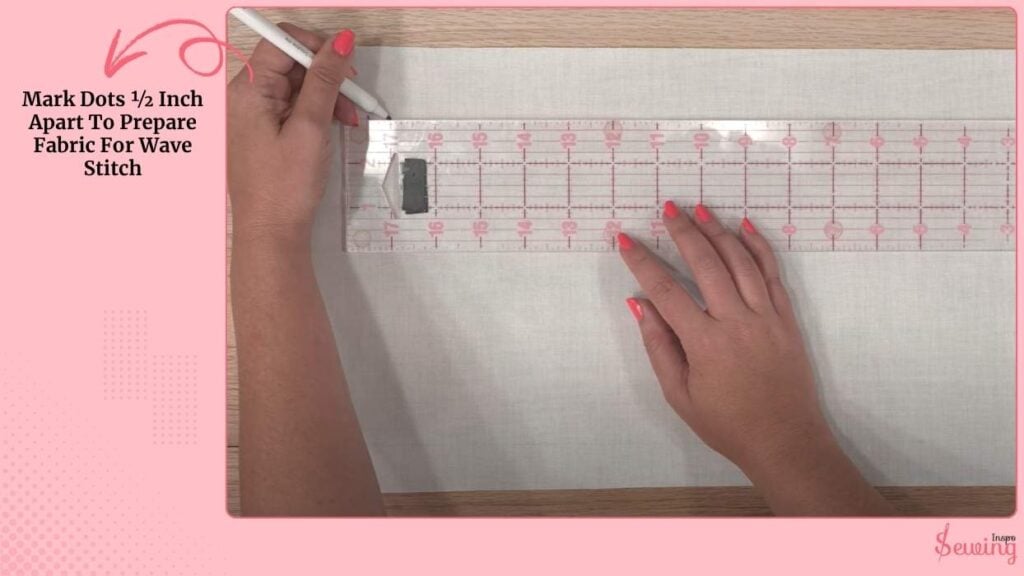
Mark Dots ½ Inch Apart To Prepare Fabric For Wave Stitch
First, choose your fabric. Light to medium-weight fabrics work best for smocking and wave stitches. Knit fabrics stretch nicely, but woven fabrics hold folds better. This fabric is even best for purse stitching.
Grab a ruler and a fabric marker. I usually mark dots ½ an inch apart horizontally and vertically, creating a grid.
You can adjust spacing depending on how tight or loose you want your waves like chevron stitch.
To make it easier to follow rows, I use two colors of markers for alternating rows. This helps prevent confusion when stitching multiple layers of folds.
Make sure all your marks are even and straight, because consistency here will affect how uniform your wave stitches look.
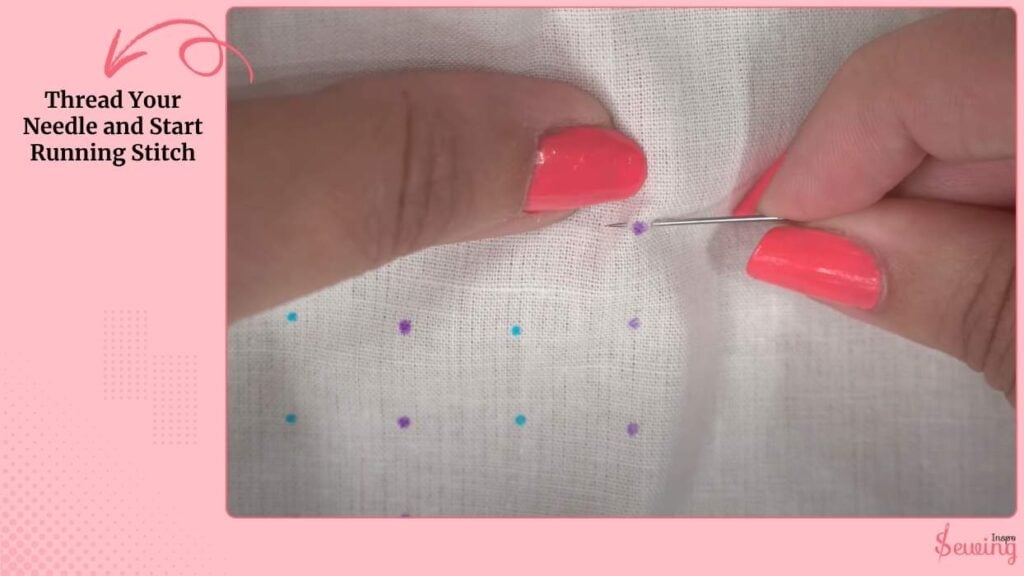
Thread Your Needle and Start Running Stitch
Thread a regular sewing thread onto a sharp needle and tie a large knot at the end. I do it for speed patterns too.
Begin on the right side of the fabric. Insert the needle just before the first dot, bringing it up and over the dot, and then back down just past it.
Keep a consistent stitch length roughly the same as the dot spacing. It will make the folds even.
Repeat across the first row of dots.
Don’t worry about tying knots at the ends yet. Leave a loose thread tail so you can adjust the gathers later.
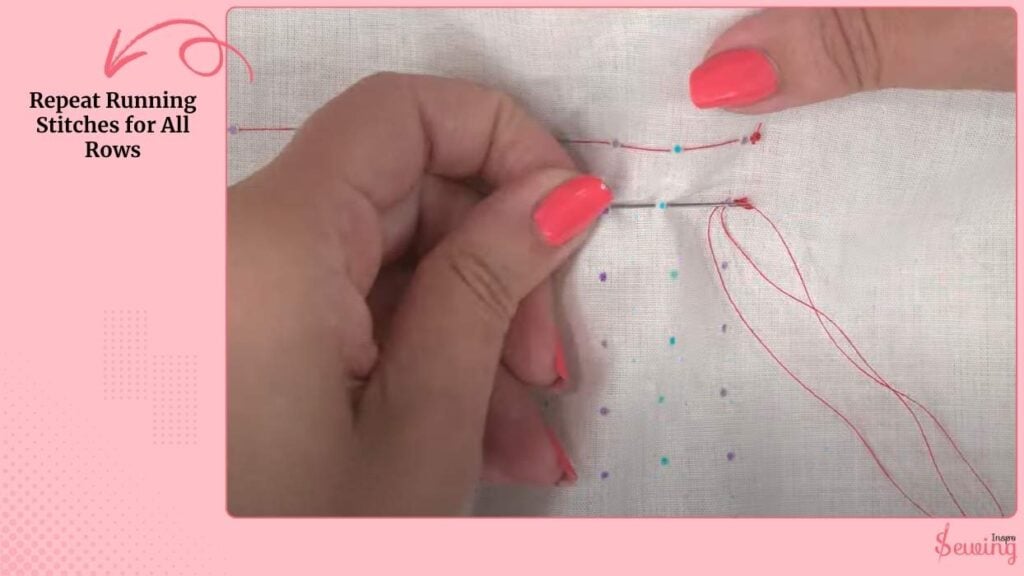
Repeat Running Stitches for All Rows
Now, we create multiple rows of folds. Start each row at the same side so your fabric gathers evenly.
Run the needle under each dot in the row, just like the first row.
After threading all rows, gently pull the thread ends to gather the fabric. You’ll see the fabric form small folds with dots in the center of each fold.
Don’t pull too tight, the folds need to have some room for the wave stitch embroidery. Tie a loose knot at the end to hold the folds in place. I use this trick for taddy making too.
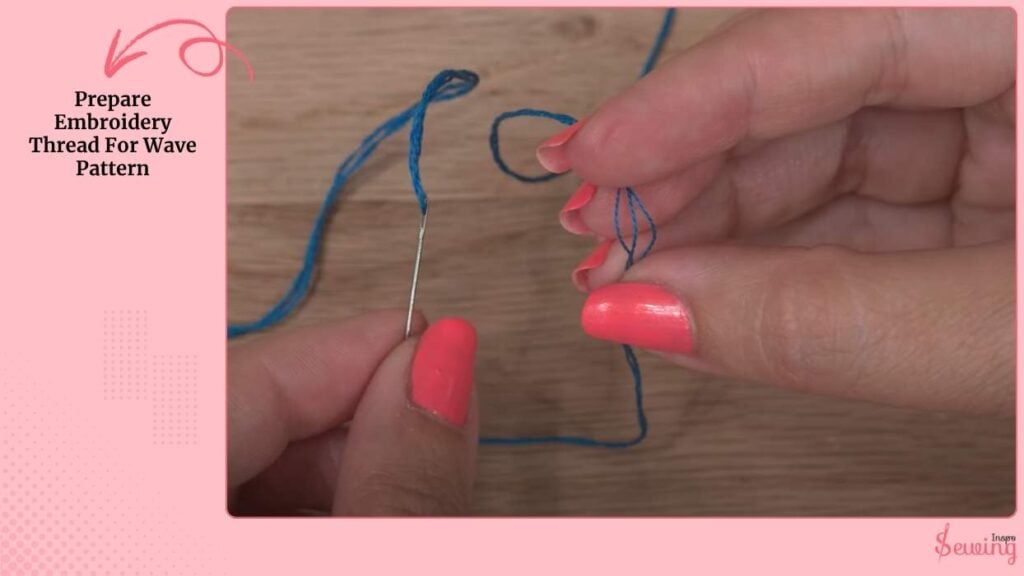
Prepare Embroidery Thread For Wave Pattern
Use three strands of embroidery floss for a bold look. Tie a knot at the end of the thread.
Decide the rows you’ll stitch between. For example, I usually stitch between the first and second rows of folds.
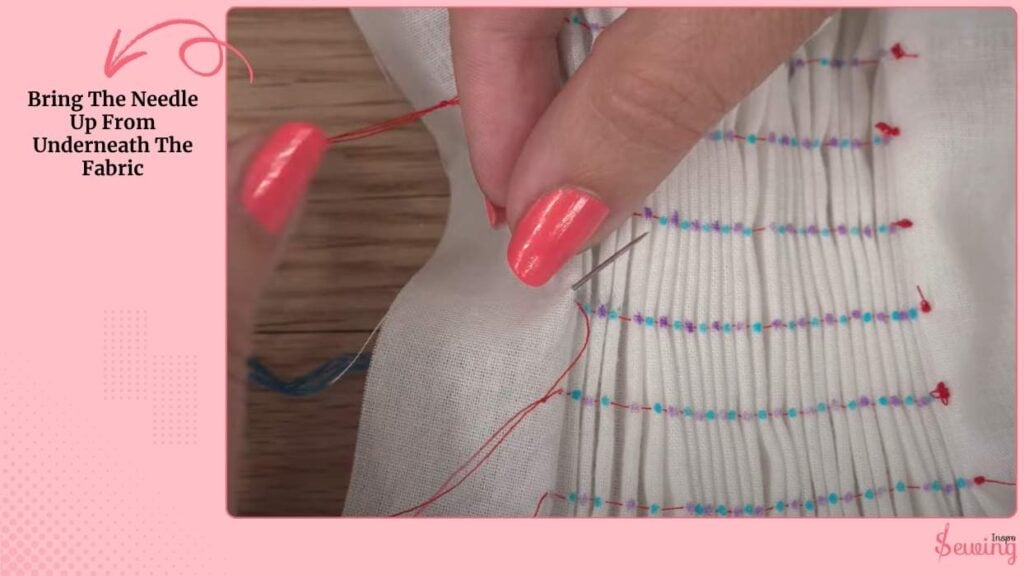
Bring The Needle Up From Underneath The Fabric
Bring the needle up from underneath the fabric and exit just to the left of the first fold. This hides the starting knot.
Always stitch from right to left along the fold.
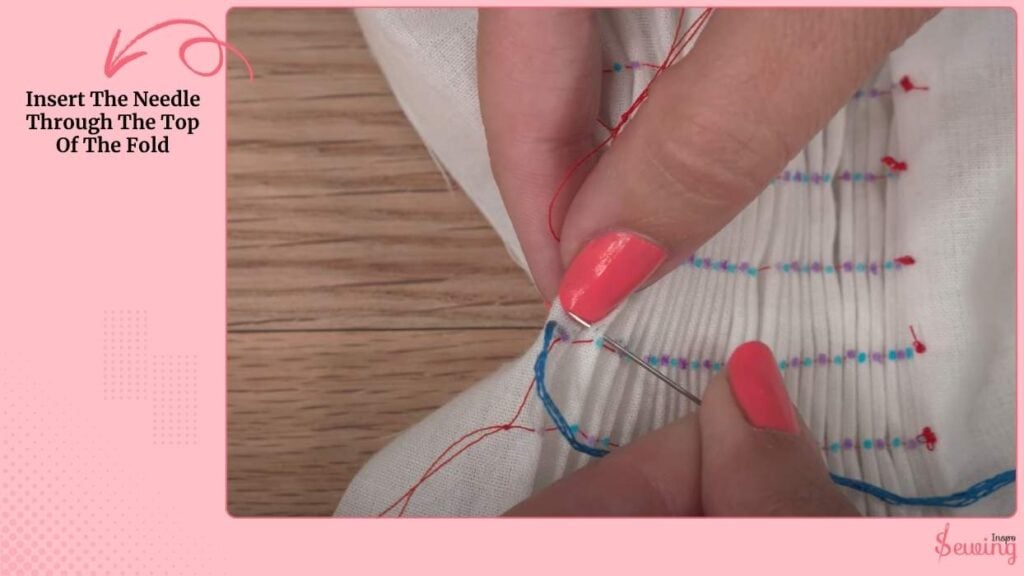
Insert The Needle Through The Top Of The Fold
Insert the needle through the top of the fold, making sure the thread sits outside the fold, while the needle goes inside between folds.
Attach the fold to the next fold with a single stitch.
Pull the thread gently so it connects the folds without puckering the fabric.
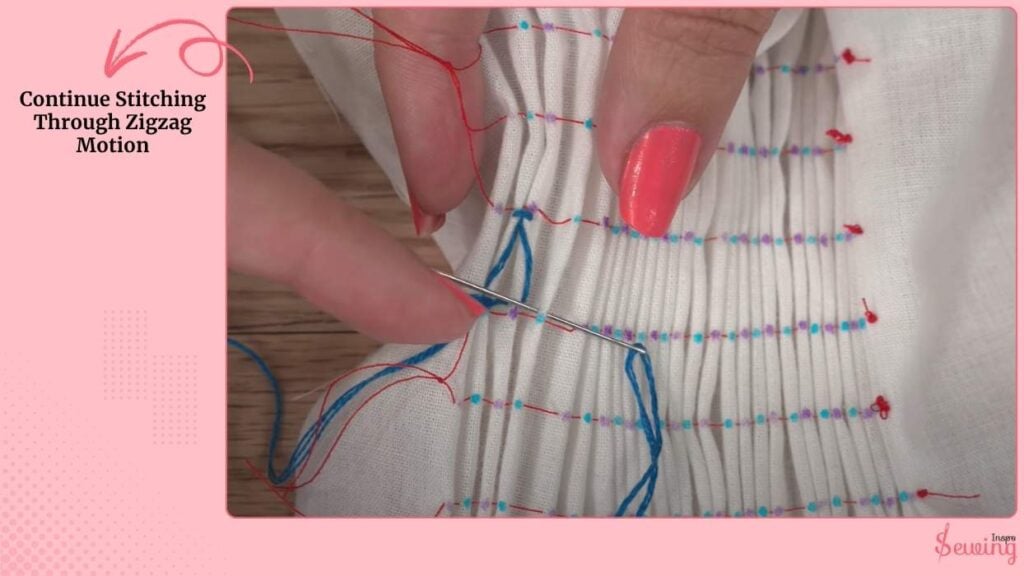
Continue Stitching Through Zigzag Motion
Wave stitch follows a zigzag motion, connecting folds row by row. Move up or down within the same color row before switching colors.
Switch colors only when you’re attaching one fold to another. This keeps your stitch pattern clear like diamond pattern.
Ensure that the needle always stays inside the folds, and the thread remains on the outside to create neat, visible waves.
Work slowly around curves to maintain even tension and smooth lines.
Insert Needle Through Wrong Side Hide A Knot
Once you’ve reached the end of your panel. Insert the needle through the wrong side of the fabric to hide your finishing knot.
Make a small loop with your thread and pass the needle through it to create a secure knot.
Trim excess thread.
That’s it you got your wave stitch pattern.

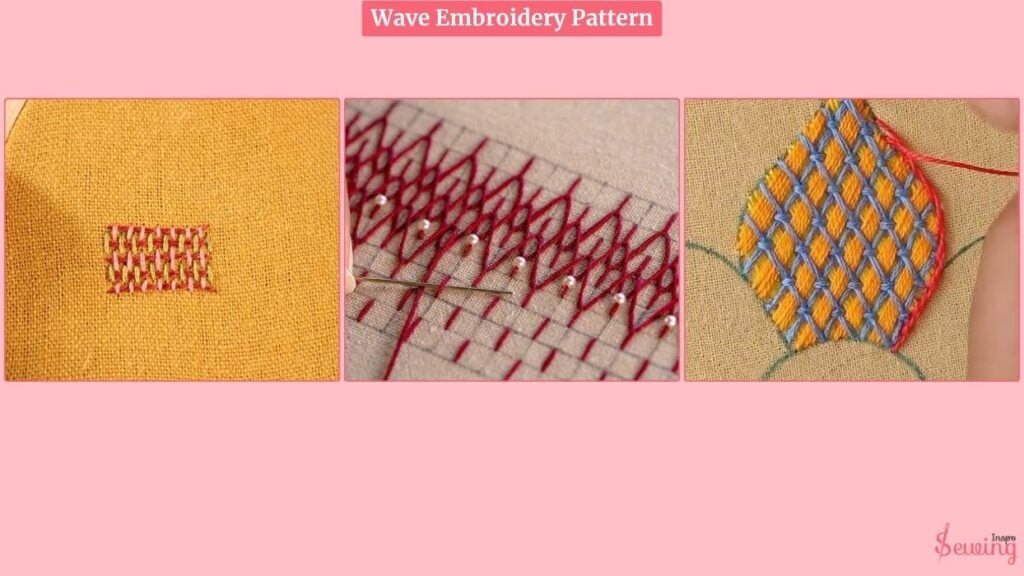
Wave Embroidery Pattern
Here is how it looks after you finish the patterns.
If you are confused about any part then watch this video
How to Sew a Wave Stitch on Smocked Fabric
Wave Stitch Pattern In Sewing Pdf
It’s normal if you feeling lost while doing the wave pattern for the 1st time. Insist of bragging your head use this pdf and do it.
Frequently Asked Questions (FAQ)
Can I do a wave stitch on any fabric?
Yes, but lightweight to medium-weight fabrics work best. Stretch fabrics need gentle handling to prevent puckering, while woven fabrics hold the folds nicely.
How far apart should I mark the dots?
A common spacing is half an inch between dots and rows. You can adjust depending on how tight or loose you want your waves. The key is consistency.
Do I need special thread for wave stitch?
No, regular sewing thread works for the gathering stitches, but for the decorative wave stitch, embroidery floss adds a bold, textured effect.
Conclusion
Wave stitch pattern is a beautiful, textured stitch that turns simple fabric into a unique design element.
Once you get the hang of it, your hands will guide the folds effortlessly, and you’ll be able to add these elegant panels to clothing, accessories, or home décor.
It’s a delicate yet rewarding technique that elevates any sewing project.


Leave a Reply