
Hand sewing stretchy fabric can be intimidating at first. The problem is, stretchy material doesn’t behave like regular cotton.
It moves, it pulls, and if you use a normal straight stitch.The thread usually snaps the first time you stretch it. Not every kind of stitch handles it. I learned the hard way. You need stitches that actually move with the fabric instead of locking it down. There are some stretchy hand stitches like-
stretchy stitch
- Speced Backstitch
- Zigzag Stitch
- Catch Stitch
- Herringbone Hand Stitch
- Blanket Stitch
- Stretch Blind Hem Stitch
With these stitches in your toolkit, sewing stretchy fabric by hand stops being scary and actually becomes pretty fun. Let’s do it together to see how it actually works.
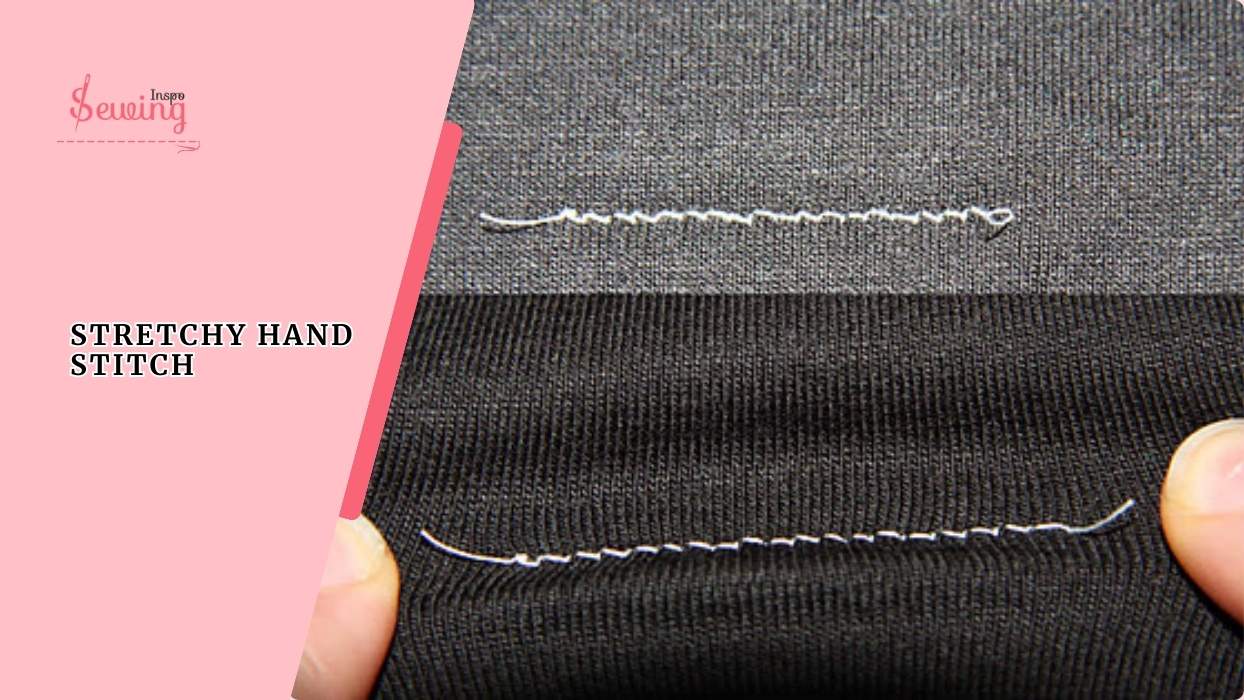
Table of Contents
What Is A Stretchy Hand Stitch?
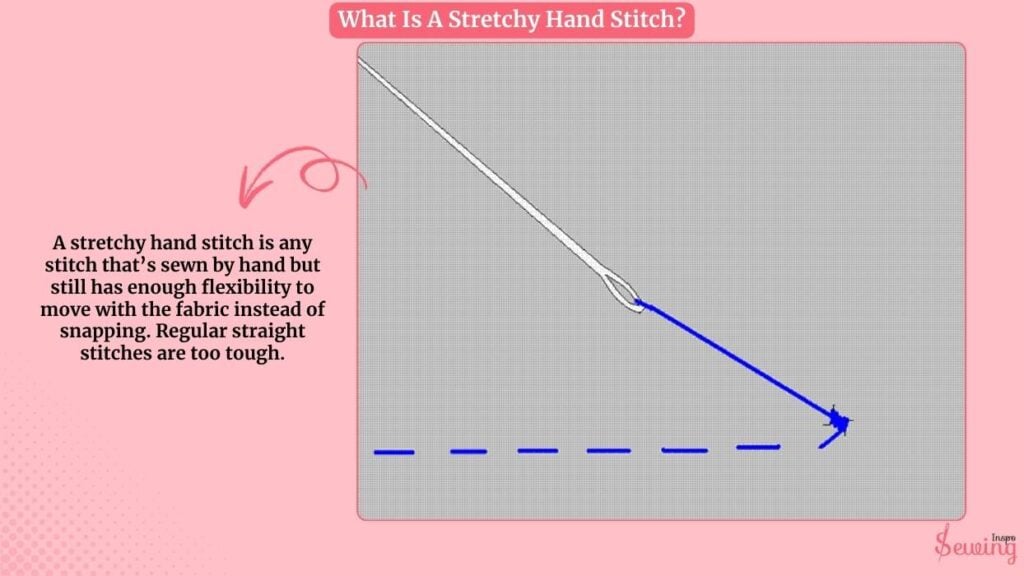
A stretchy hand stitch is any stitch that’s sewn by hand but still has enough flexibility to move with the fabric instead of snapping. Regular straight stitches are too tough.
Once the fabric stretches, the thread breaks. Stretchy stitches, on the other hand, are worked in patterns. That’s why it naturally gives the seam some “elasticity.”
Best Hand Stitch For Stretchy Fabric
The best hand stitch for stretchy fabric really depends on what you’re sewing. But overall, the herringbone stitch and the catch stitch are the most reliable.
Both use a crisscross, back-and-forth motion that gives the seam strength while still letting the fabric move. They’re especially great for hemming knits or reinforcing areas that get a lot of stretch.
But rather than that, you can also use,
- Speced Backstitch
- Zigzag Stitch
- Blanket Stitch
- Stretch Blind Hem Stitch
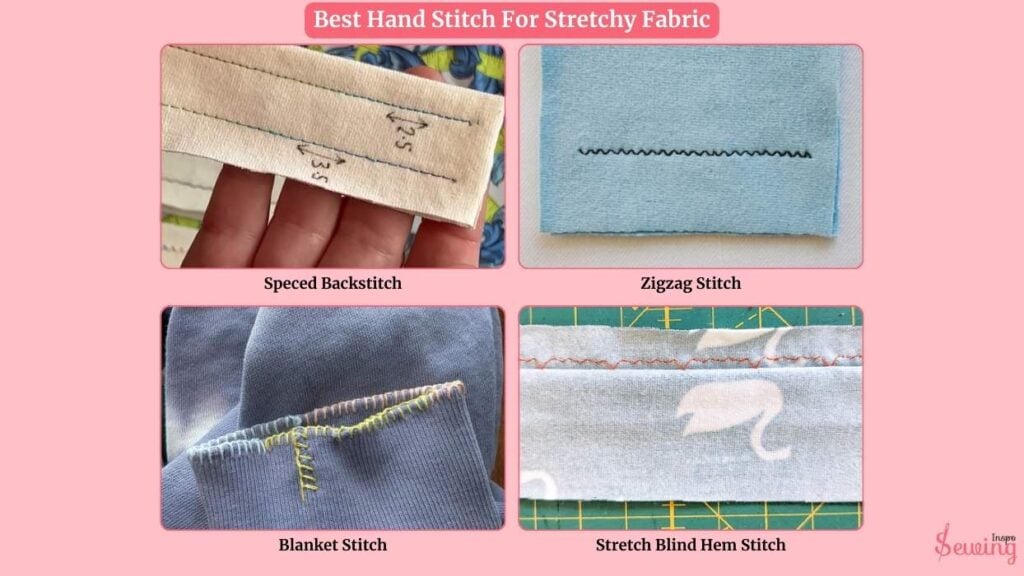
All those stitches can stitch your stretchy fabric perfectly.
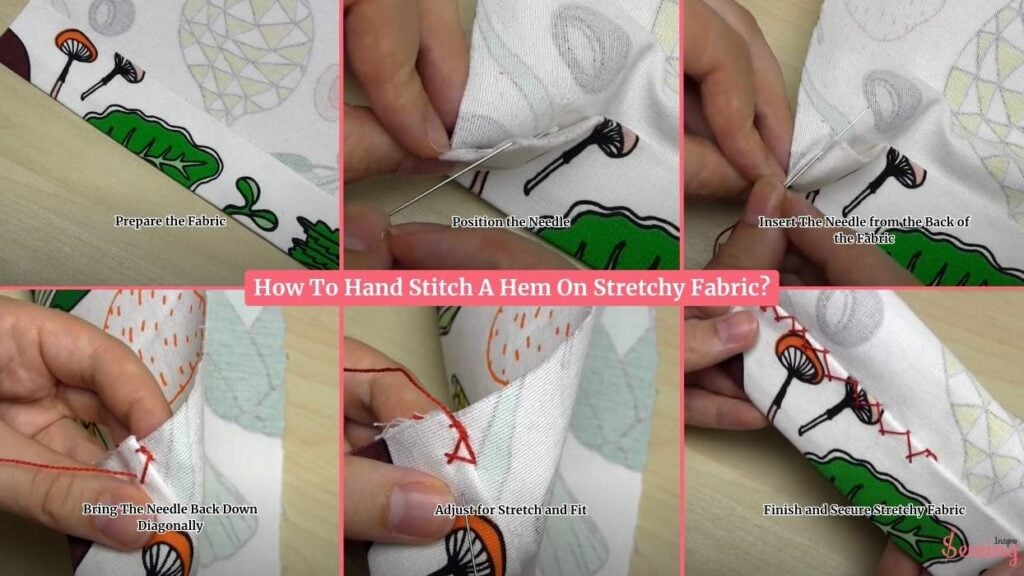
How To Hand Stitch A Hem On Stretchy Fabric?
Most people like to do a stretch stitch with a catch stitch. That’s the easy one. But I like to do Herringbone stitch. It is a bit tricky, but it is stronger than others.
To do a stretchy hand stitch, follow the steps below,
- Position the Needle
- Insert The Needle From the back
- Bring The Needle Back
- Adjust for Stretch fit
- Finish and Secure
Gather Sewing Kit For Stretchy Stitches
- Thread: Choose a thread that matches your fabric and is slightly stronger than usual. Polyester thread is great for stretch because it has some give.
- Needle: Use a sharp hand-sewing needle, about 1.5–2 inches long (size 7 or 8 embroidery/hand-sewing needle works well). A slightly longer needle lets you make angled stitches comfortably.
- Fabric: Stretchy fabric like jersey, knits, or lightweight activewear.
- Optional: Small fabric scissors, thimble, and a small hoop to keep fabric taut if needed.
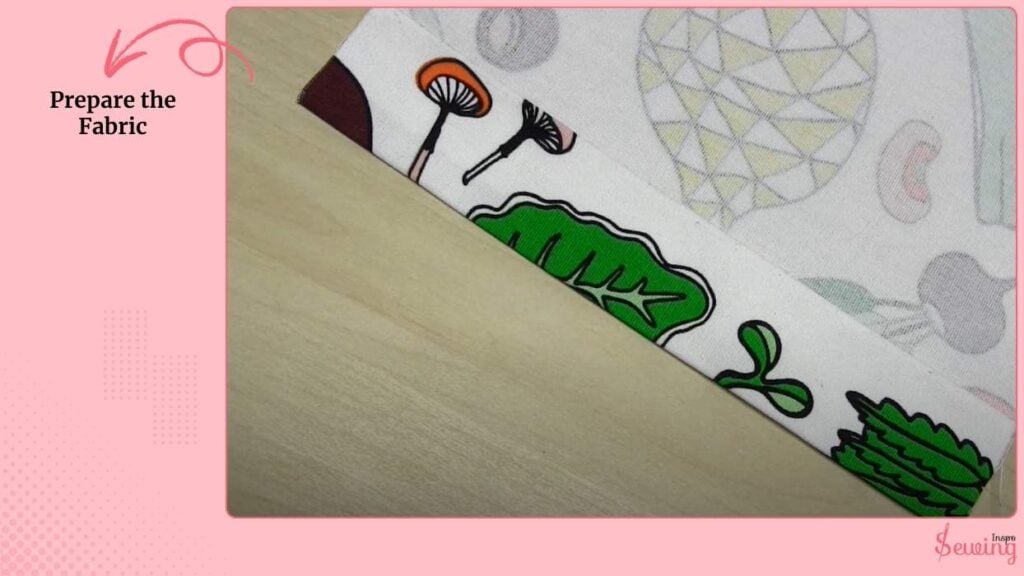
Prepare The Fabric
Trim any frayed edges or loose threads around the area, like doing it for sewing circle holes in fabric.
If the fabric is slippery or very thin, you can stabilize it with a tiny patch behind the hole or seam. Thread your needle and tie a small knot at the end—this will stay hidden at the back.
Tip: Always work on the inside/back side of the fabric first to hide knots and make the repair look seamless.
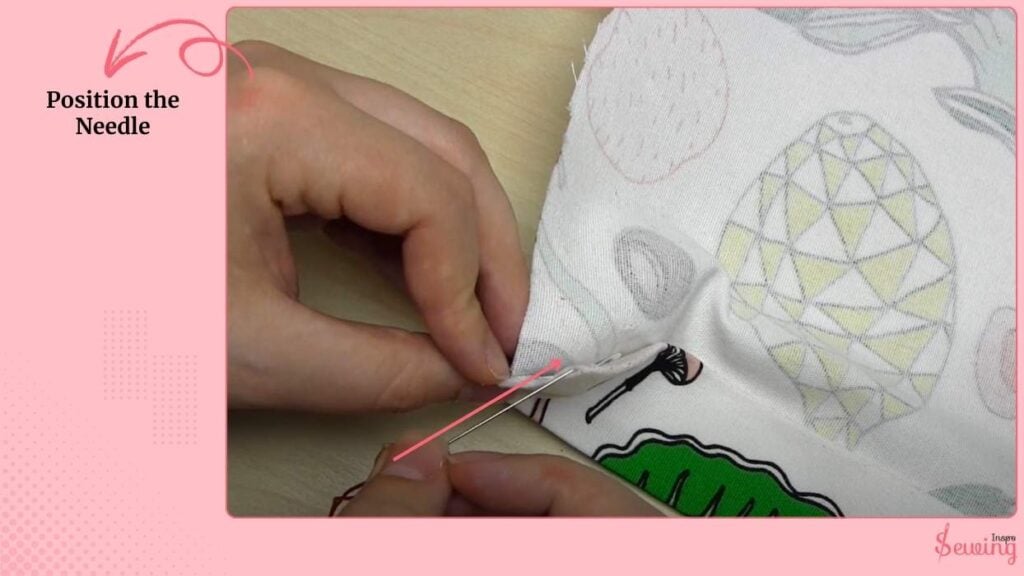
Position The Needle
The angle of your needle 70/10 size stretchy fabric needle. It affects how the stitches sit on stretchy fabric.Hold the needle at about a 45-degree angle to the fabric.
Point it slightly toward the opposite side of the seam or repair area. This helps the stitches lie flat and follow the fabric’s natural stretch.
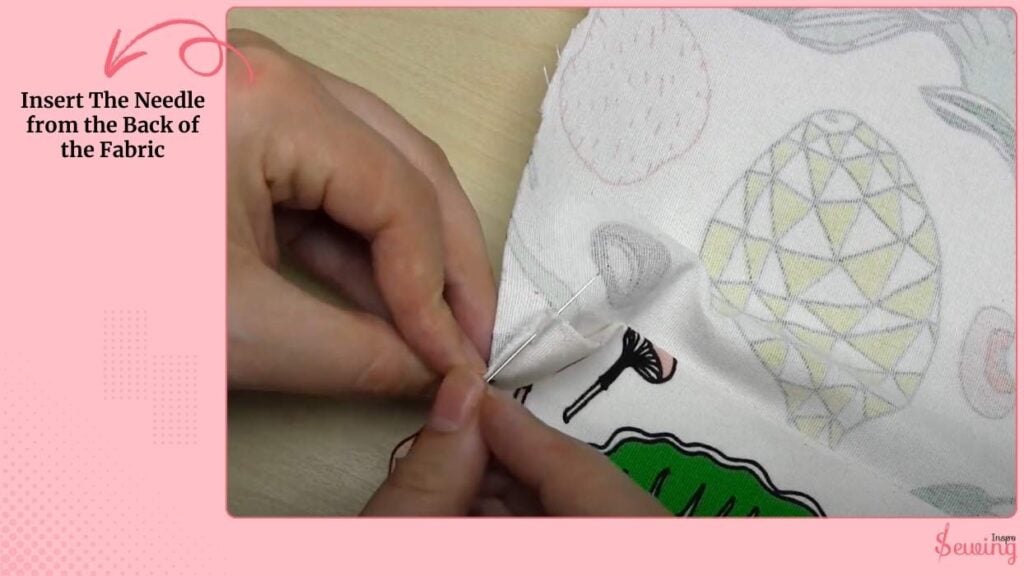
Insert The Needle From The Back Of The Fabric
Insert the needle from the back of the fabric so the knot stays hidden. Bring it up at your starting point.
Move diagonally across the area, leaving about 1/4 inch between stitches. Pull the thread gently. Tightening too much can pucker the fabric.
Pro Tip: Keep the tension even; too tight and the fabric won’t stretch, too loose and the stitch won’t hold.
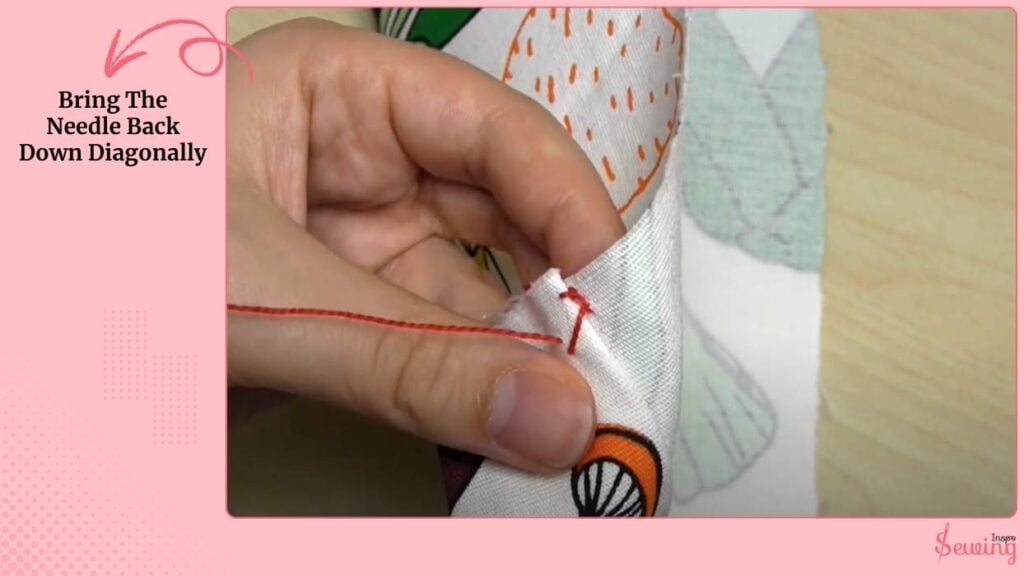
Bring The Needle Back Down Diagonally
Bring the needle back down diagonally on the opposite side of your first stitch, forming an “X” shape. Continue the back-and-forth motion along the area you’re sewing.
Maintain consistent spacing: 1/4 inch apart horizontally and vertically for small holes or hems. Repeat until the entire area is covered.
Adjust stitch size depending on the repair. Smaller stitches for tiny holes, slightly longer stitches for hems or larger areas.
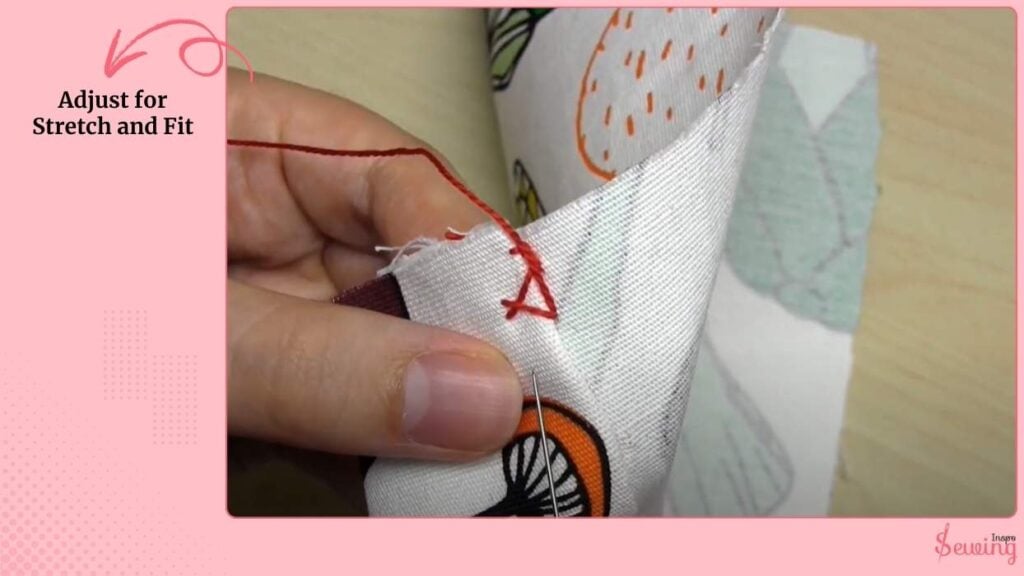
Adjust for Stretch and Fit
Keep the thread slightly loose so the fabric can stretch naturally. Maintain the 45-degree needle angle throughout.
Check as you go: lightly stretch the fabric to make sure the stitches move without popping.
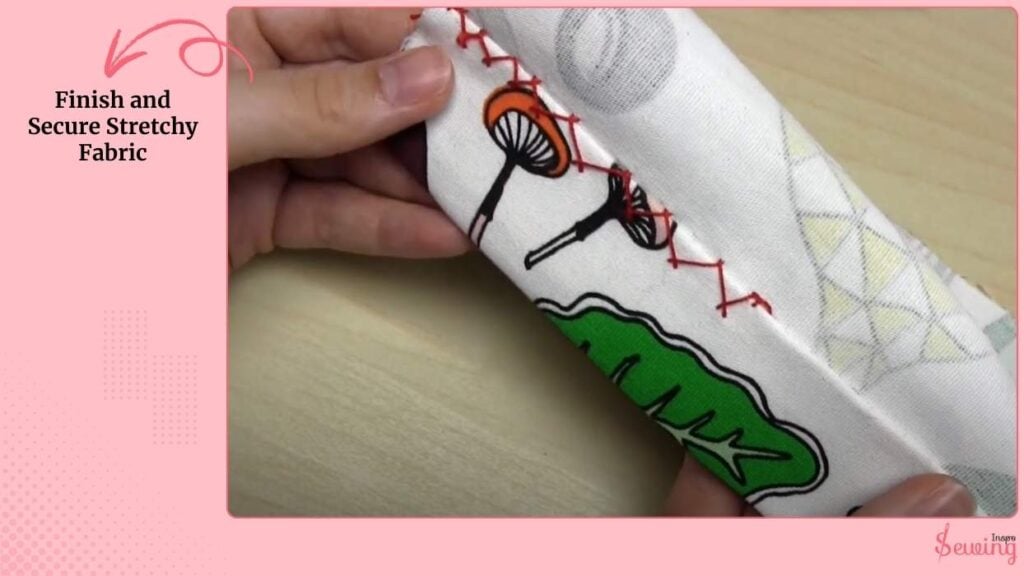
Finish and Secure Stretchy Fabric
When you reach the end, bring the needle to the back of the fabric. Tie a small knot and hide it between the fabric layers. Gently press the area with a warm iron (if fabric allows) to help stitches settle and lie flat.
The diagonal “X” shapes of the herringbone stitch give the seam flexibility. They follow the stretch of the fabric instead of resisting it, making this stitch perfect for hems, repairs, or reinforcement.
Other Kinds Of Stretchy Stitch
If you want something stronger, some are invisible, and some are just plain perfect for letting the fabric move without popping. Here’s a breakdown of the ones I use the most:
Spaced Backstitch
The spaced backstitch is a variation of the classic backstitch that gives the fabric room to stretch. It’s strong but flexible, making it great for seams in light knits or stretchy fabrics. This is one of the Best hand stitch for joining fabric.
How to do it:
- Thread your needle and tie a small knot.
- Start from the back of the fabric so the knot is hidden.
- Make a small stitch forward (~1/8–1/4 inch), then bring the needle back halfway along that stitch.
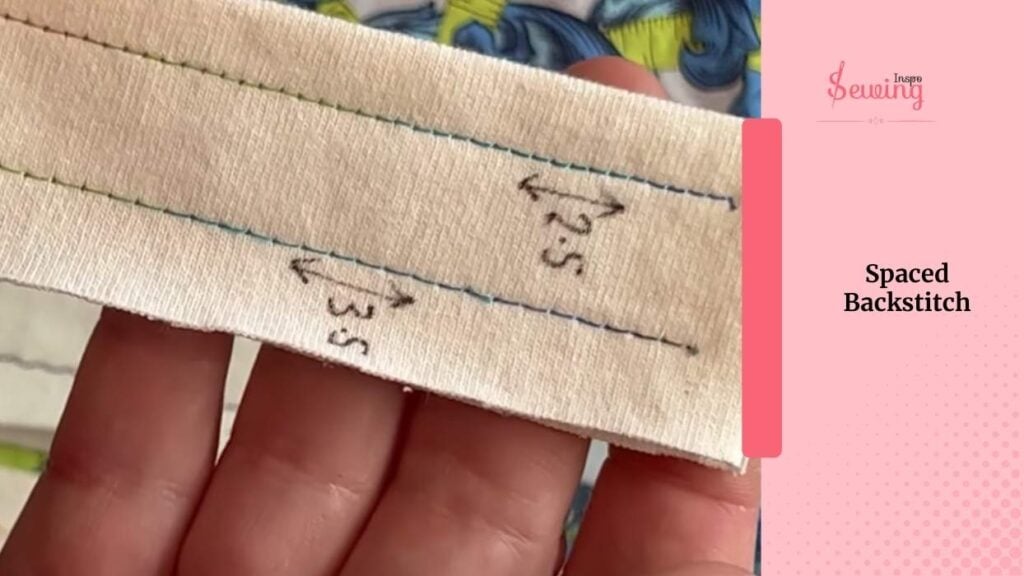
- Leave tiny gaps between stitches for extra stretch.
- Continue along the seam, keeping your tension gentle.
- Finish by tying a knot on the back and hiding it in the fabric folds.
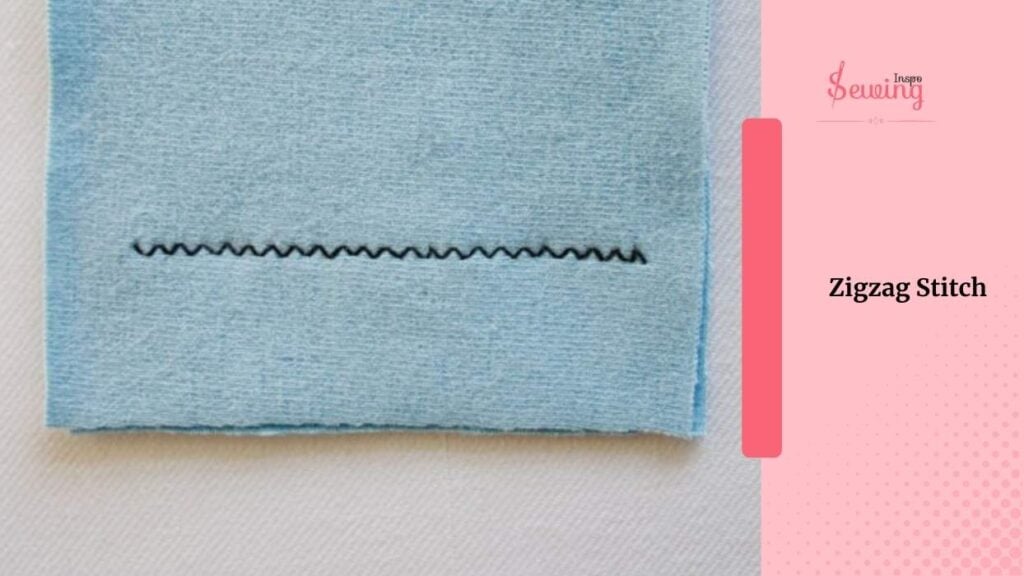
Zigzag Stitch
The hand-sewn zigzag stitch moves side to side, making it perfect for edges and seams that need to stretch with the fabric. It’s slightly more visible than the backstitch but very effective.
Steps:
- Start at the edge from the back.
- Bring the needle up and insert it diagonally to one side.
- Bring the needle up on the opposite side to form the zigzag.
- Repeat along the area, keeping stitches small for neatness or larger for reinforcement.
- Tie off the thread at the back when finished.
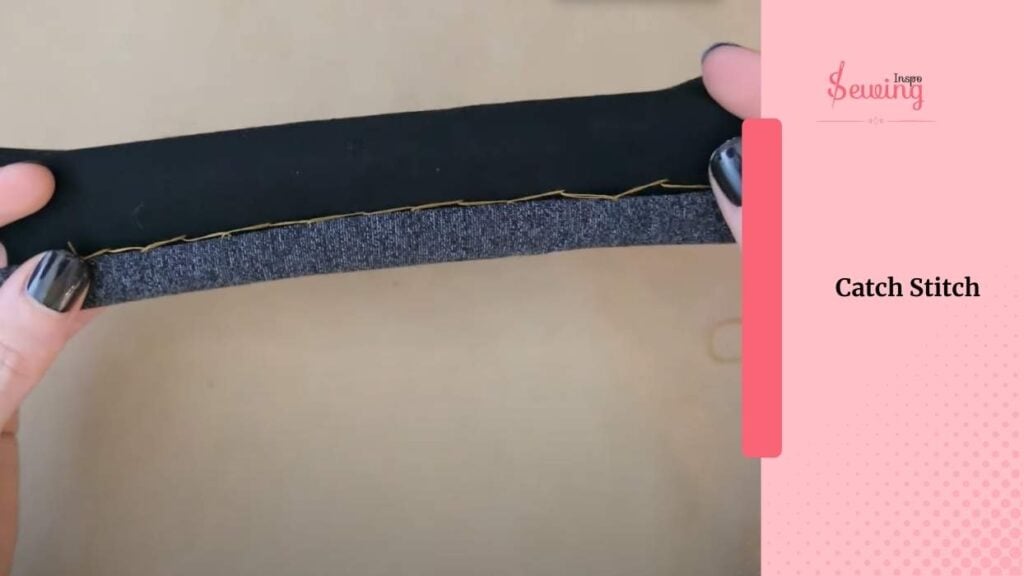
Catch Stitch
Catch stitch is a diagonal stitch that’s mostly invisible on the front, making it ideal for hems on stretchy garments. The angled stitches allow movement without breaking the seam.
How to do it:
- Start from the inside/back of the hem.
- Take a small diagonal stitch into the fold of the hem.
- Move the needle diagonally across to the main fabric, alternating sides.
- Keep stitches about 1/4 inch apart.
- Tie off and hide the knot inside the hem.
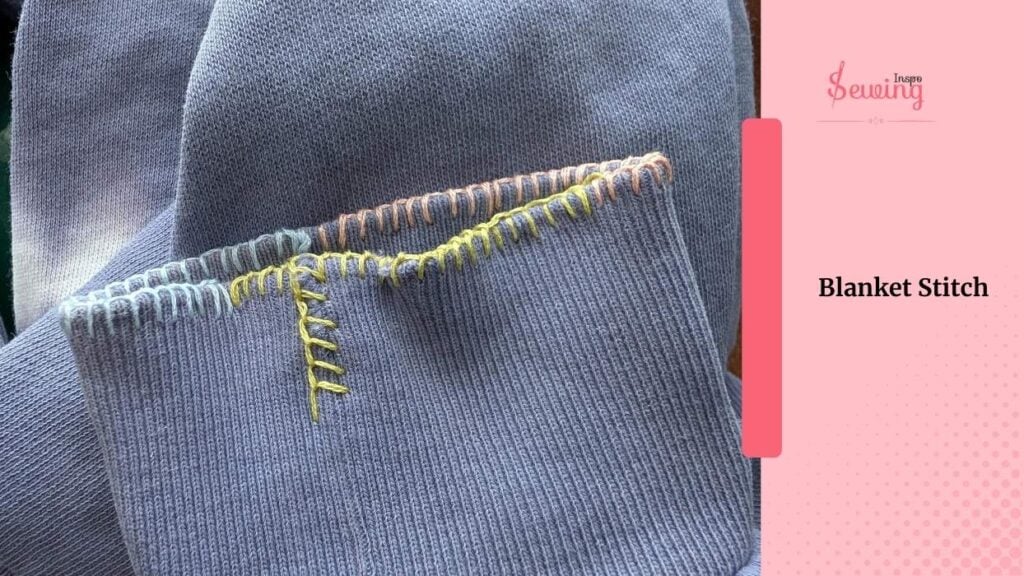
Blanket Stitch
The blanket stitch is a looped edge stitch that’s strong and durable. It’s slightly more visible but great for knit fabric or edges that see a lot of wear.
How to do it:
- Start at the edge, knotting the thread at the back.
- Insert the needle from the back and bring it out near the edge.
- Loop the thread under the needle and pull through to create a small loop.
- Continue evenly along the edge.
- Keep loops slightly loose for flexibility.
- Tie off and trim excess thread.
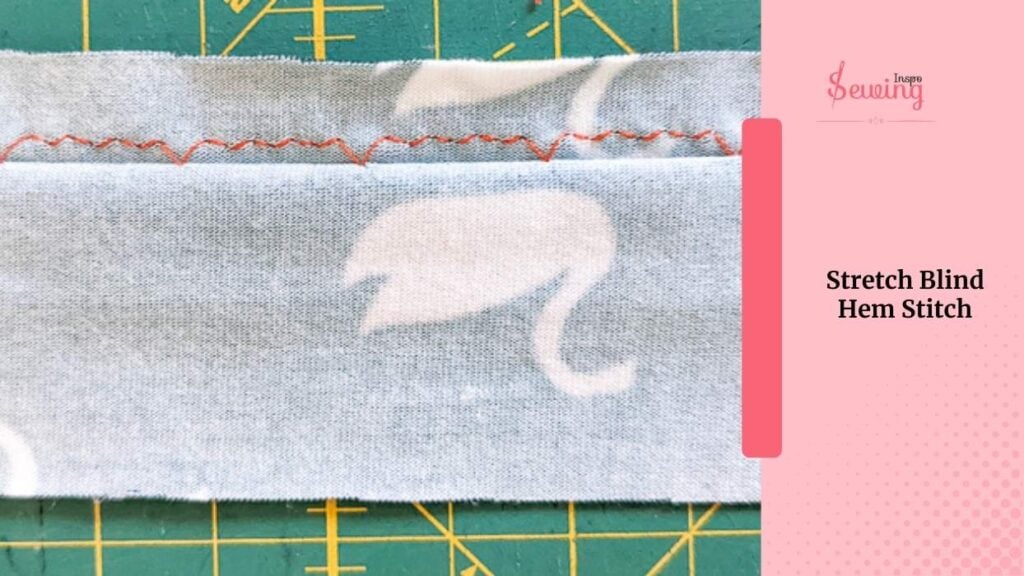
Stretch Blind Hem Stitch
The stretch blind hem stitch is almost invisible and perfect for hems on stretchy fabrics. Its tiny zigzag pattern allows the hem to stretch naturally.
Steps:
- Fold the hem and thread your needle.
- Start from the inside/back of the fold.
- Take a tiny stitch into the fold, then a tiny stitch catching just a few threads of the main fabric.
- Repeat in a zigzag pattern along the hem.
- Keep stitches small so they barely show on the front.
- Finish by tying off and tucking the knot inside the fold.
Frequently Asked Questions
What is the best hand stitch for a tear?
The backstitch is the strongest hand stitch for seams and most reliable for repairing tears.
Which stitch is the stretchiest?
The herringbone stitch or stretch blind hem stitch gives the most flexibility, letting fabric stretch without snapping the thread.
Now It’s Your Turn
That’s how I hand sew stretchy fabric.
Which stretchy hand stitch is your favourite?

Leave a Reply