
I was just hand-sewing a simple line. But I messed up. One a little higher, one a little lower.
I got so pissed until grandma showed up. She looked at it and said, ‘The plain line turned into a neat row of little steps. It was almost like the thread was climbing across the fabric. You can call it steppstich hand.’
I looked at it closely and I was like ‘oh it’s really looks like some thread steps. Did i really make my kind of hand sewn stitches?’ She smiled and said, Yes, you need. You should note it down.
So here I am with the detailed guide.

Table of Contents
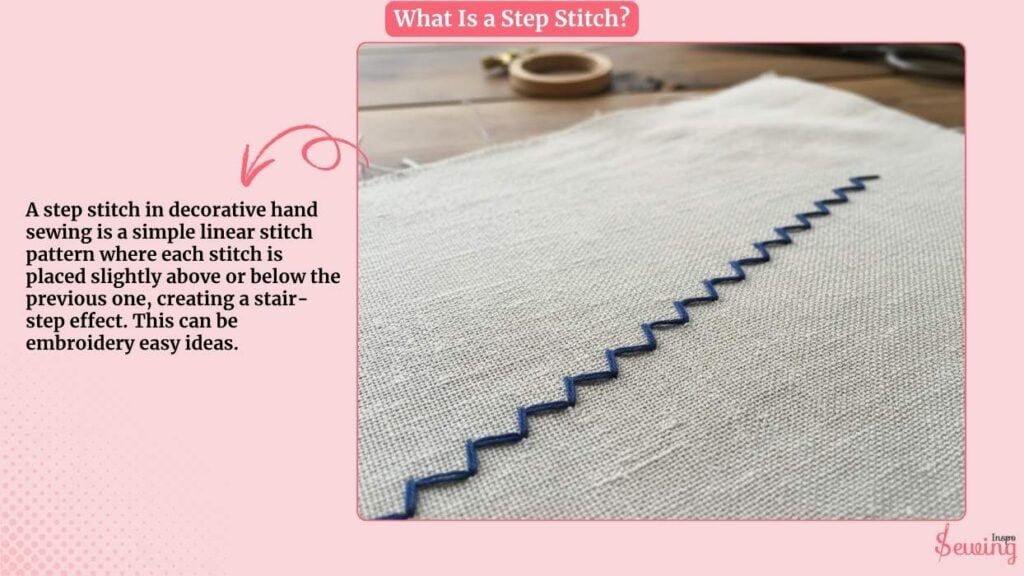
What Is a Step Stitch?
A step stitch in decorative hand sewing is a simple linear stitch pattern where each stitch is placed slightly above or below the previous one, creating a stair-step effect. This can be embroidery easy ideas.
It’s like a running stitch. But instead of keeping all stitches on the same straight line, you make each one step up or down just a bit, forming a zigzag or “ladder” shape.
It’s not a traditional embroidery stitch you’d find in old manuals. Rather, it’s a modern decorative technique often used in:
- Visible mending
- Decorative borders
- Folk or free-form embroidery
- Simple edge detailing
How To Do Steppstich Hand?
To do steppstich hand follow the steps given bellow-
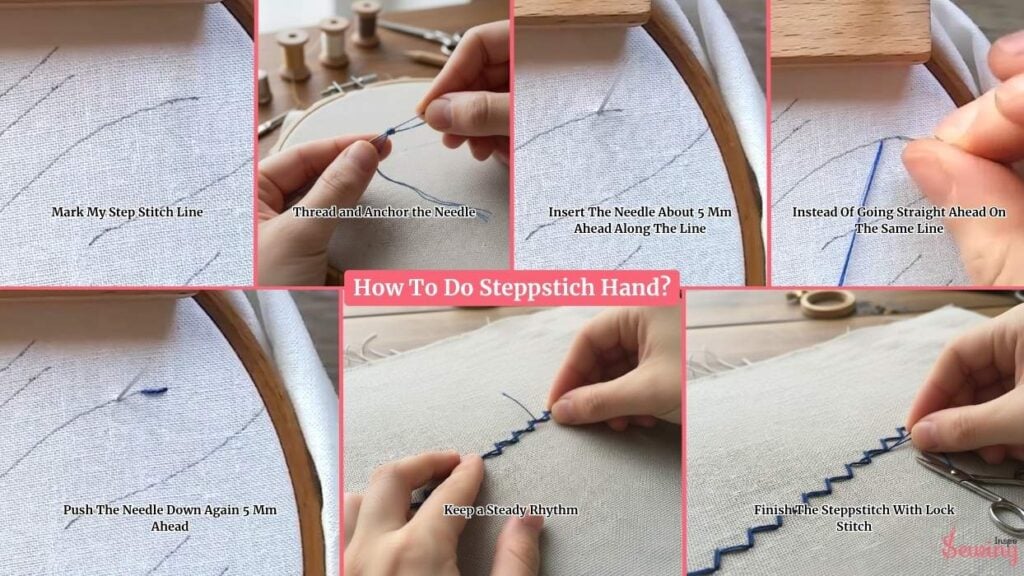
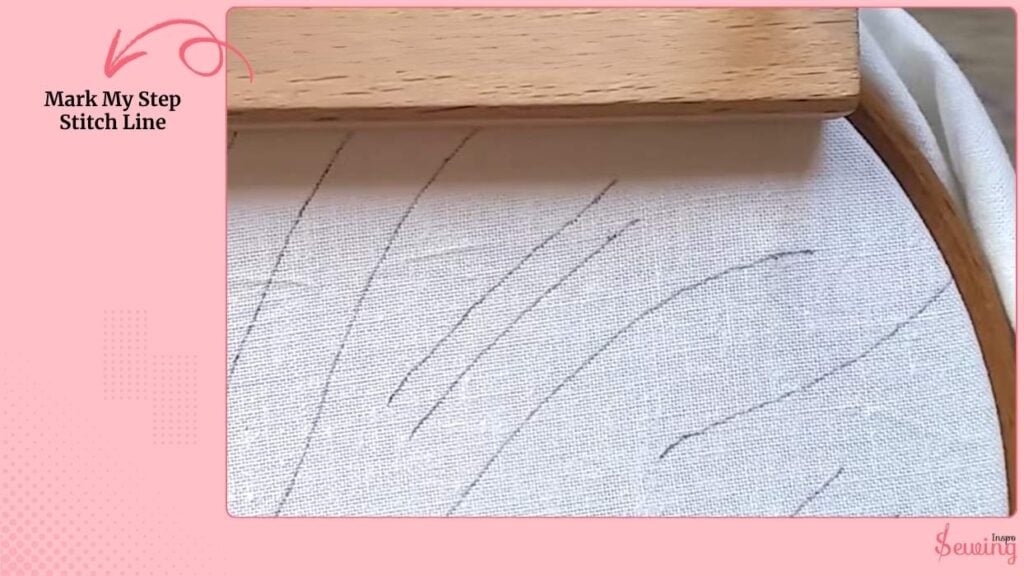
Mark My Step Stitch Line
Before I start sewing, I take a fabric pencil and draw a light horizontal guideline. This helps keep the steps balanced.
Then I add small dots, alternating slightly above and below the line.
This is where each stitch will land.
The “up” and “down” marks are about 2–3 mm apart vertically, and each stitch will be about 5 mm long horizontally. It’s not strict math, but a good starting rhythm. It’s like the rhythm you need to follow for circle stitch.
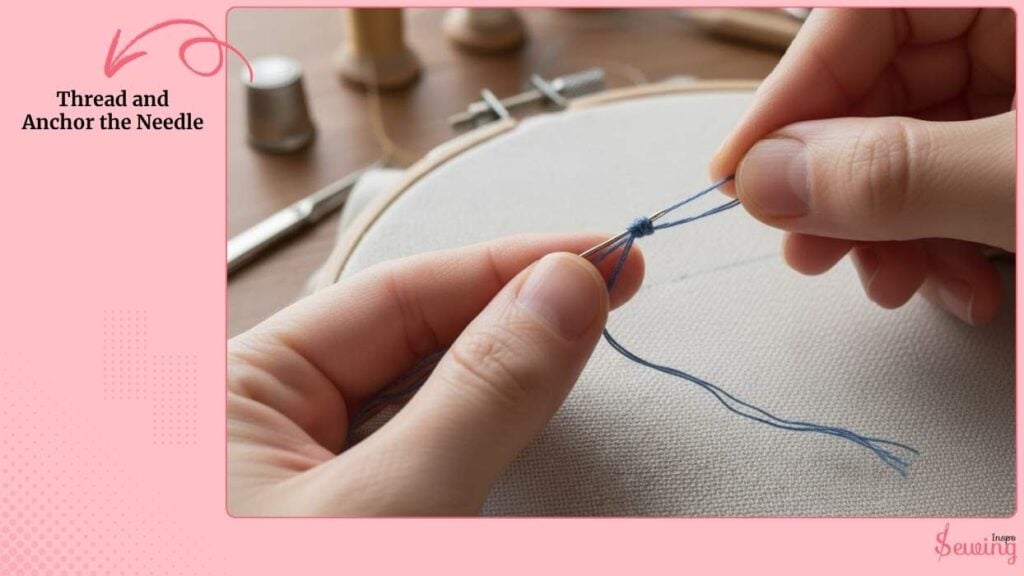
Thread and Anchor the Needle
I cut around 18 inches of embroidery floss, split it into two strands (for a neater, less bulky look), and thread the needle.
I tie a small knot at the end and bring it up through the fabric from the back at my first dot. Right on the baseline.
I’m holding my needle at about a 30–40° angle to the fabric surface. It gives me smooth control over where the point re-enters.
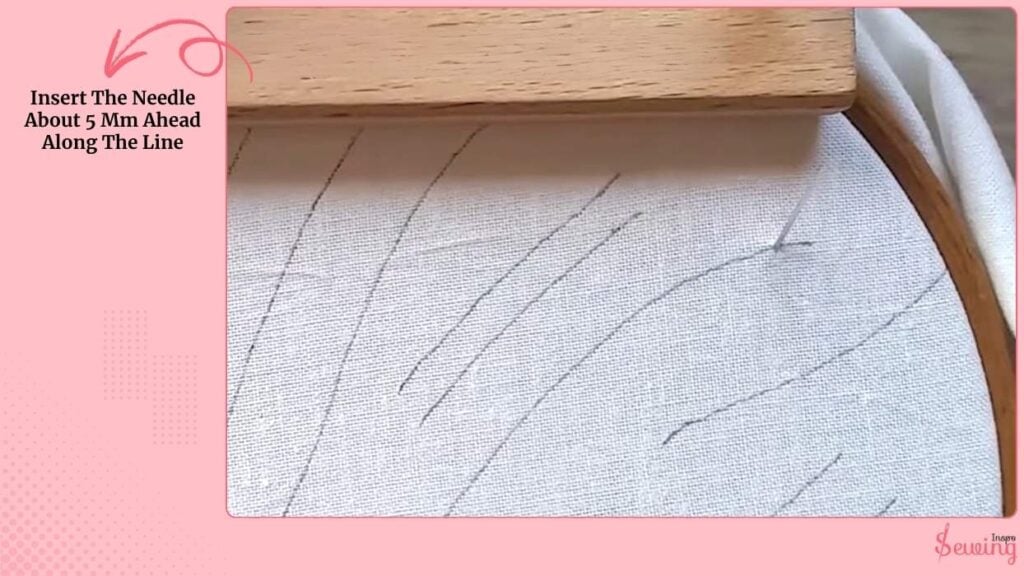
Insert The Needle About 5 Mm Ahead Along The Line
Now, I insert the needle about 5 mm ahead along the line and bring it back up through the fabric, creating my first straight stitch. It’s simple. Just a small dash.
This first stitch sets the tone, so I make sure it’s clean and even. The tension should be snug but not tight. The fabric shouldn’t pucker.
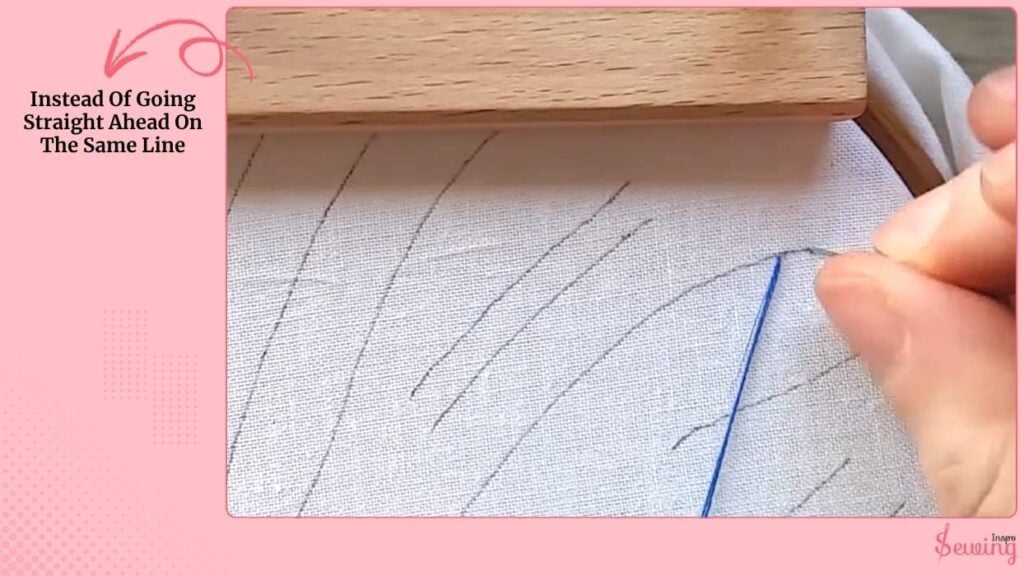
Instead Of Going Straight Ahead On The Same Line
For the next stitch, instead of going straight ahead on the same line, I move my needle slightly above the baseline around 2–3 mm higher. This will make up & down effect like ladder stitch.
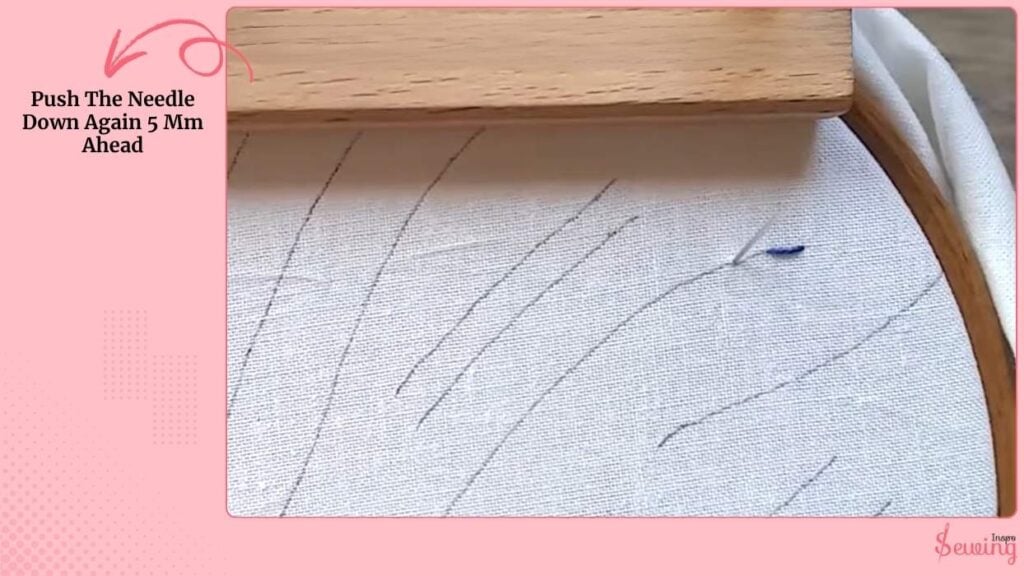
Push The Needle Down Again 5 Mm Ahead
Then I push the needle down again 5 mm ahead, keeping the same stitch length but at a higher level.
The next stitch?
I bring it back below the baseline, mirroring the same offset. This creates that up-and-down rhythm like tiny stairs moving across the fabric. It will bring embroidery line art to life.
Keep a Steady Rhythm
Now I’m in the flow.
- Each time I go “up,” I match the same height difference.
- Each time I go “down,” I keep it even too.
- I maintain that 5 mm stitch length for consistency.
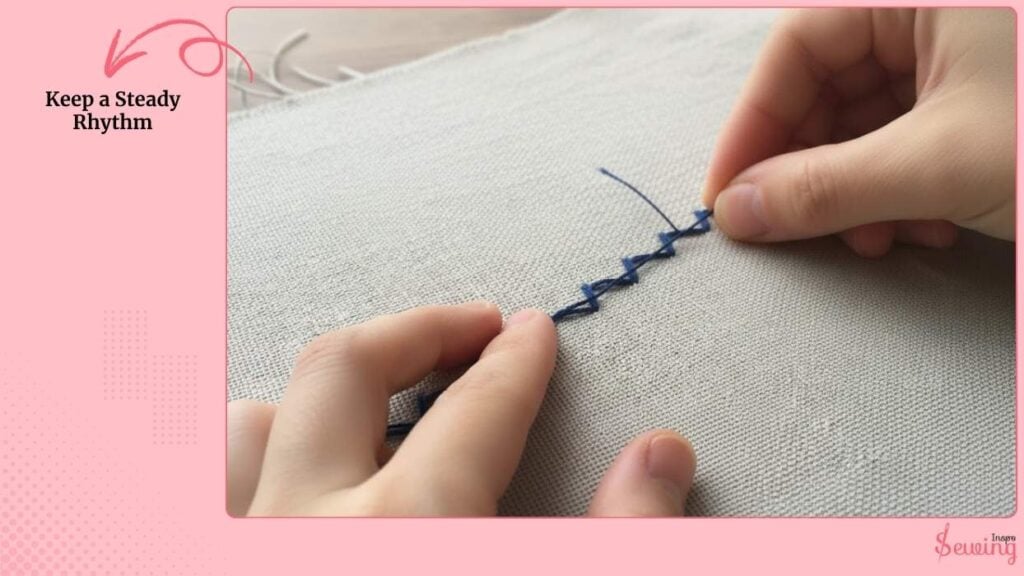
The key is balance, not perfect symmetry, but an even, rhythmic motion. The thread starts forming a gentle zigzag or stepped line that’s pleasing to the eye.
If the fabric is soft, I sometimes rest my finger under the line to keep the needle from poking too deeply. It helps keep the stitch surface neat and even.
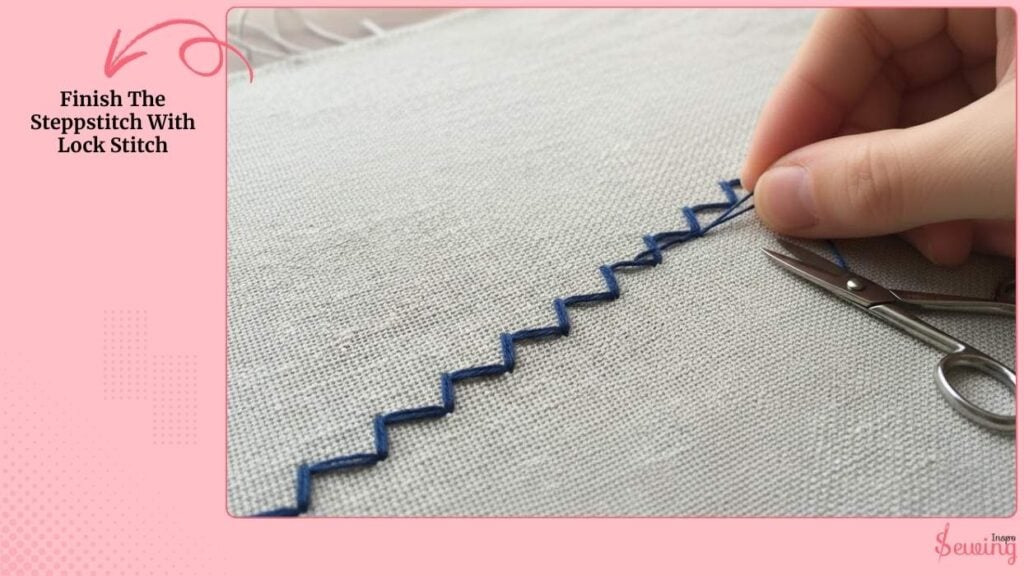
Finish The Steppstitch With Lock Stitch
When I reach the end, I secure the thread by passing the needle to the back of the fabric and making a small locking stitch under the last step. Then I snip the excess thread close to the knot.
Looking at it now, the stitches form this cute, staircase-like path.
Simple but full of texture. It’s not rigid or mechanical. It has that handmade charm that makes visible stitching so satisfying.
FAQ
Why do my steps look uneven even though my stitches are the same length?
That’s usually because the vertical offset (the height difference between your “up” and “down” stitches) isn’t consistent. Try marking tiny guide dots with a fabric pencil before stitching. It keeps your “steps” even. Also, keep your needle angle steady (around 30–40°) to avoid pulling the thread too tight on one side.
What kind of thread works best for a clean step stitch?
It depends on the effect you want. If you want bold, decorative steps, use pearl cotton size 8 or 6-strand embroidery floss (all strands intact). For a finer, subtle look, use 2 strands of regular cotton floss.
Can I use the step stitch on all types of fabric?
Mostly yes — but you’ll get the best results on medium-weight fabrics like cotton, linen, or felt. On thin fabrics (like chiffon or tulle), the thread can pucker. If you’re working with delicate fabric, place a stabilizer underneath or keep your stitch tension light.
Conclusion
The step stitch might look simple, but it’s one of those little techniques that can completely transform your hand sewing.
Every stitch has its rhythm, and the beauty of the step stitch lies in its imperfections. Each tiny “step” feels human, intentional, and quietly artistic.
If you can do it correctly, then this can be the perfect stitch with embroidery line art.


Leave a Reply