
The first time I tried a seed stitch pattern in sewing, I honestly thought it was just a bunch of random dots on fabric.
But as the stitches started to build up, I realised how beautifully organised chaos it really is. You just need to do it strategically to get things done right.
Now, how do to the seed stitch pattern?
Seed Pattern
To do the seed stitch pattern, make small, evenly spaced straight stitches in random directions so they look like scattered seeds across the fabric.
I know it sounds simple, but it works out well if you do it in a certain pattern. No worry, you don’t need to be an artist for that. You can just download a pattern and stitch through it like peyote stitch.
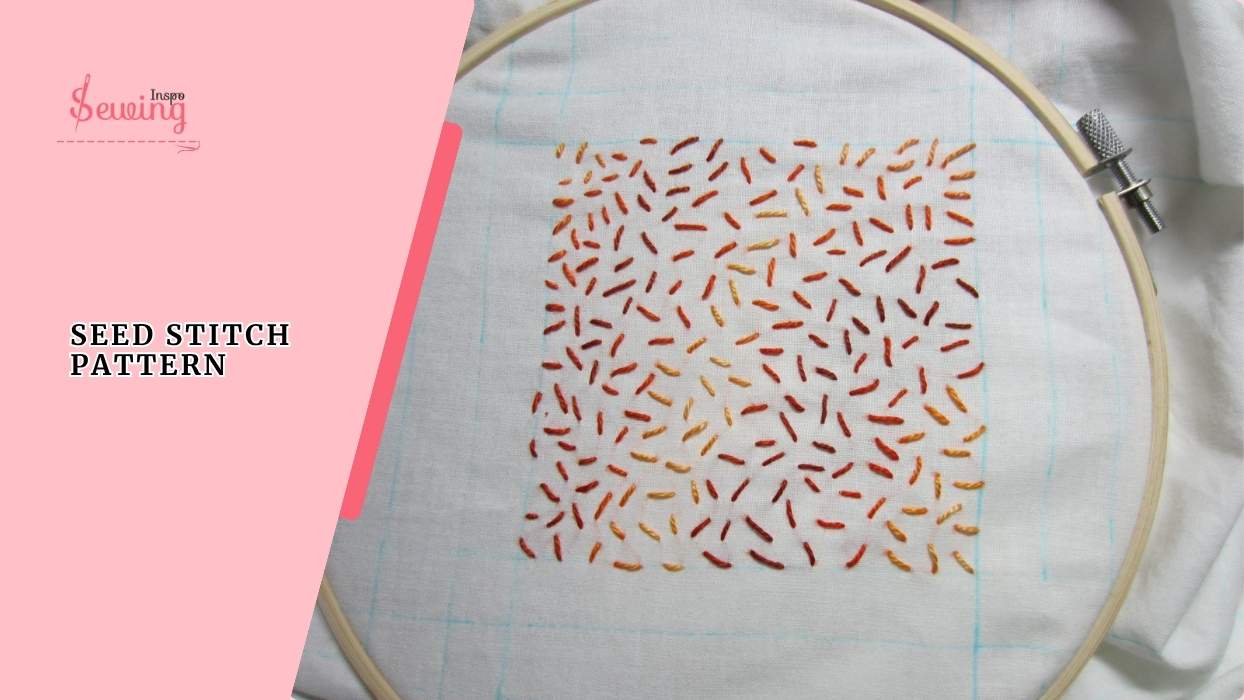
Table of Contents
What Is The Pattern For Seed Stitch?
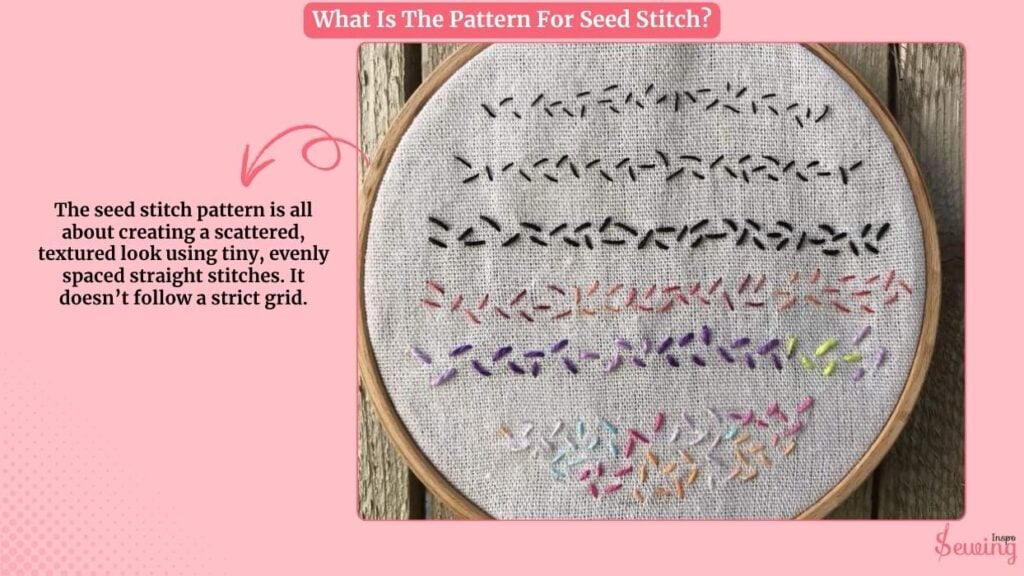
The seed stitch pattern is all about creating a scattered, textured look using tiny, evenly spaced straight stitches. It doesn’t follow a strict grid.
Otherwise, you place the stitches in random directions so they look like scattered seeds on the fabric.
The goal is to make it look organic and balanced, not perfect. It’s like a controlled randomness. The charm of the seed stitch lies in its imperfect, natural texture.
How To Do A Simple Seed Stitch Pattern In Sewing?
To do a seed stitch pattern in sewing, follow the steps-
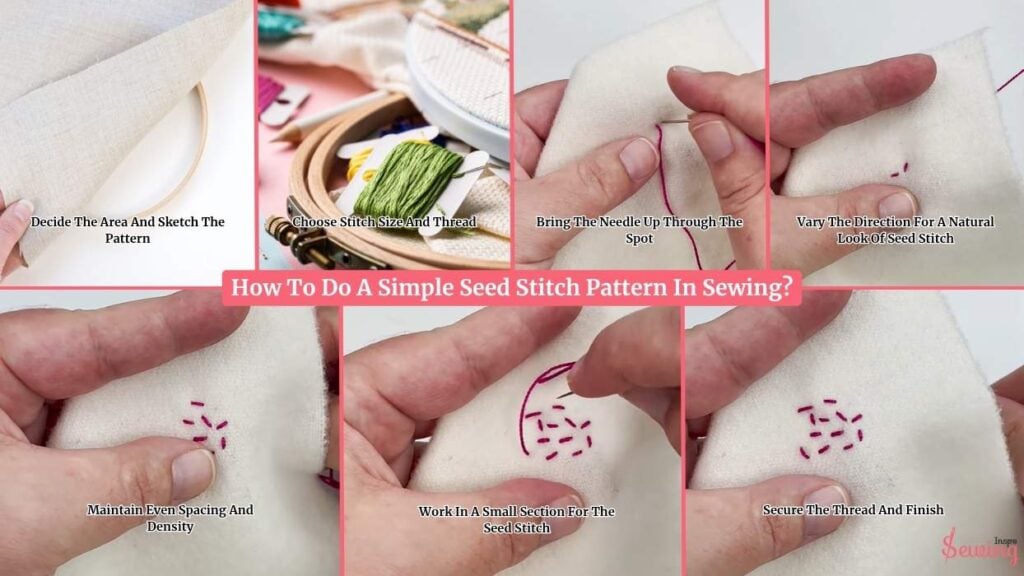
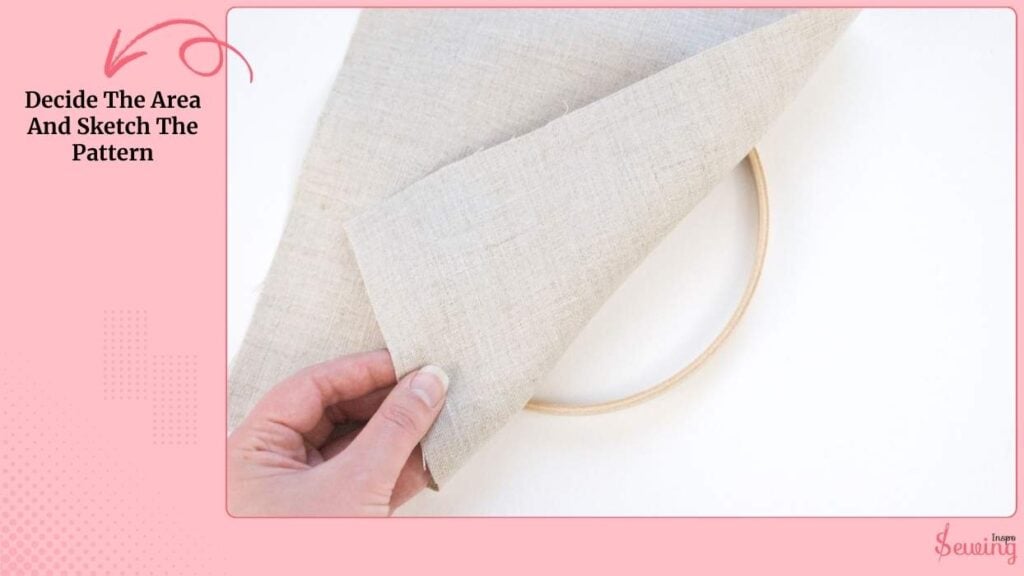
Decide The Area And Sketch The Pattern
I pick the area I want to fill. Maybe a small panel on a cushion or a decorative square. With a water-soluble pen, I lightly draw the boundary: a square, circle, or freeform shape. This is my “playground” for seeds.
If I want a uniform look, I draw a loose grid of faint dots about 6–8 mm (1/4″) apart to guide placement.
If I want a more organic scatter, I skip the grid and just mark a few anchor dots to keep the spacing even.
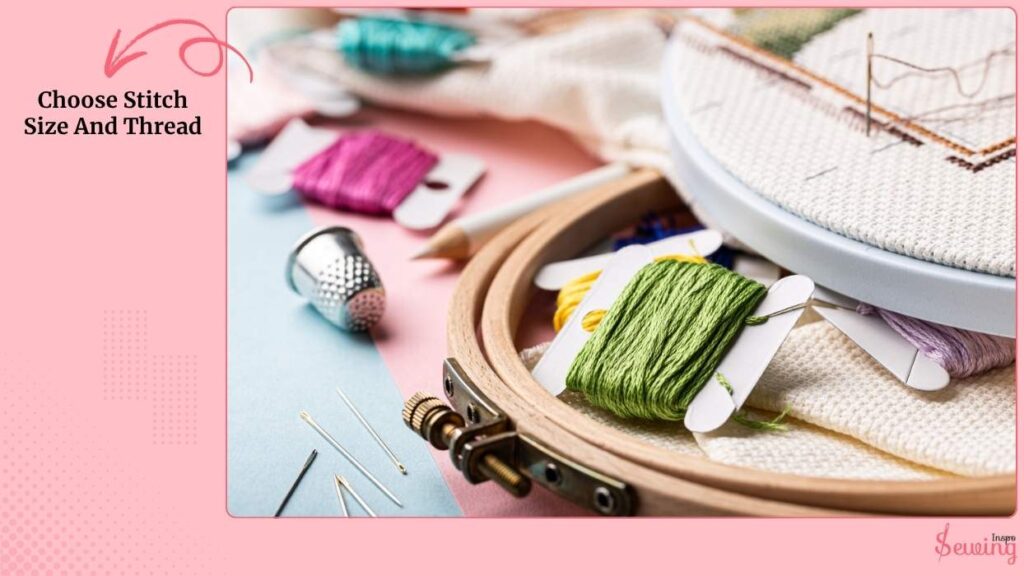
Choose Stitch Size And Thread
I decide on tiny seed marks: each stitch will be about 2–4 mm long. For most fabrics, I use single-strand embroidery floss or a 50–60 wt thread.
- Smaller stitches (2 mm) = delicate texture.
- Slightly longer (3–4 mm) = more visible bump.
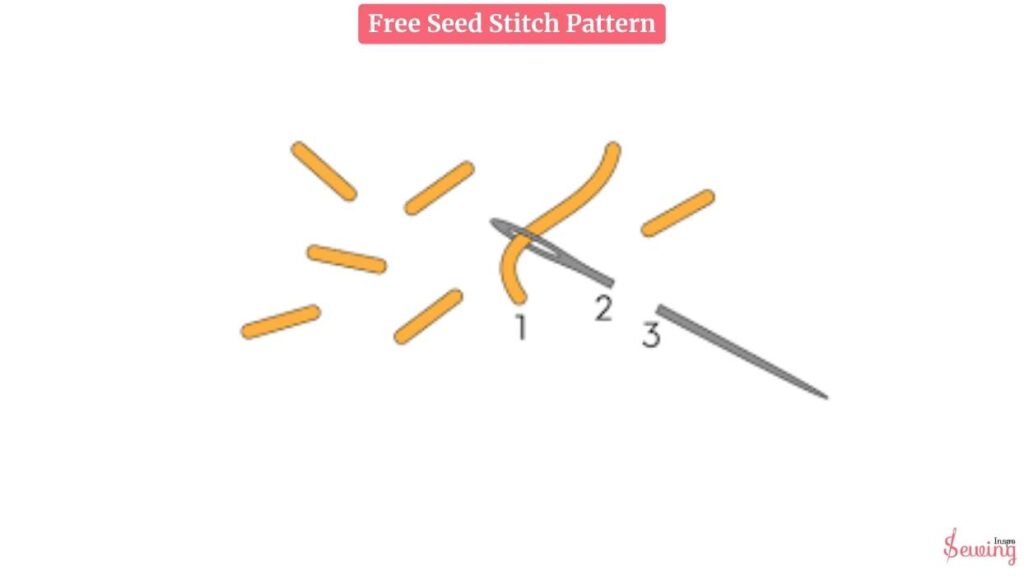
Bring The Needle Up Through The Spot
I bring the needle up through the fabric at my chosen spot (dot or grid point). Then:
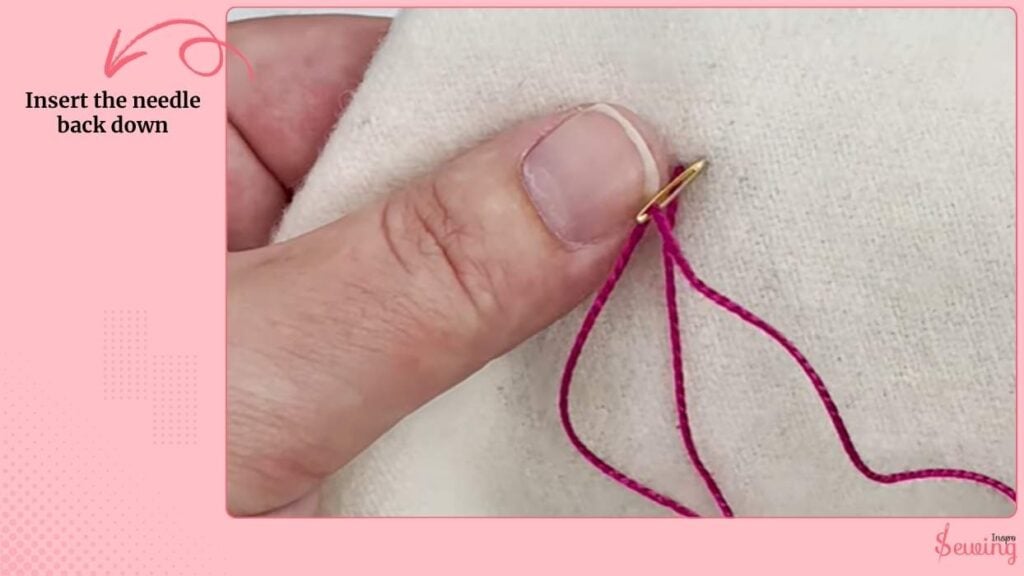
Insert the needle back down a short distance away (2–4 mm). It will make a tiny straight stitch like a starting point for a cross-stitch pattern.
Pull the thread gently so the stitch sits flat but not pulled tight. The stitch should look like a tiny seed. Short and neat.
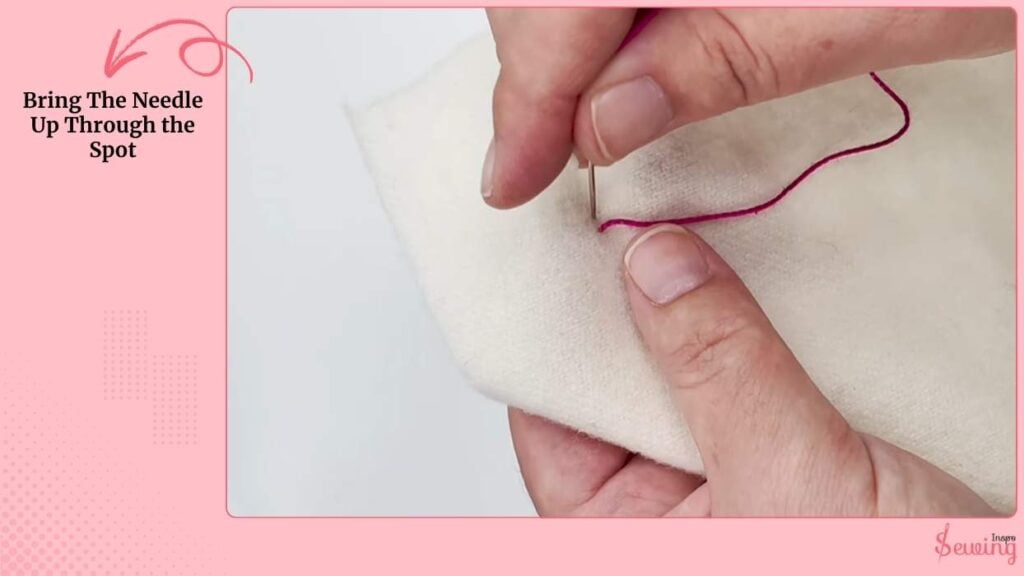
I repeat that motion for each seed: up, short down, move to the next spot.
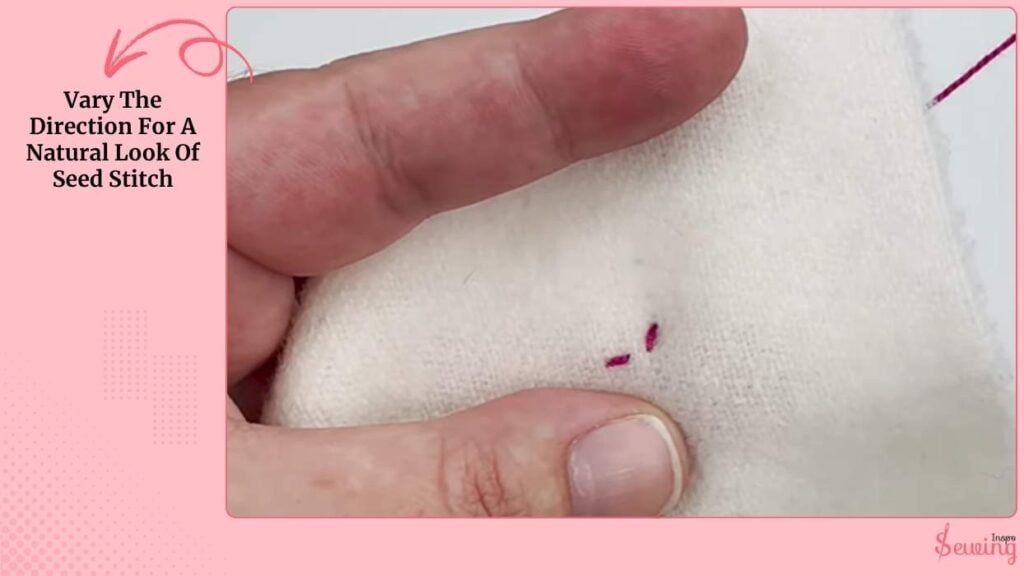
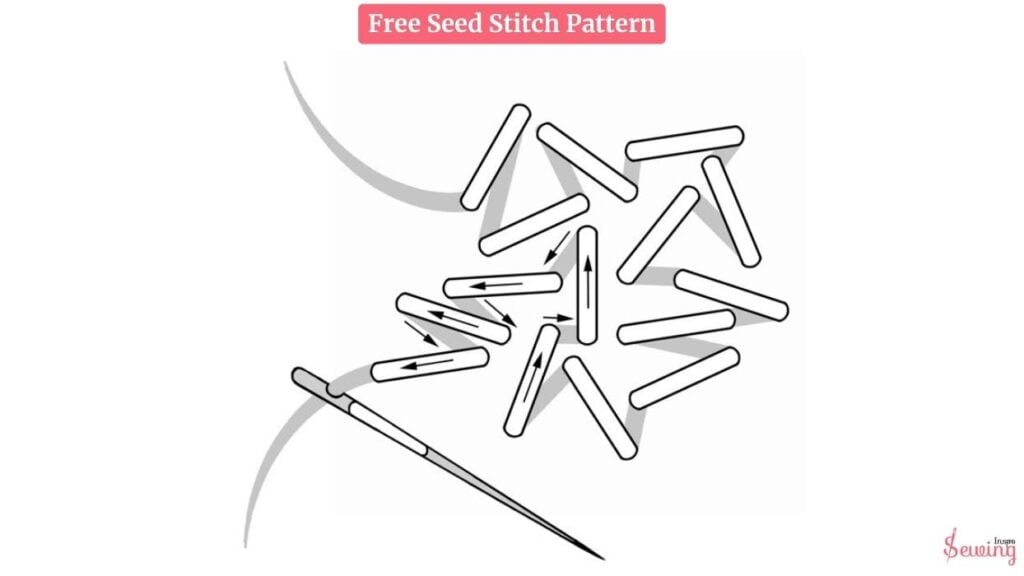
Vary The Direction For A Natural Look Of Seed Stitch
To get the classic seed-stitch texture, I change the stitch direction frequently. Some stitches are horizontal, some diagonal, some vertical.
This random rotation is what makes the area look like scattered seeds instead of a row of dashes like chevron stitch.
I intentionally avoid lining stitches up in rows. If I spot a row forming, I shift my next stitch a little to one side to break the line.
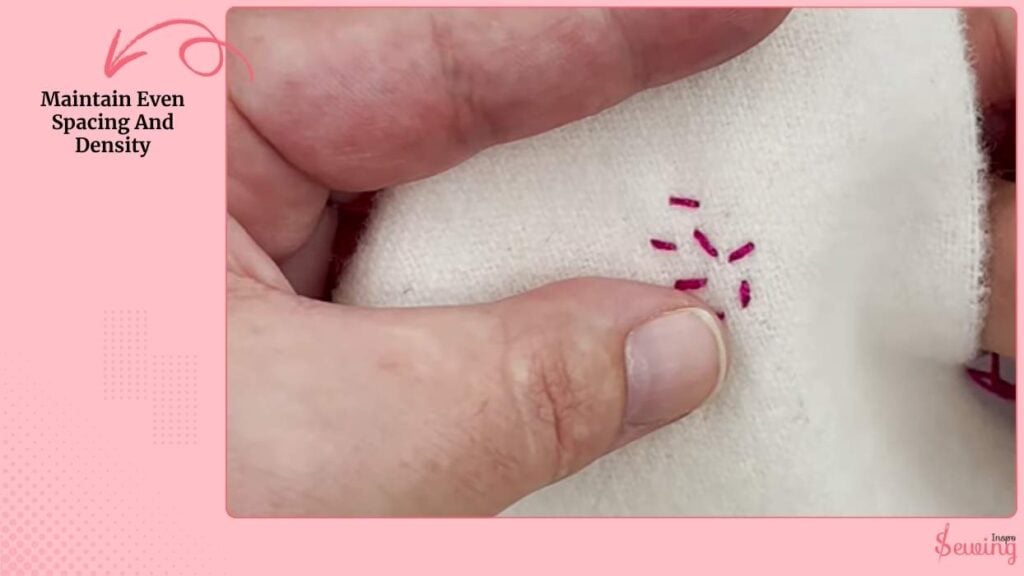
Maintain Even Spacing And Density
I keep the seeds roughly evenly spaced. If I’m using a grid, I follow the dots. If free-handing, I step back occasionally to check the overall density.
Always go for even coverage without clumping.
- For light coverage: place seeds farther apart (6–8 mm).
- For dense texture: reduce spacing to 3–4 mm.
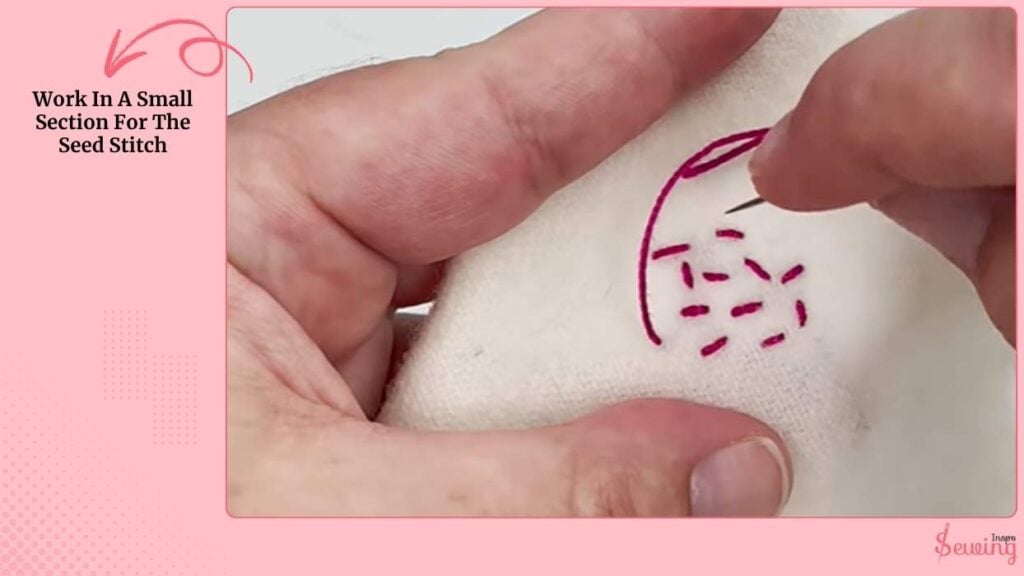
Work In A Small Section For The Seed Stitch
I stitch in small sections (a few square centimetres at a time). When I reach the edge of the drawn area.
I soften the boundary by placing fewer seeds near the edge so the patch blends naturally into the plain fabric like teddy bear stitching.
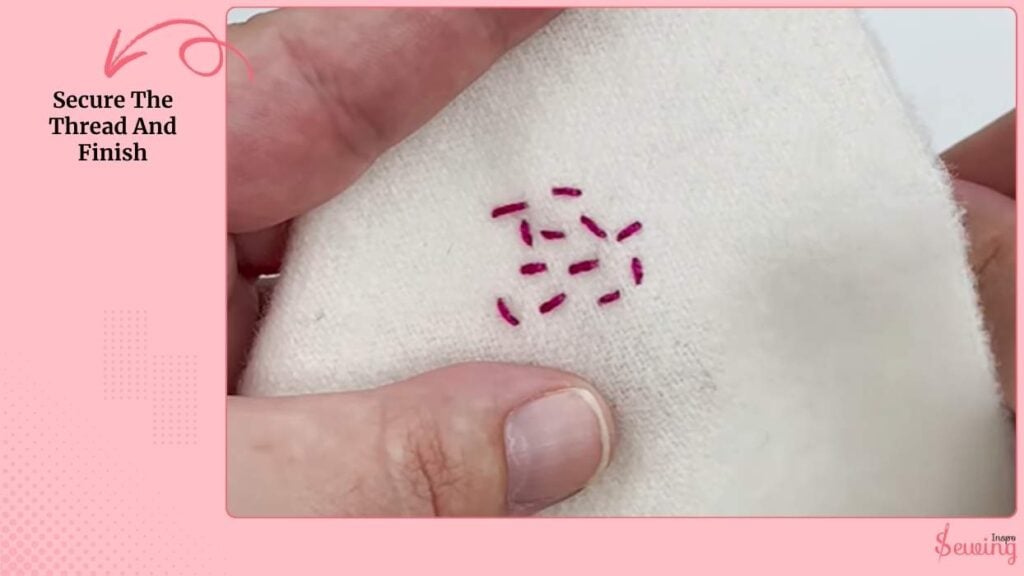
Secure The Thread And Finish
When I finish a thread length or the area, I flip the fabric, pass the needle under 3–4 nearby stitches on the back, and trim the tail close. If I used a starting knot, I remove any visible waste knot or tuck it under stitches.
Free Seed Stitch Pattern
If you feel lost, then use these pattern ideas as a reference
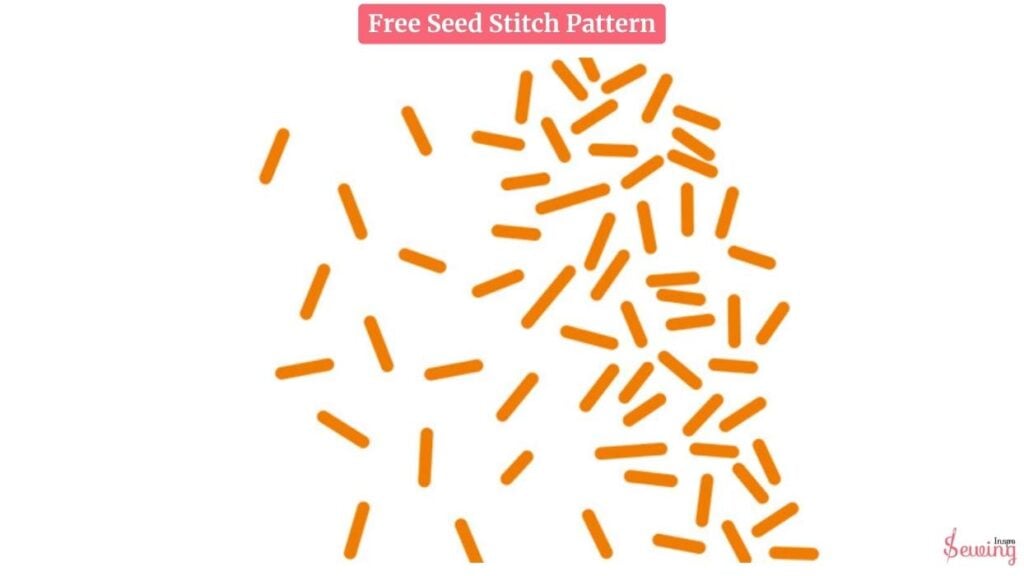
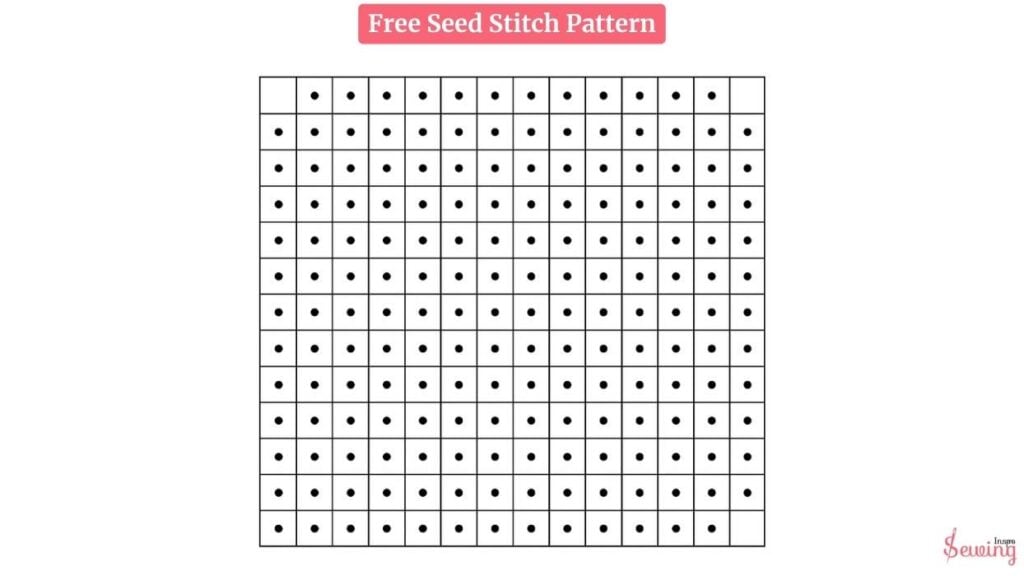
Seed Stitch Pattern In Sewing PDF
If you something to print and then stick to the fabric, and then stitch through it. Then use this PDF as a stick and stitch.
FAQs
What is a seed stitch used for?
Seed stitch is mainly used for adding texture and filling spaces. It gives a fabric a soft, speckled look. It is great for shading, background fills, or subtle texture in embroidery designs.
How long should each seed stitch be?
Each stitch is typically 2–4 mm long. Keeping them short helps create that “scattered seed” effect and prevents loose threads from snagging.
Why do my seed stitches look uneven?
Uneven tension or inconsistent spacing often causes this. Try stitching in small sections, use a hoop to keep the fabric flat, and vary the direction of each stitch so the texture feels balanced.
Conclusion
And that’s it! The simple, beautiful seed stitch pattern. Once you get into the rhythm, it’s almost meditative.
Just tiny stitches sprinkled like raindrops across your fabric. This stitch brings quiet elegance and a handmade touch to any project.


Leave a Reply