
I actually found my purse pattern on Pinterest. You know how it goes, one click leads to another, and suddenly you’ve saved ten sewing ideas you have to try.
This one just stood out. It had that perfect balance of cute and simple. So I downloaded the Free purse stitching pattern PDF right from the pin.
Once I had it printed, I spread out my fabric, traced the pieces, and started stitching.
The pattern made it easy to follow along, even for someone who just wants a relaxing weekend project.
And honestly?
There’s something really satisfying about seeing that flat piece of fabric slowly turn into an actual purse in your hands.
I’ll show you exactly how I used that Pinterest PDF from downloading to the final stitch. So, you can make your own too.

Table of Contents
Purse Stitching Pattern From The Designer Handbag Patterns Pdf
So, I found this cute purse pattern on Pinterest, downloaded the free PDF, and decided to make it over the weekend. It’s super doable.
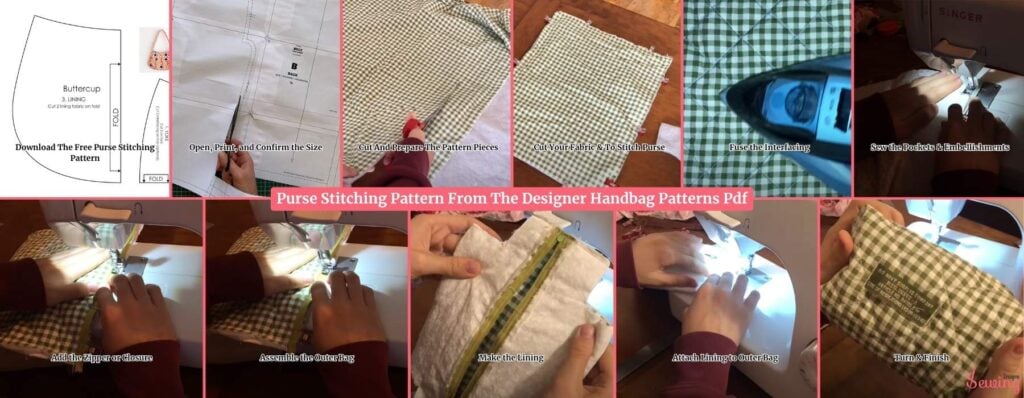
Even if you’re new to sewing. Here’s exactly how I went from a digital pattern to a finished purse.
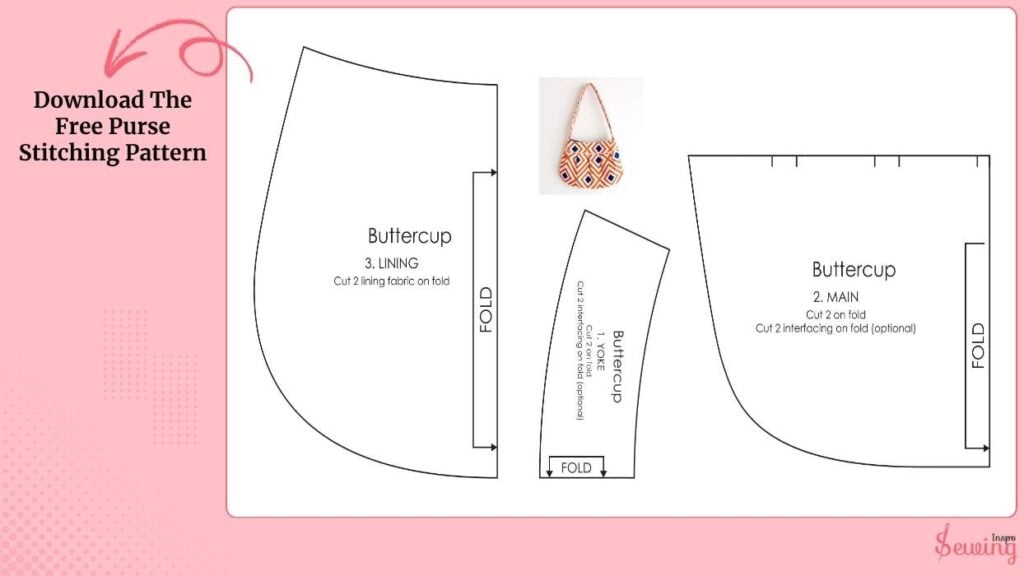
Download The Free Purse Stitching Pattern
Once you spot the pattern you like on Pinterest, click the pin, and it’ll usually take you to the original post or website. From there:
- Hit the download button or “Get Free PDF” link like i did with tie pattern.
- Save it to a dedicated folder on your computer (I have a “Sewing Patterns” folder to stay organized).
- Check the pattern name and version. Some come with different sizes or add-ons.
Make sure it’s free for personal use unless stated otherwise. Respecting pattern creators is a must.
This part may seem small, but keeping your pattern files organized saves a lot of headaches later.
Open, Print, and Confirm the Size
Open the file and print it on A4 or Letter paper. Don’t skip the test square. It ensures your pattern prints at the right scale, like a checker stitch pattern.
In your print dialog, select “Actual Size” or “100%” (not “Fit to Page”). Print the first page that includes a test square (usually 1 inch or 5 cm).
Measure it with a ruler to make sure it’s accurate before printing the rest. Once printed, trim the edges and tape the pages together, aligning the lines and registration marks.
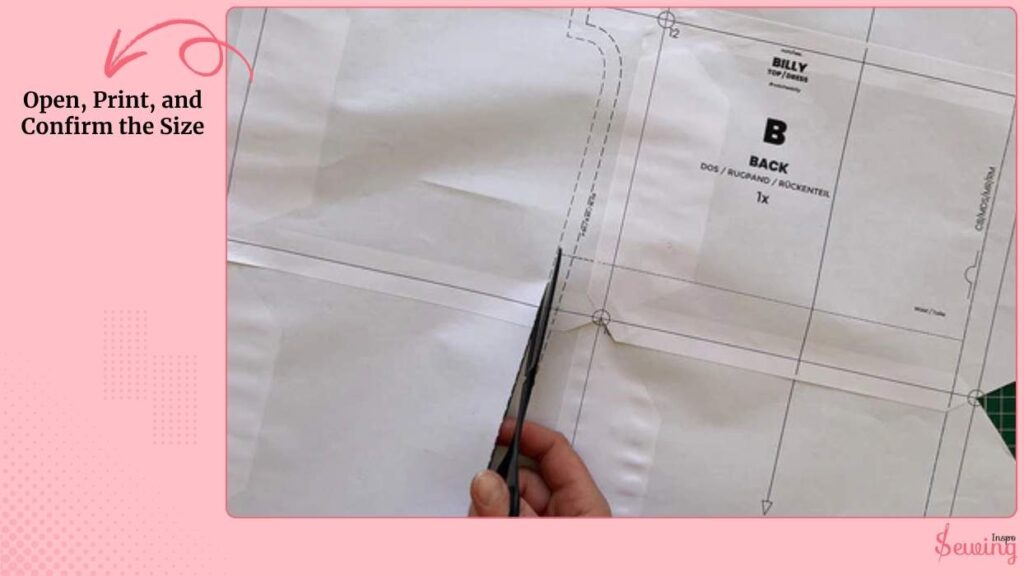
This makes your pattern full-size and ready to cut. No shrinking or stretching errors.
Cut And Prepare The Pattern Pieces
Now, grab your scissors and carefully cut out all the paper pieces along the solid lines. If your pattern includes multiple purse sizes, double-check that you’re cutting the right one.
- Lay out all the pieces and label them (Outer Front, Lining, Pocket, Strap, etc.).
- Keep small parts like zipper tabs or flaps together. I usually clip them with a binder clip to avoid mix-ups like diamond shape.
- If there are placement marks or notches, trace them with a fabric marker later.
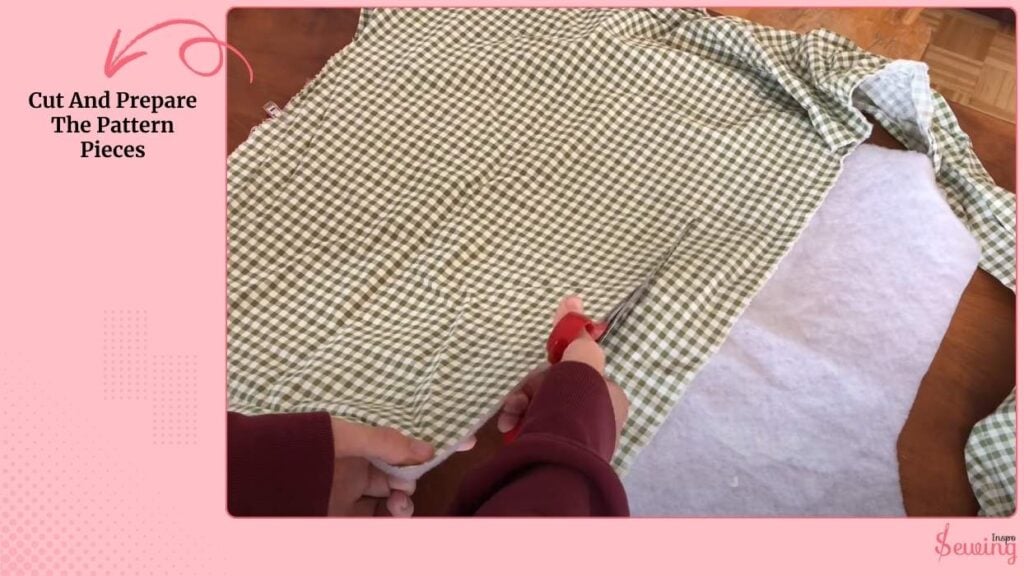
A neat paper pattern = a smoother sewing experience later.
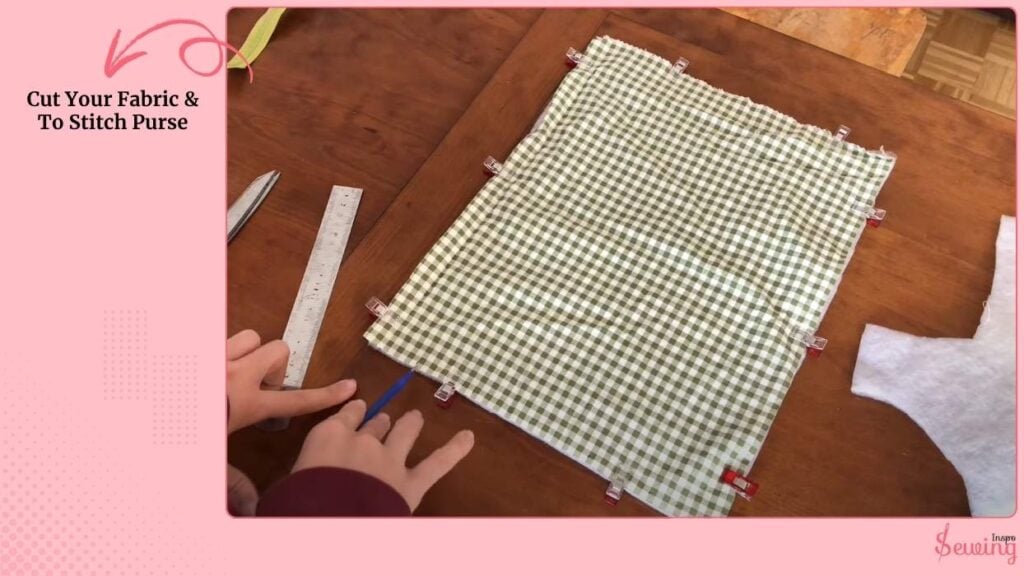
Cut Your Fabric & To Stitch Purse
Lay your fabric flat, right side up, and position your paper pattern pieces on top. Pin or clip them in place following the grainline arrow.
Use a rotary cutter for smooth edges or fabric scissors if you prefer the classic route. Transfer markings, darts, and notches using a tailor’s chalk or water-soluble pen.
Once you’re done cutting:
- Stack the outer, lining, and interfacing pieces separately.
- Keep them labeled if there are many similar-sized pieces.
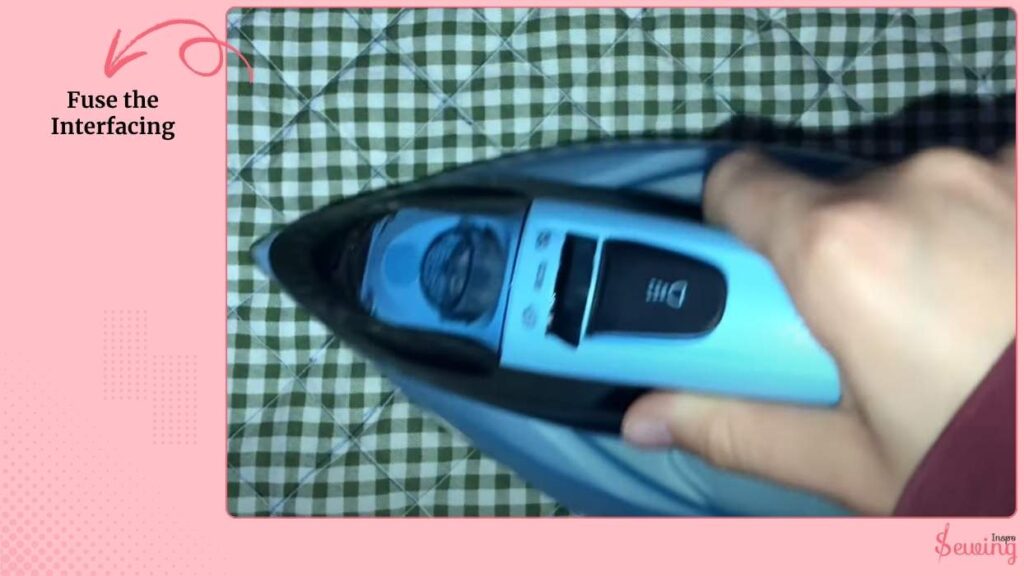
Fuse The Interfacing
This step gives your purse its structure.
Place the fusible side of the interfacing on the wrong side of your outer fabric. Cover with a pressing cloth and press firmly (no sliding — lift and press).
Use medium heat and steam for about 10–15 seconds per section. Let the pieces cool completely before moving them. That sets the glue.
Now your outer pieces should feel sturdier and ready for stitching.
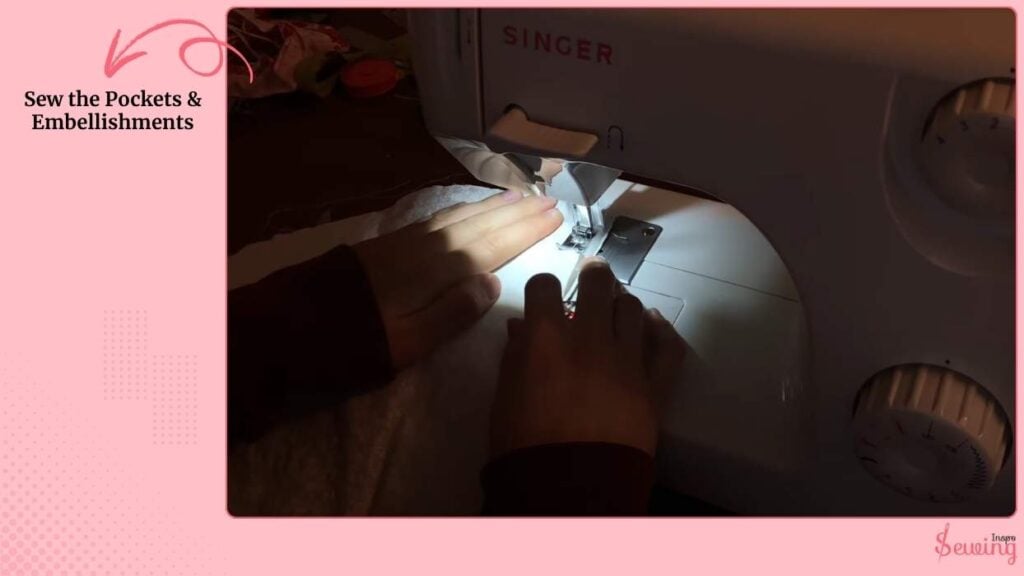
Sew the Pockets & Embellishments
If your PDF includes interior or exterior pockets, do those first. It’s much easier before the bag is assembled.
For patch pockets: Fold and press the top edge, stitch it down, then sew the sides and bottom onto the main piece. For zipper pockets: Cut a slit, insert the zipper neatly, and topstitch around it. You can use chevron stitch technique for it too.
Add any labels, embroidery, or appliqué now. I’s the fun, creative part before construction begins!
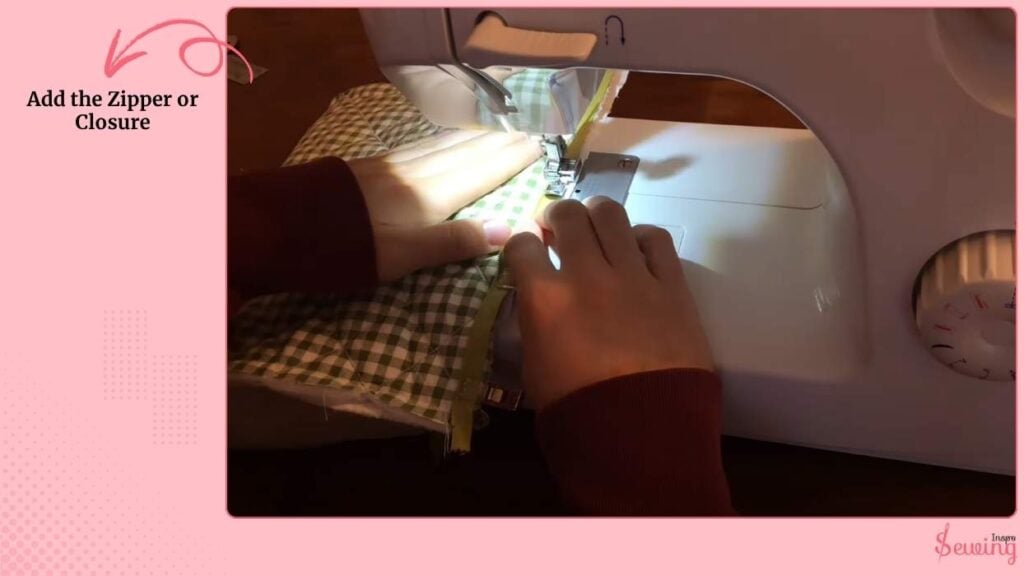
Add the Zipper or Closure
This step depends on your purse type, but here’s how I do it for a zippered one:
- Place the zipper face down on the right side of your outer fabric.
- Layer the lining fabric face down on top, sandwiching the zipper in between.
- Sew along the edge using a zipper foot.
- Fold both fabrics away from the zipper teeth and press flat.
- Topstitch close to the edge for a clean finish.
If your pattern uses a snap, button, or magnetic clasp, install it at this point. It will follow placement marks.
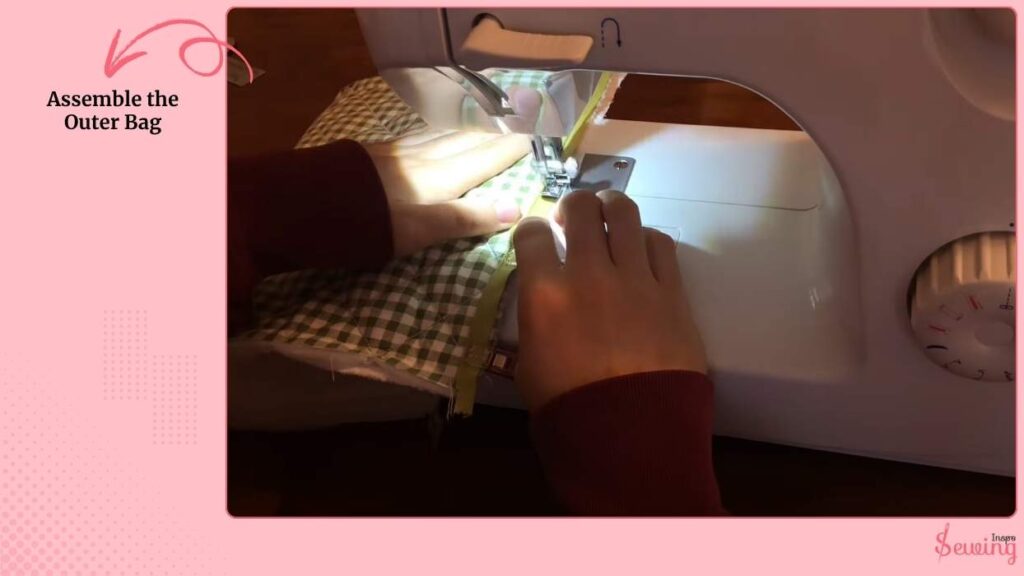
Assemble the Outer Bag
Place your outer fabric pieces right sides together. Pin or clip around the edges, aligning seams and notches. Sew with the recommended seam allowance (usually ¼” or ⅜”).
If your purse has a bottom piece, attach it now and clip corners for a smooth fit. Finish raw edges with a zigzag or pinking shears if your fabric frays easily.
Press the seams open for a neat structure. It really makes a difference.
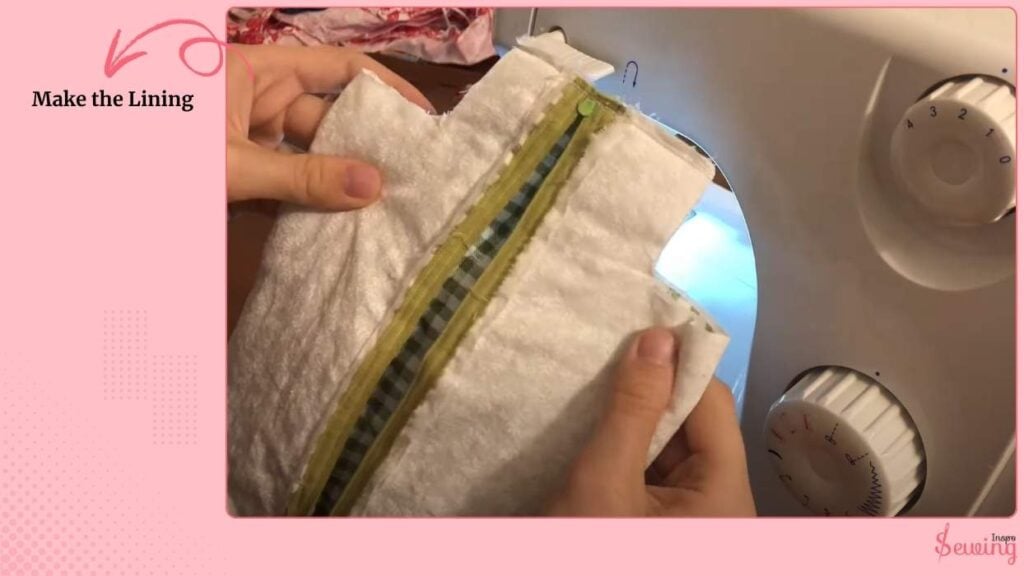
Make the Lining
Repeat the same steps for your lining fabric, but leave a 3–4 inch gap at the bottom.
This opening will help you turn the purse right side out later.
If the lining has any internal pockets, add them before assembling.
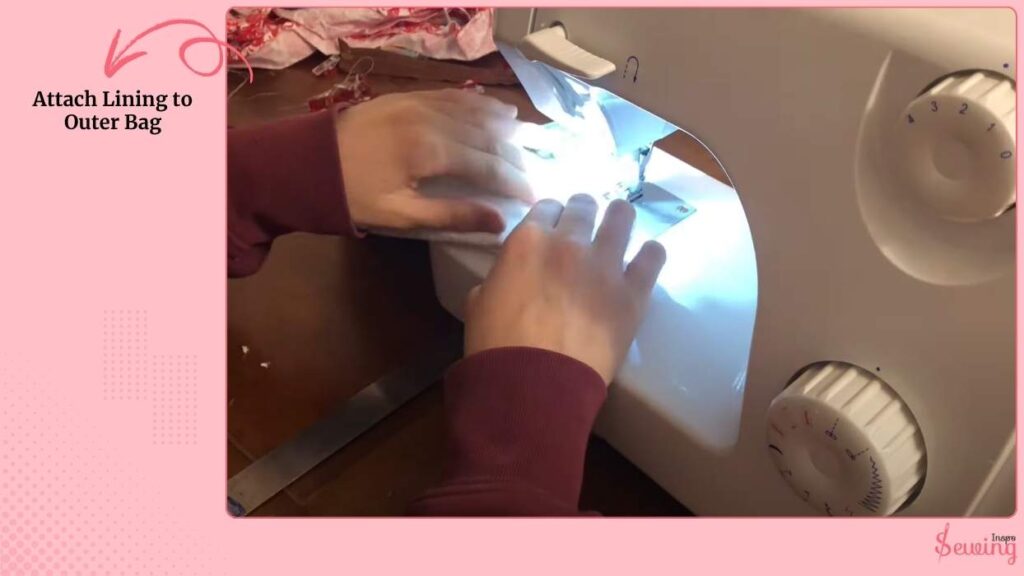
Attach Lining to Outer Bag
Now the fun part is joining it all together. Turn your outer bag right side out and keep your lining inside out.
Insert the outer bag inside the lining so the right sides are facing each other. Match side seams and top edges carefully. Pin or clip all the way around the top opening.
Sew around the entire top edge with a steady seam. This step connects both layers seamlessly.
Turn & Finish
Pull the bag’s right side out through the opening in the lining. It’ll look a little inside-out at first, but keep pulling gently until everything flips through.
Then:
- Push the lining inside the bag.
- Hand-stitch the opening closed using a ladder (invisible) stitch.
- Press the top edge neatly and topstitch all the way around for a crisp, finished look.
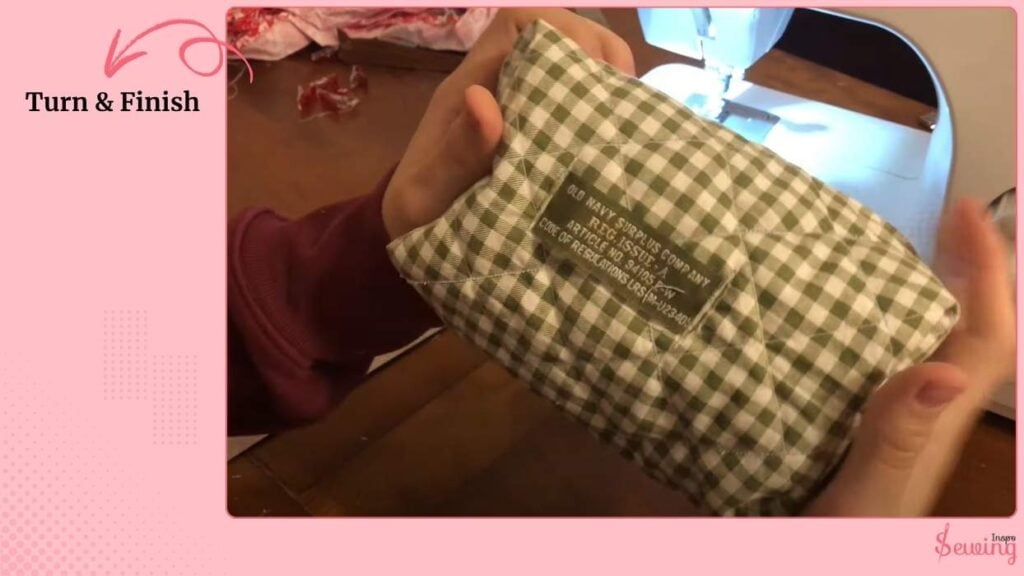
And that’s it! You got purse stitch all by hand! Trust me it will have you tons of money.
Purse Stitching Pattern Pdf
In case you forgot any steps then here is the PDF.
Designer Handbag Patterns Pdf
If you are new and don’t know where to begin, then try this bag sewing pattern free PDF. Those are easy yet give you a stylish look,
Frequently Asked Questions
Can I resize a purse pattern from Pinterest?
Yes! You can scale the PDF when printing. Just make sure to measure the test square first so the proportions stay correct.
What fabrics work best for a beginner purse?
Cotton canvas, denim, or quilting cotton are great. They’re easy to sew, don’t stretch too much, and give a sturdy structure. For lining, lightweight cotton or poplin works best.
Do I need a sewing machine for this purse?
Not necessarily. You can hand-stitch it, but a sewing machine makes construction faster, especially for seams and topstitching. Hand-stitching is perfect for small purses or decorative details.
Conclusion
And that’s it, from spotting a Pinterest pattern to holding a finished purse in your hands! You get a personalized purse you made yourself.
It is perfect for gifts, everyday use, or just showing off your new sewing skills. So, grab your pattern, pick your favorite fabrics, and start stitching.
I promise, the process is just as satisfying as the result!


Leave a Reply