
I first learned the handkerchief hem stitch when I was working on a flowy chiffon scarf that just wouldn’t behave.
Every time I tried to finish the edge with my sewing machine, it bunched up or looked too bulky. That’s when I decided to try hemming it by hand. And honestly, it really worked.
Handkerchief Stitch
So basically, to do a handkerchief hem stitch by hand, fold the fabric edge twice narrowly, press it, and sew tiny slip stitches along the fold for a neat, invisible finish.
The hand-stitched hem gave it such a clean, soft, and invisible edge. It looked like something you’d buy from a boutique. But if you mess something up, then it would work the reverse way for you.
Let’s show you how to sew a handkerchief hem for beginners?
Table of Contents
What Is A Handkerchief Hem?
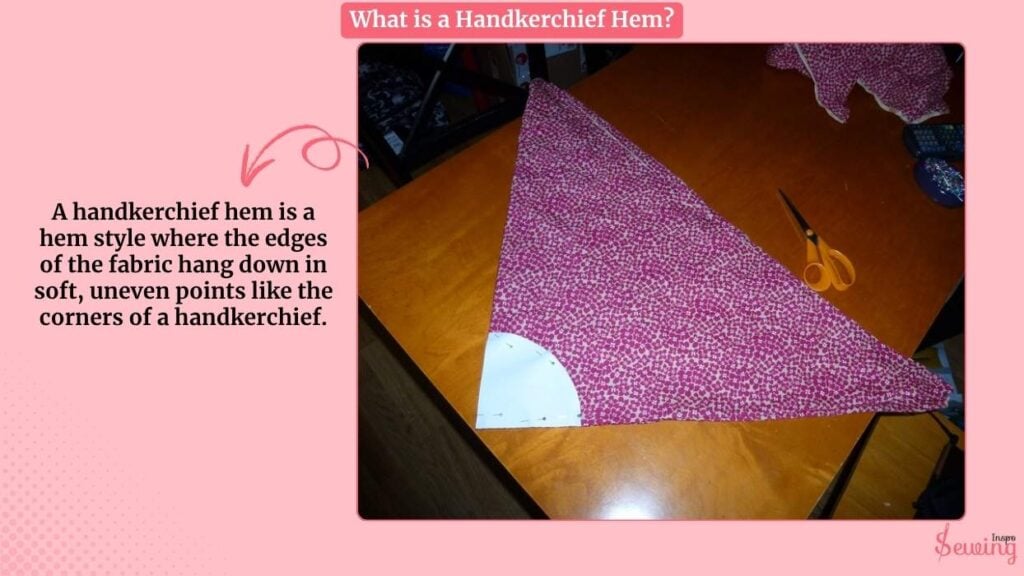
A handkerchief hem is a hem style where the edges of the fabric hang down in soft, uneven points like the corners of a handkerchief. This is kinda like an overhand stitch.
Here is what it does: instead of a straight, even bottom, the hemline dips at different angles. It creates a flowy and layered look. You’ll often see this style in skirts, dresses, and tops made from light fabrics such as chiffon or silk.
Are Handkerchief Hems Flattering?
Yes, handkerchief hems are super flattering. That’s actually one of the reasons they’ve stayed in style for so long. The uneven, flowing edges create a soft, graceful drape that moves beautifully when you walk.
They’re especially flattering because:
- They add movement
- They hide bulk
- They suit all body types
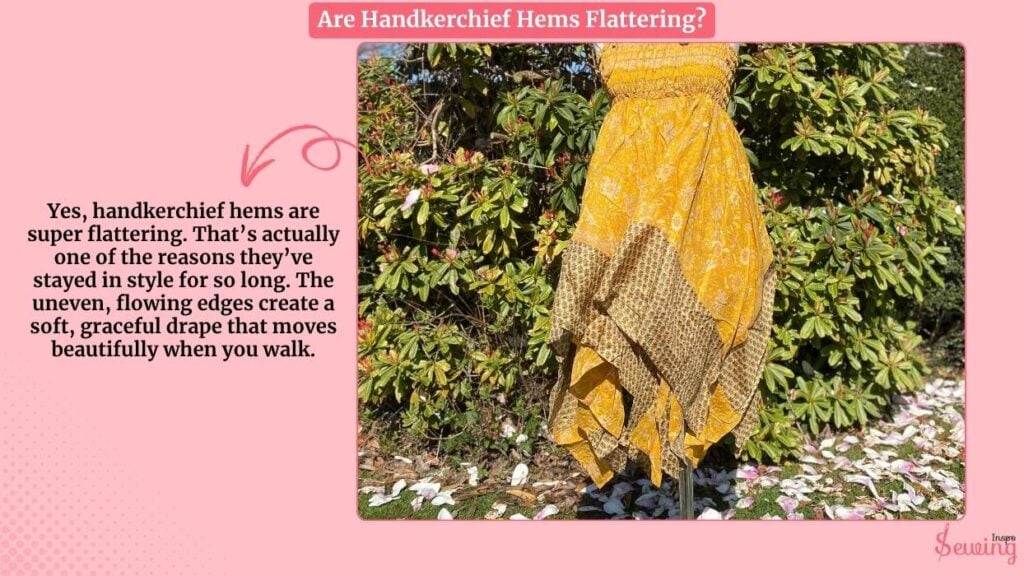
So whether it’s a skirt, dress, or top, a handkerchief hem gives that airy, romantic vibe that flatters just about anyone.
How To Do Handkerchief Hem Stitch By Hand?
To do a handkerchief stitch hem, follow the steps-
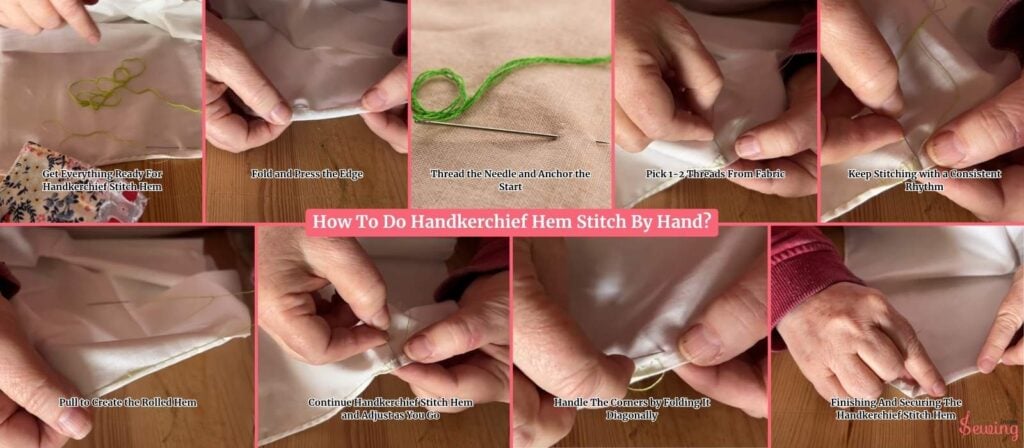
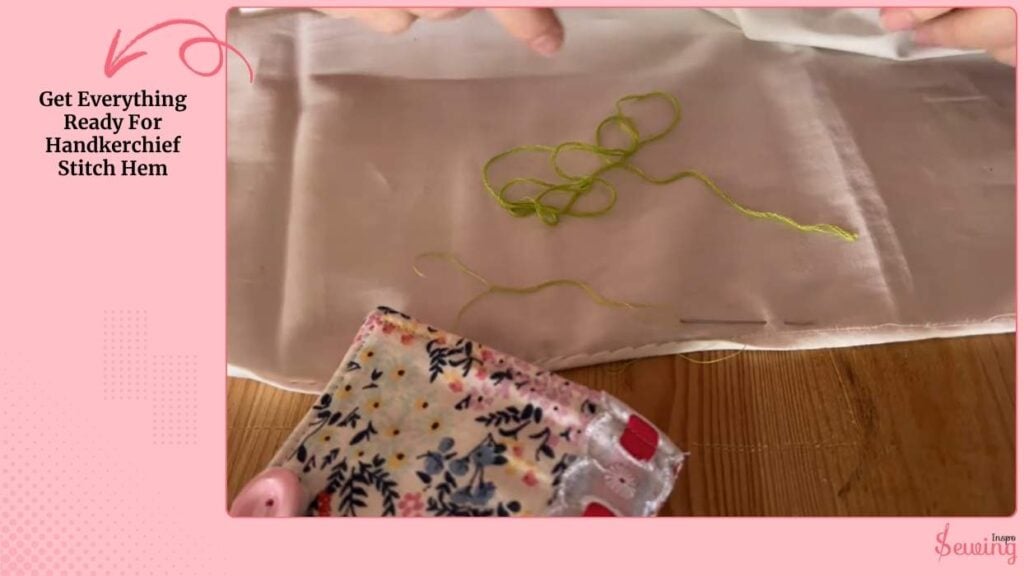
Get Everything Ready For Handkerchief Stitch Hem
Before I even start sewing, I gather my essentials. The right setup makes the whole process smoother and faster. What I use:
- Lightweight cotton fabric (about 40 × 40 cm for a handkerchief)
- Embroidery needle (I prefer Milliners or size 8–10 embroidery needles)
- Embroidery floss
- Small scissors or thread snips
- Ruler or measuring tape
Thread prep:
Cut a piece of embroidery floss around 30–40 cm long. It’s better if it’s better. If using 6-strand floss, pull out one strand for a neat, invisible finish.
Cut the thread tip at a 45° angle. It makes threading the needle so much easier.
Once everything’s laid out, I take a deep breath and get comfy. Hand hemming is slow sewing at its best.
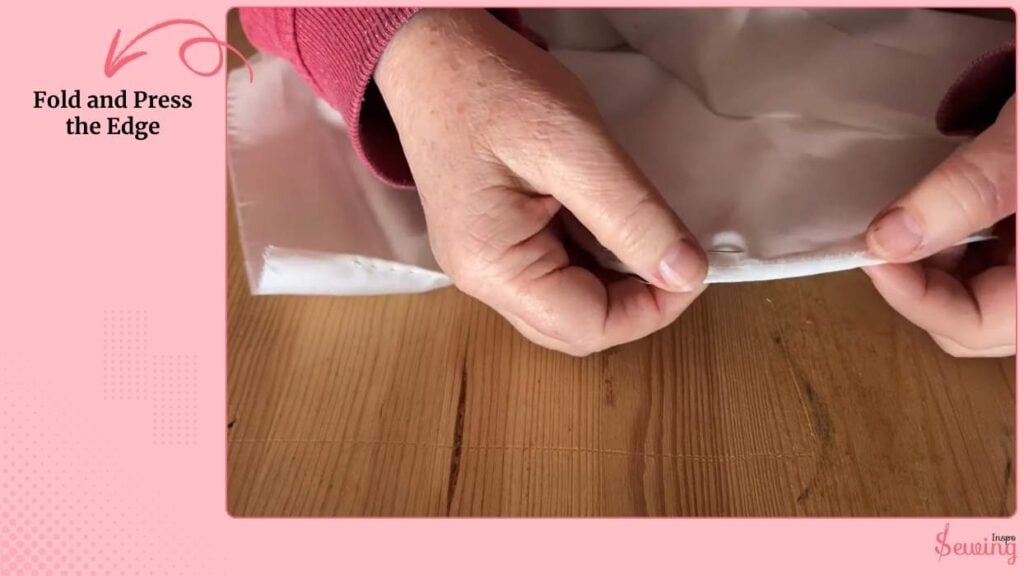
Fold and Press the Edge
Next, I prepare the fabric edge. This is what will eventually roll into that neat little hem. I fold the raw edge over about 5 mm (¼ inch) with my fingers.
I smooth it flat, just finger-pressing. No iron yet. I only fold 10–15 cm at a time. So it’s easier to handle.
Keep the fold narrow. Cause too wide, it won’t roll neatly later on. This tiny fold is the foundation of your whole hem.
Thread the Needle and Anchor the Start
Now it’s time to get stitching. I thread my single strand of floss and anchor it on the wrong side of the fabric. To anchor the thread:
- Bring the needle up through the wrong side, just below the fold.
- Make a small anchoring stitch to secure your thread before starting the hem.
- Keep the knot hidden under the fold so it doesn’t show through.
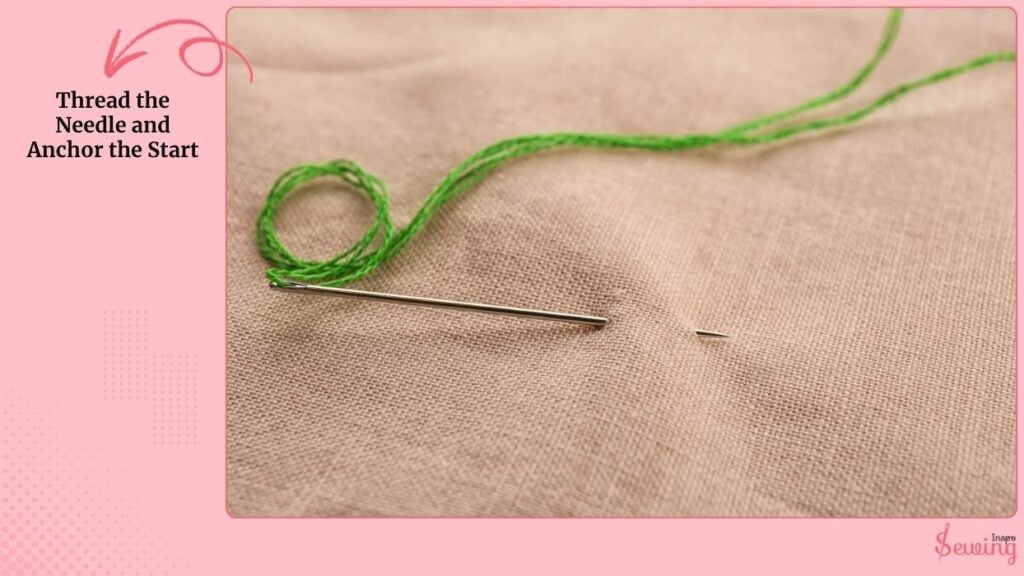
This little step keeps everything in place when you start pulling the thread later. No unraveling surprises.
Pick 1-2 Threads From Fabric
This is where it starts to get fun. The actual hemming! I keep my stitches small, light, and even.
I pick up 1–2 threads from the fabric just below the raw edge. Then I take the needle up into the folded hem, about 1 cm away from the previous stitch.
Pull the thread gently, snug but never tight. Repeat this motion, alternating between the body and the folded edge.
You’ll see a soft zig-zag pattern forming.
A diagonal from the body up into the fold, then back down again. That’s exactly what you want.
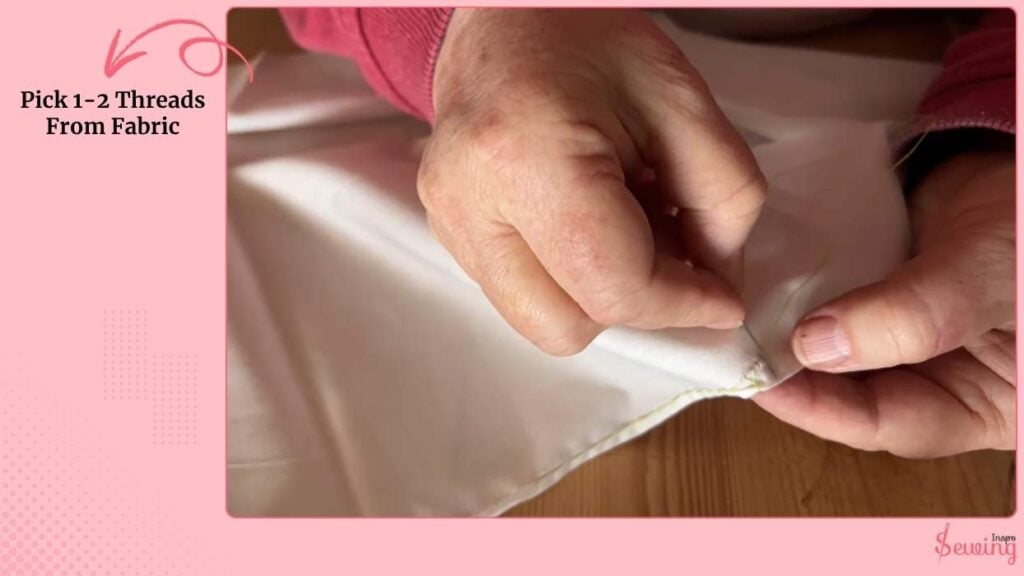
Pro tip: Use your needle as a guide to stay perpendicular when you stitch into the folded edge. It helps you keep that straight, elegant line.
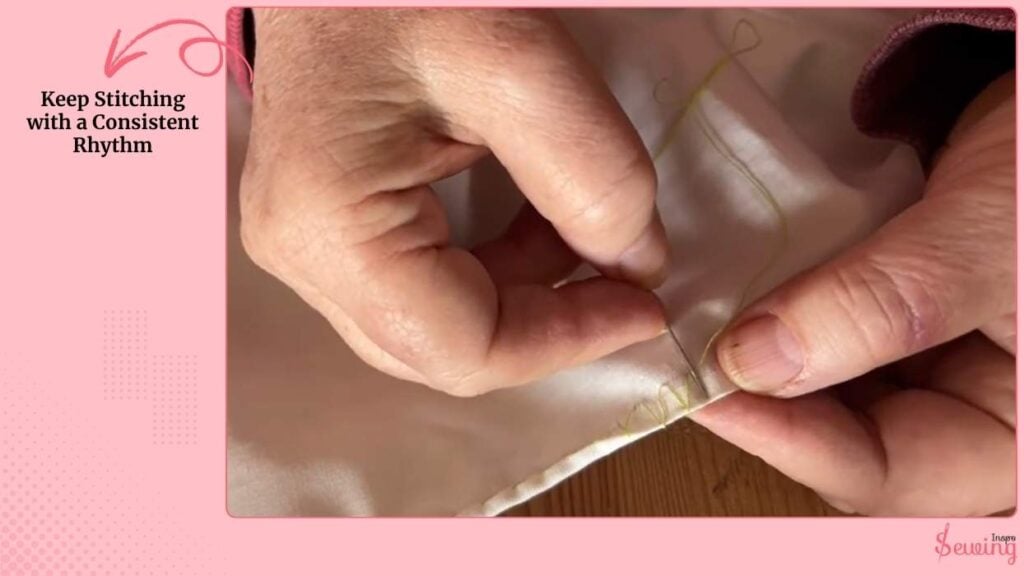
Keep Stitching with a Consistent Rhythm
Once I find my rhythm, the process becomes super relaxing. I stitch slowly and evenly, always keeping tension light.
My small rules while stitching:
- Space each stitch about 8–10 mm apart (just under 1 cm).
- Keep the stitches parallel so they form tidy little “V” shapes.
- Don’t pull too tight. The hem should roll softly, not pucker.
- If I need a guide, I lightly mark a pencil line or use my fingertip as a spacing marker.
By the time I’ve stitched a few centimeters, I can already see the delicate structure forming.
Pull to Create the Rolled Hem
After stitching around 5–6 cm, it’s time for the most satisfying part. You can pull the thread to create that rolled effect.
Hold the thread end gently and pull it slowly along the stitched section. Watch as the folded edge begins to curl into a tiny, perfect roll. Smooth it gently with your fingers as it forms.
If your thread is good quality (like DMC), it should slide through easily. If it starts fuzzing or breaking, your thread was probably too long. It’s better to keep the short pieces shorter.

Continue Handkerchief Stitch Hem And Adjust As You Go
Once that section looks good, I fold another small portion (again, about 5 mm) and continue stitching. I repeat the same motion:
- Stitch 5–6 cm
- Pull the thread to roll the hem
- Adjust the tension and spacing
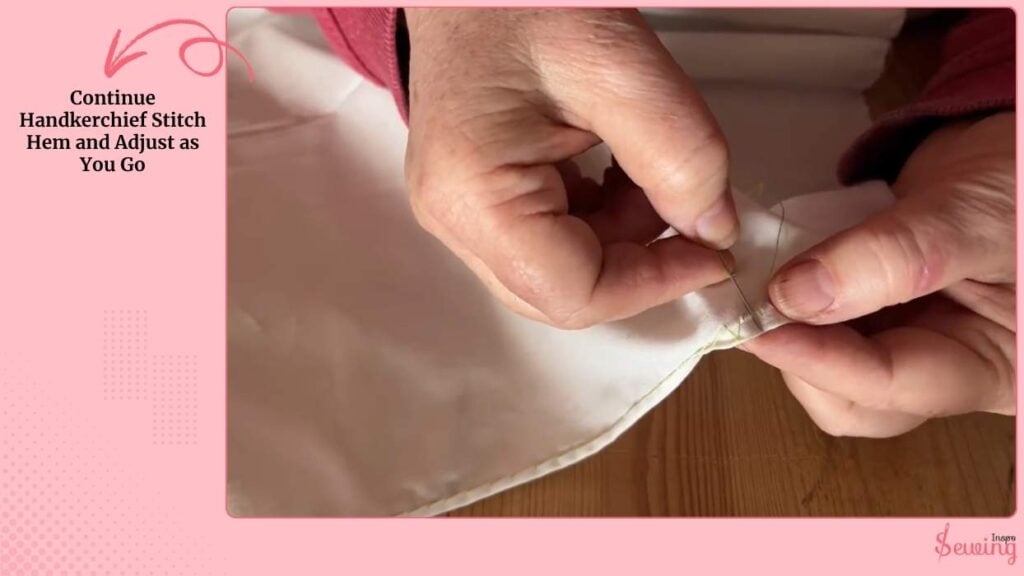
If the rolled edge feels uneven, I gently press or roll it between my fingers to even out the stitches.
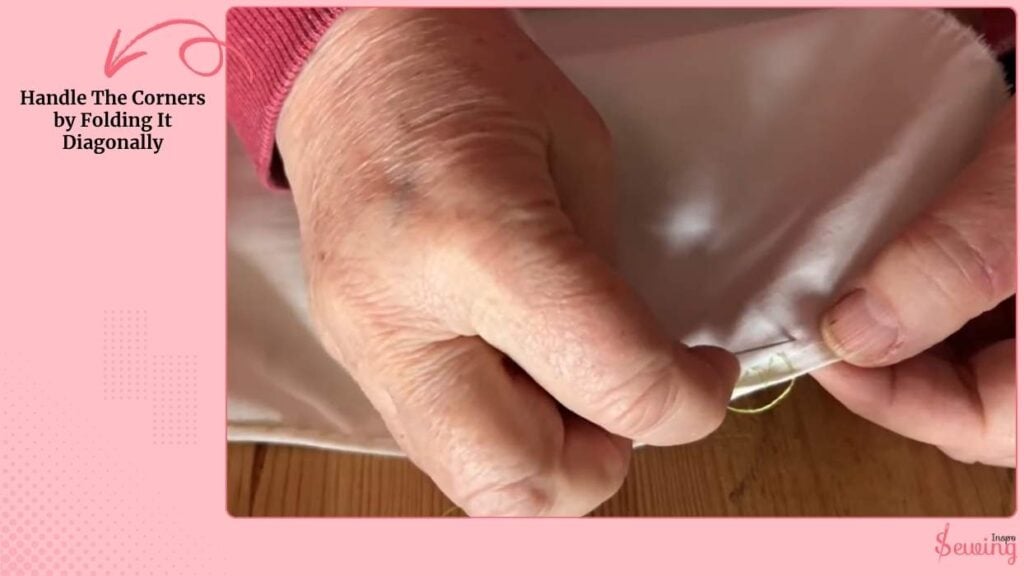
Handle The Corners By Folding It Diagonally
Corners can be tricky, but here’s my trick to make them clean. When I reach a corner, I fold it in diagonally, creating a small miter fold.
Then I stitch as usual, catching the folded edges neatly. The roll will naturally curve around the corner when you pull the thread.
This gives you a professional finish. No bunching or bulky corners.
Finishing And Securing The Handkerchief Stitch Hem
Once I’ve finished all sides, I secure the last stitch carefully. Here’s what I do:
- Take a tiny backstitch into the rolled edge.
- Pull the needle through and make a small knot on the wrong side.
- Weave the tail under a few stitches for extra hold and trim it close.
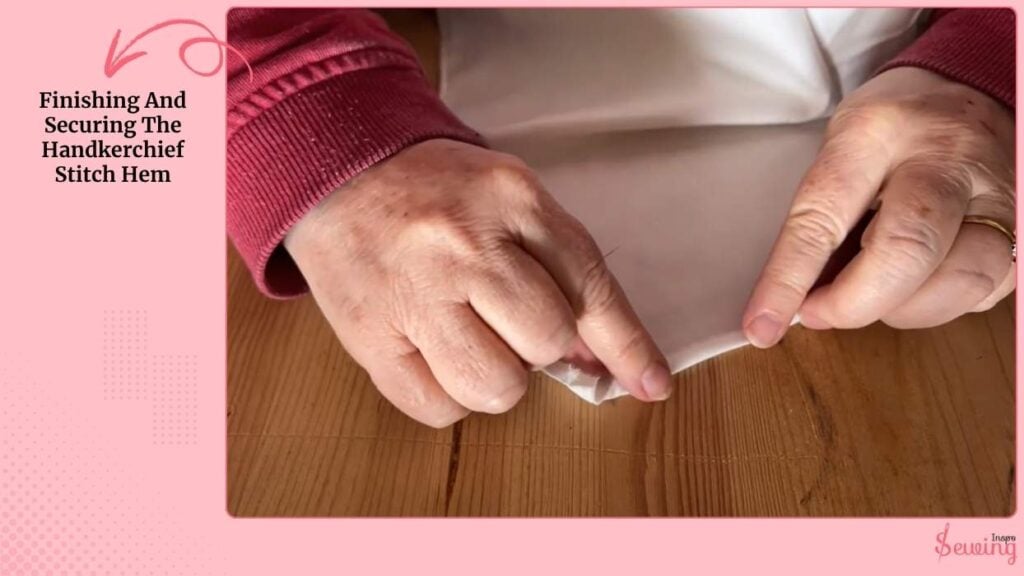
Then I press the whole edge lightly with an iron. Just a quick touch-up makes the hem look crisp and perfectly flat.
Handkerchief Hem Stitch By Hand Youtube
Hand Sew a Rolled Hem on a Handkerchief
Frequently asked questions
What type of fabric works best for a handkerchief hem?
Light, flowy fabrics like chiffon, silk, organza, or lightweight cotton are ideal. These fabrics drape beautifully and help the pointed hem fall naturally instead of looking stiff.
Can I sew a handkerchief hem with a sewing machine instead of by hand?
Yes! You can use a narrow hem foot or rolled hem stitch setting on your sewing machine. However, hand stitching gives more control over delicate corners and helps you achieve a softer, custom finish.
Why does my hem curl or wrinkle after sewing?
That usually happens when the fabric wasn’t pressed properly or the tension was uneven. Always press as you sew and use an iron on low heat to keep the hem flat and neat.
Final Thoughts
And that’s it, your Decorative hem stitch by hand is done! The stitches are nearly invisible from the front, and the rolled edge looks light, elegant, and timeless.
Every time I finish one, I can’t help but admire how something so delicate can be so strong. And honestly, it’s a little addictive once you get the hang of it.


Leave a Reply