
If you’ve been sewing long enough, you already understand that a whipstitch is more than a “quick fix” seam. On a sewing machine, you need a tweak the settings a little to do a whip stitch.
Whip Stitch
The machine actually can’t do a whipstitch. It simply mimics the whip stitch with a controlled zigzag variation that replicates the hand-sewn loop over the fabric edge.
The trick isn’t just hitting the pedal. It’s knowing how to dial in your stitch width, tension, and presser foot pressure. What are those? I knew this question was coming, so I decided to take it on practically.
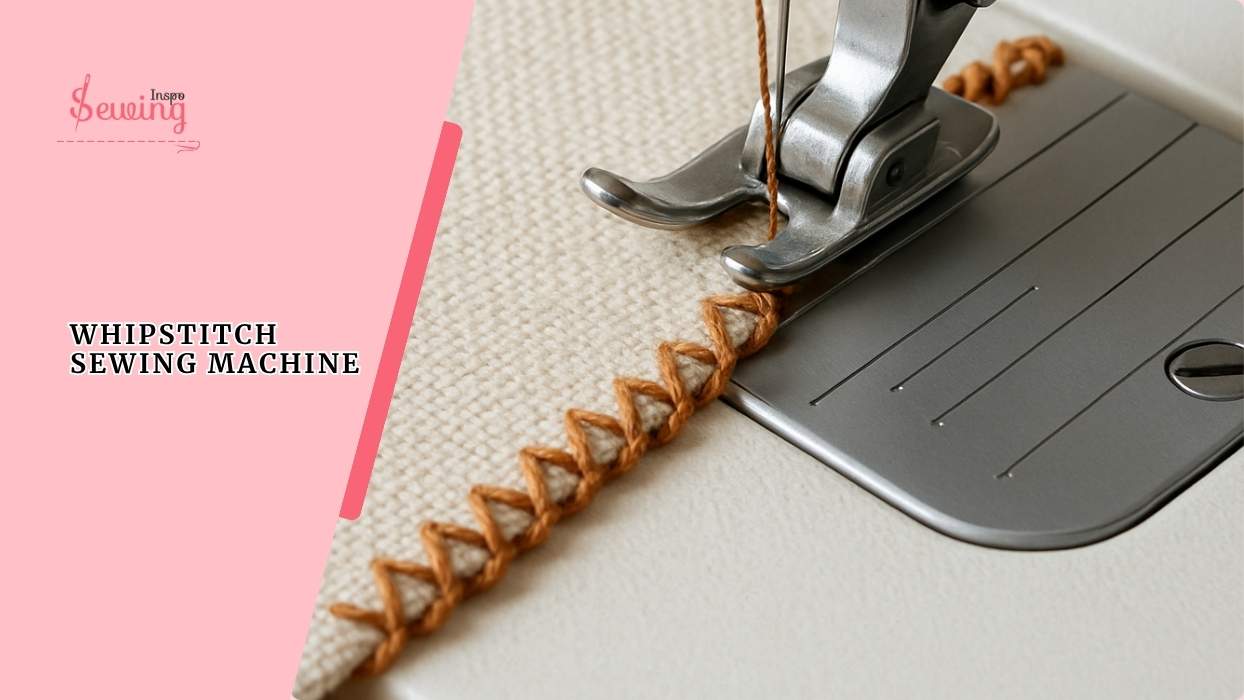
Table of Contents
What Is Whip Stitch Sewing Machine?
A whip stitch on a sewing machine is a stitch that loops thread over the raw edge of fabric to secure it. It’s often used for:
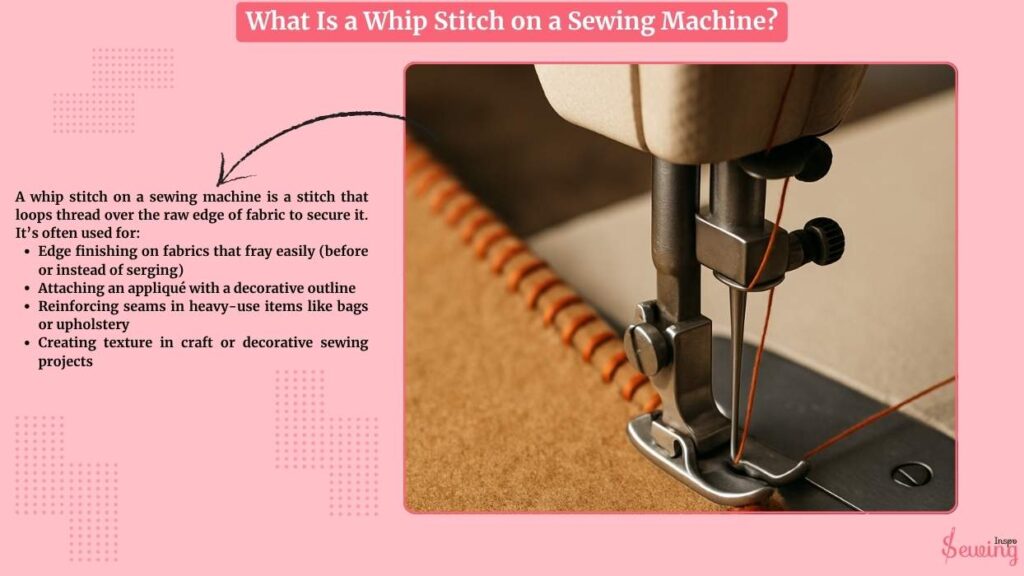
- Edge finishing on fabrics that fray easily (before or instead of serging)
- Attaching an appliqué with a decorative outline like blanket stitch on sewing machine.
- Reinforcing seams in heavy-use items like bags or upholstery
- Creating texture in craft or decorative sewing projects
A serger is faster for edge finishing. The machine whip stitch is ideal when you don’t have a serger or need more control over stitch placement and tension.
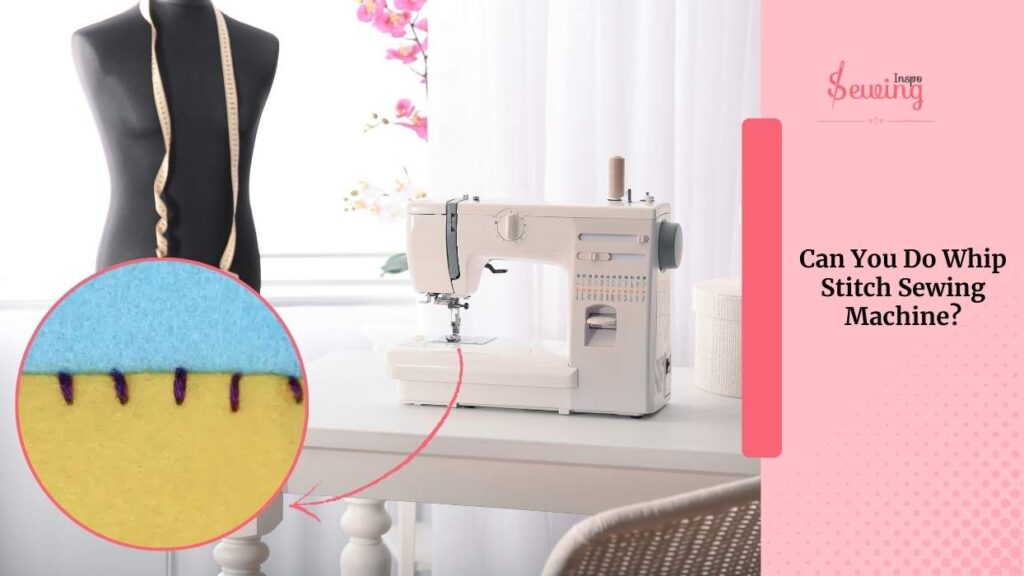
Can You Do Whip Stitch Sewing Machine?
Yes a whip stitch sewing machine mimics the hand whip stitch by looping thread over the fabric edge, securing raw edges and preventing fraying. You can often do it in overlock/serger machines.
People often mix it up with the top stitch sewing machine symbol. But both are different things.
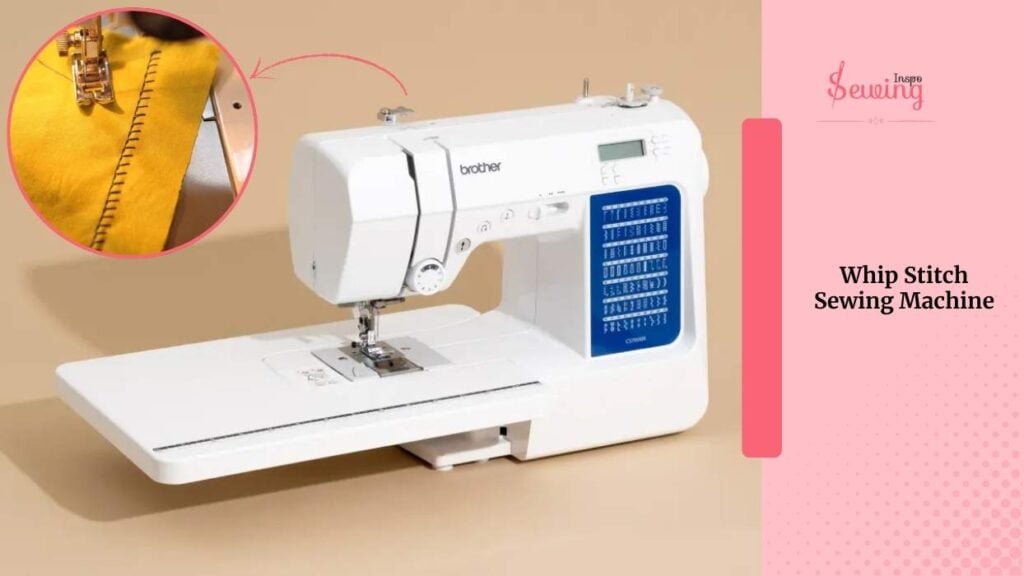
Whip Stitch Sewing Machine
Wondering which whip stitch sewing machine you should get? Don’t worry I got a list of whip stitch sewing machine for you,
- Janome HD3000
- Brother CS6000i
- Singer Heavy Duty 4423
- Brother XM2701
How Does A Whip Stitch Sewing Machine Work?
To do whipstitch sewing on a sewing machine, follow bellow steps,
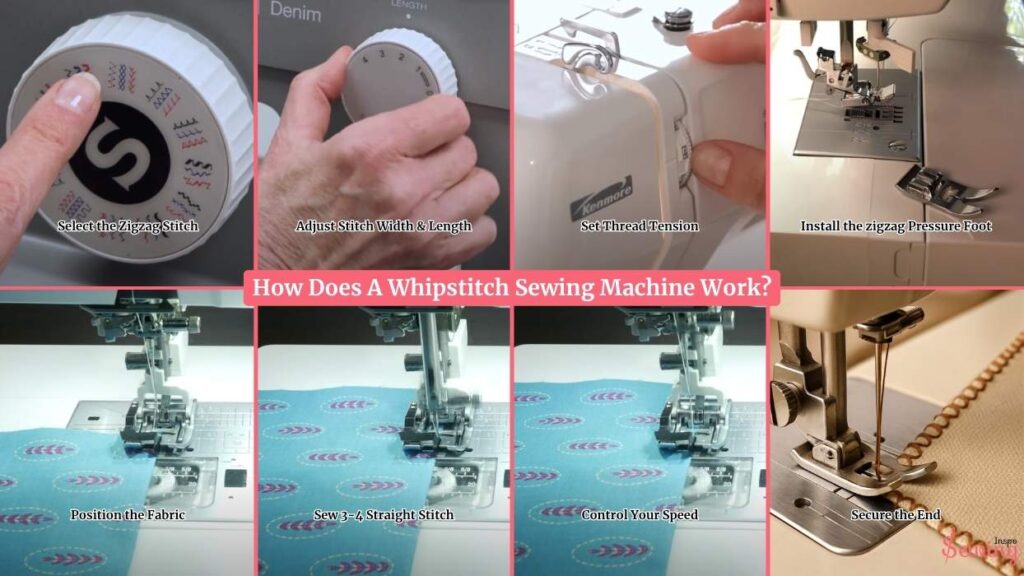
- Select the Zigzag Stitch
- Adjust Stitch Width & Length
- Set Thread Tension
- Install the zigzag Pressure Foot
- Position the Fabric
- Sew 3-4 Straight Stitch
- Control Your Speed
- Secure the End
Select the Zigzag Stitch For Whipstitch
Most domestic sewing machines don’t have a literal “whipstitch” button. Instead, you mimic it with:
- A narrow zigzag stitch (most common)
- A dedicated overcast stitch (if your machine has one)
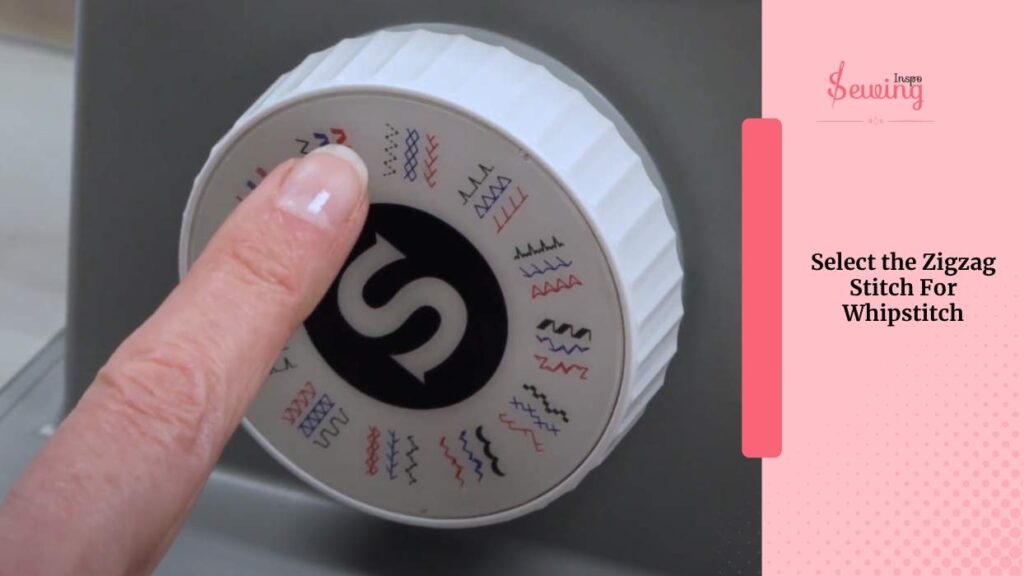
Both stitches wrap the thread over the raw edge in the same way a hand-sewn whipstitch would.
Adjust Stitch Width and Length
These settings control the number of thread wraps over the edge and the distance between each stitch. Start here:
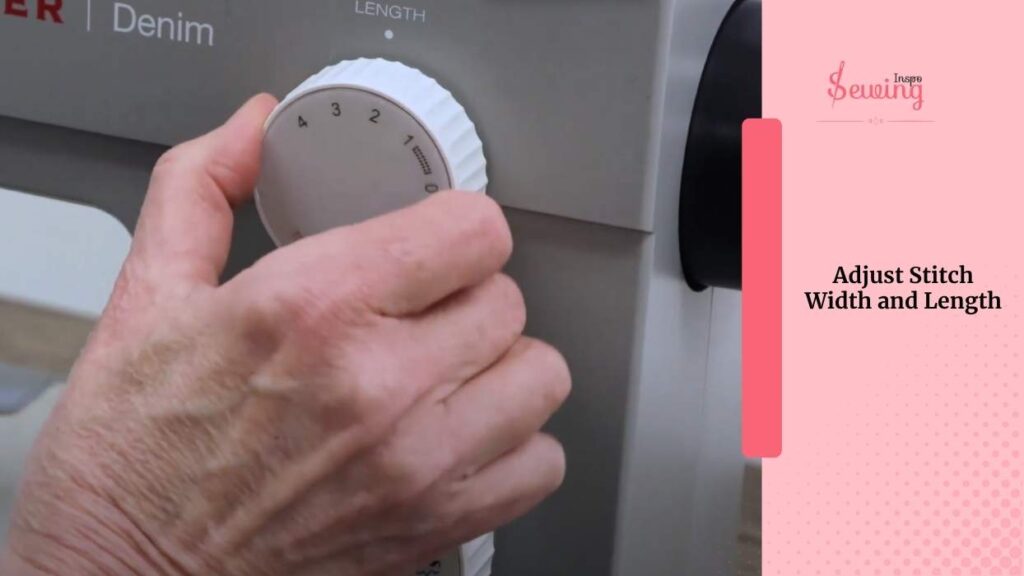
- Lightweight fabrics: Width 2–3 mm, length 0.6–1.0 mm
- Medium fabrics: Width 3–4 mm, length 0.8–1.4 mm
- Heavy fabrics: Width 4–6 mm, length 1.2–2.0 mm.I do this for the blanket stitch machine, too.
Test on a scrap of your project fabric and adjust until you like the coverage.
Too narrow = poor edge wrap, too wide = messy look.
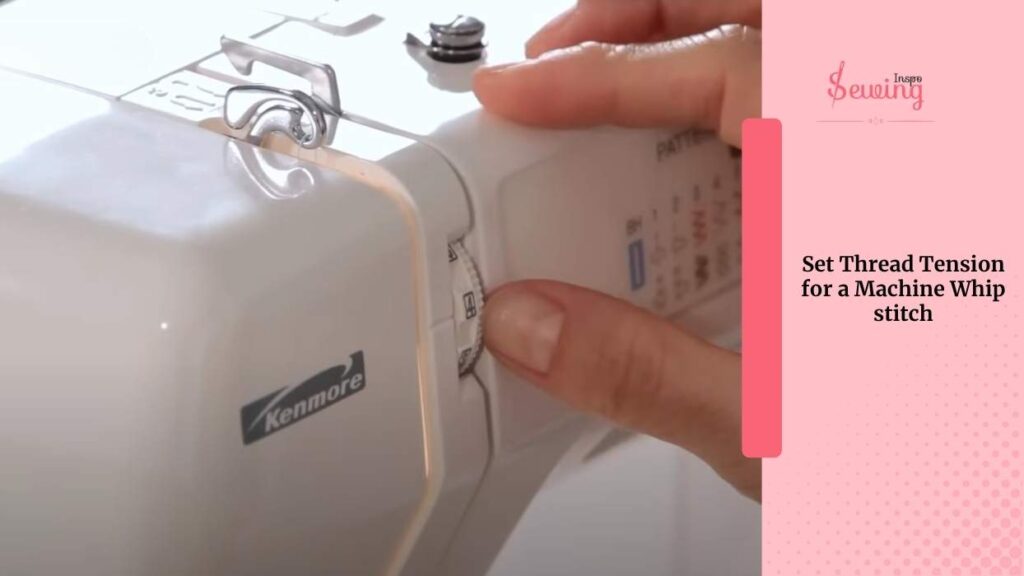
Set Thread Tension for a Machine Whip stitch
Thread tension is the silent hero in this case. Too tight and the fabric will pucker; too loose and the thread won’t wrap cleanly. The perfect thread tension for whip stitches 6 or 7 and loosening the bobbin tension a little.
For delicate fabrics, you can lower the tension slightly from 4 to 3. For heavy fabrics, increase the tension slightly from 4 to 5.
Always adjust in small increments and re-test.
Install the zigzag Presser Foot
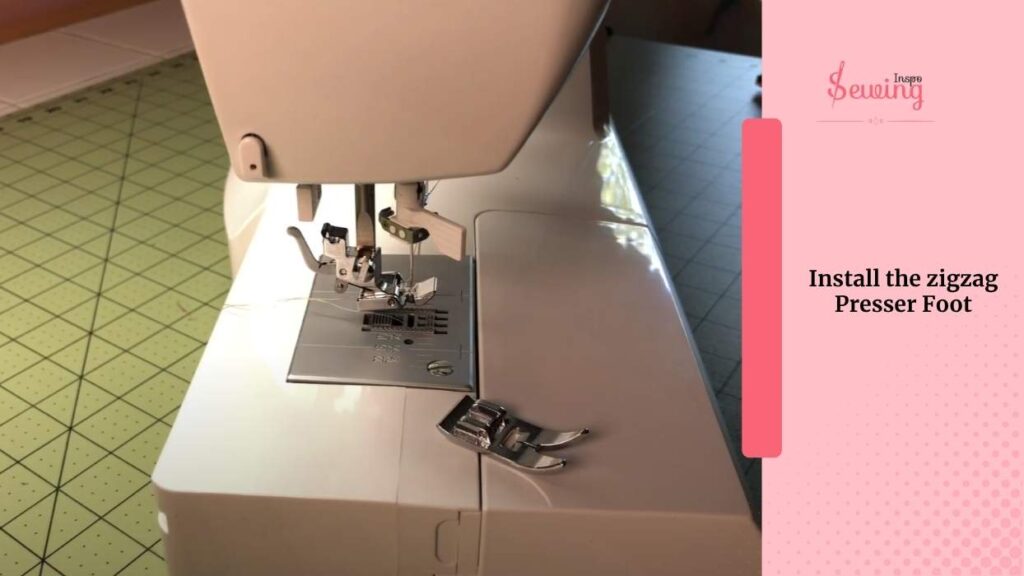
Switch to your zigzag or overcast foot. If it has a built-in edge guide, align it with the raw edge of your fabric. This will keep your stitches consistent without having to “eyeball” every movement.
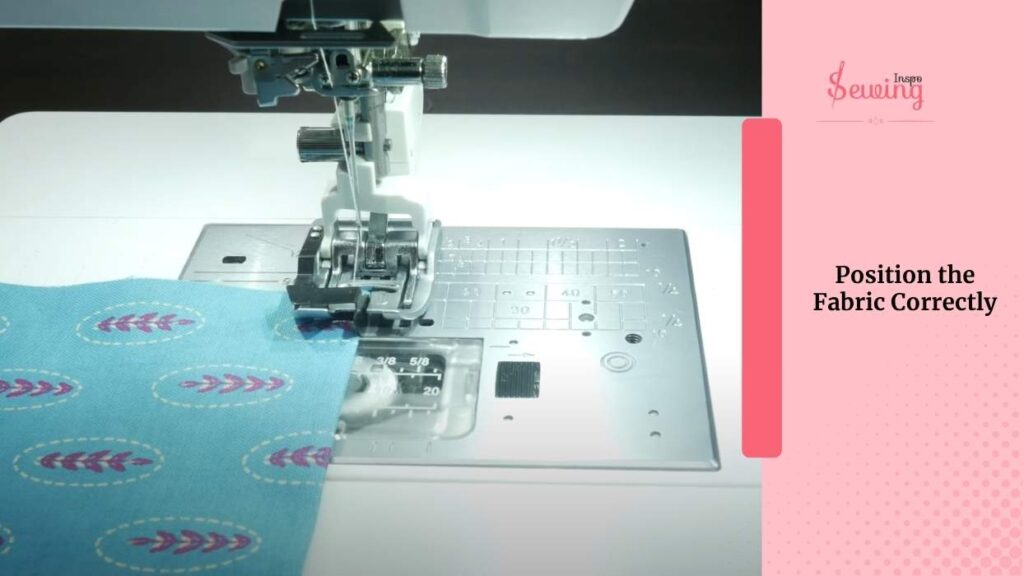
Position the Fabric Correctly
Place the raw edge of the fabric under the presser foot so that. The inside swing of the needle lands just inside the fabric.
The outside swing lands just off the edge, wrapping the thread around it. This is the key motion that creates the whipstitch effect.
Sew 3–4 Straight Stitches First For a Strong Grip Of Whipstitch
To avoid unraveling, sew 3–4 straight stitches first, then switch to zigzag. Or, start with zigzag and backstitch over the first few stitches.

Begin sewing slowly. Watch the needle’s swing rather than the fabric itself. It keeps your alignment perfect.
Control Your Speed and Guide the Fabric
Maintain steady, even feeding without pushing or pulling. Sew slowly, lift the presser foot (with the needle down), pivot the fabric, and continue. This prevents gaps or missed wraps.

Secure the End of the Stitch
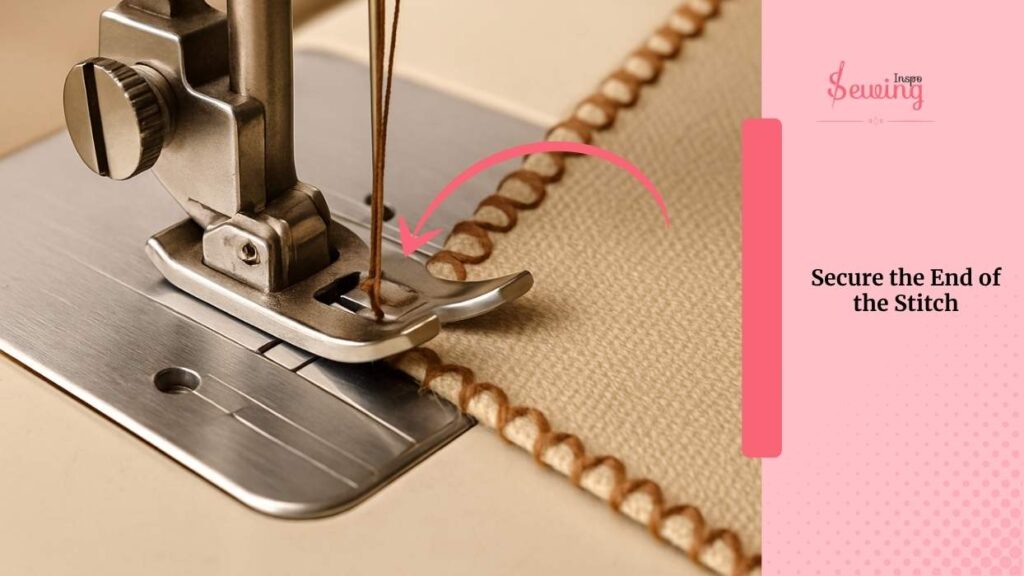
When you reach the end, backstitch for 3–4 stitches to secure the work. Trim the thread tails to 3–4 cm. For high-fray fabrics, knot the tails or apply fray-check to the ends.
Frequently asked questions
Can all sewing machines do a whipstitch?
Not all machines have a built-in whipstitch function. Some advanced or embroidery machines offer a whipstitch stitch setting, while on basic machines, you can simulate it by adjusting stitch length and using a zigzag or overlock stitch.
What materials can I use a whipstitch on?
Whipstitch is great for finishing raw edges on woven and knit fabrics, attaching appliques, and closing seams on thick or stretchy fabrics like fleece or leather.
How do I adjust the tension for a whipstitch on my machine?
Proper tension depends on your fabric and thread type. Generally, a balanced tension (neither too tight nor too loose) is ideal for keeping stitches neat and preventing puckering. Test on scrap fabric before sewing the final piece.
Is whipstitch the same as overlock or serging?
No. Whipstitch wraps around the edge in a simple diagonal or spiral stitch, whereas overlocking or serging trims the fabric and encloses the edge with multiple threads for a cleaner, more durable finish.
Conclusion
The whipstitch on a sewing machine is a versatile and useful stitch that combines function with style.
While not every machine has a dedicated whipstitch, with a little practice and the right settings, you can easily replicate this classic hand stitch using your machine.
Don’t forget to test your tension and stitch length on scrap fabric to get perfect, durable results every time!


Leave a Reply