
The herringbone stitch has long been a hand-embroidery favorite. It is known for its crisscross pattern and decorative flair. It’s elegant, textured, and perfect for borders or adding personality to seams. But here’s the big question: can your sewing machine pull it off too?
Spoiler: yes… kind of.
Sewing machines can’t replicate the exact hand-stitched version stitch by stitch, but many modern models come with built-in decorative stitches that mimic the look of a herringbone stitch.
These stitches are often listed under names like “cross-stitch,” “decorative X-stitch,” or “multi-stitch zigzag.” With the right foot and settings, you can achieve a similar effect, especially for borders, faux hems, or decorative topstitching.
How does it work? Let me show you.
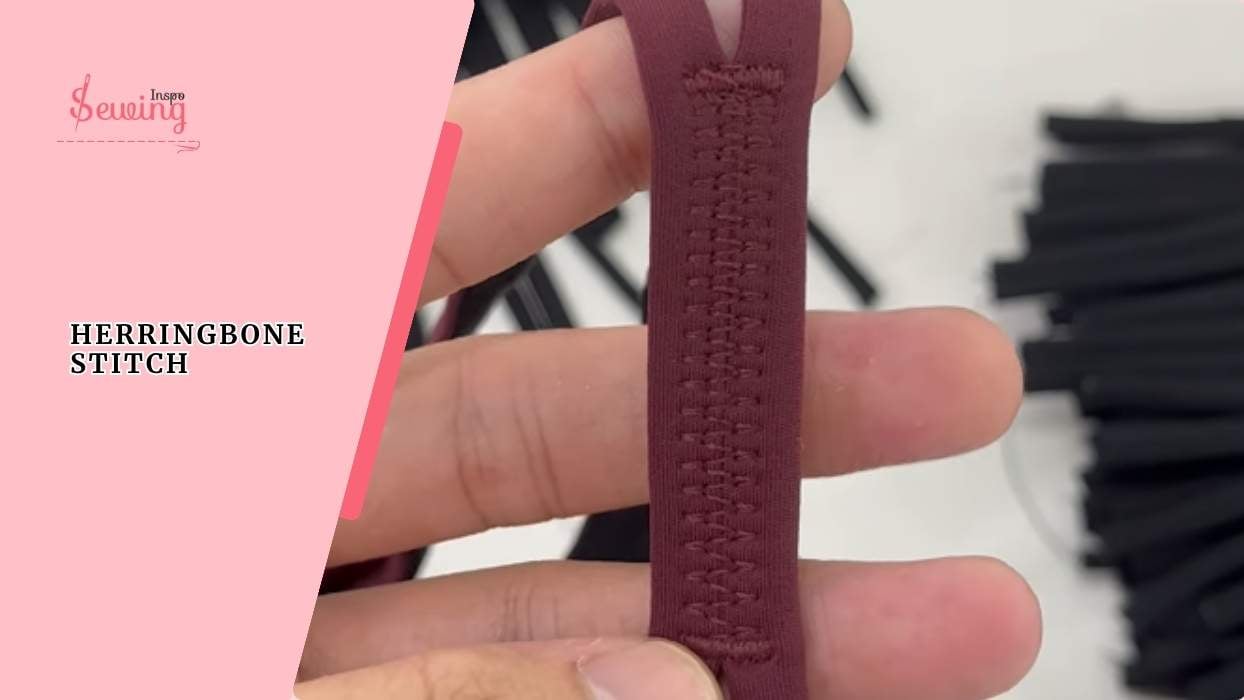
Table of Contents
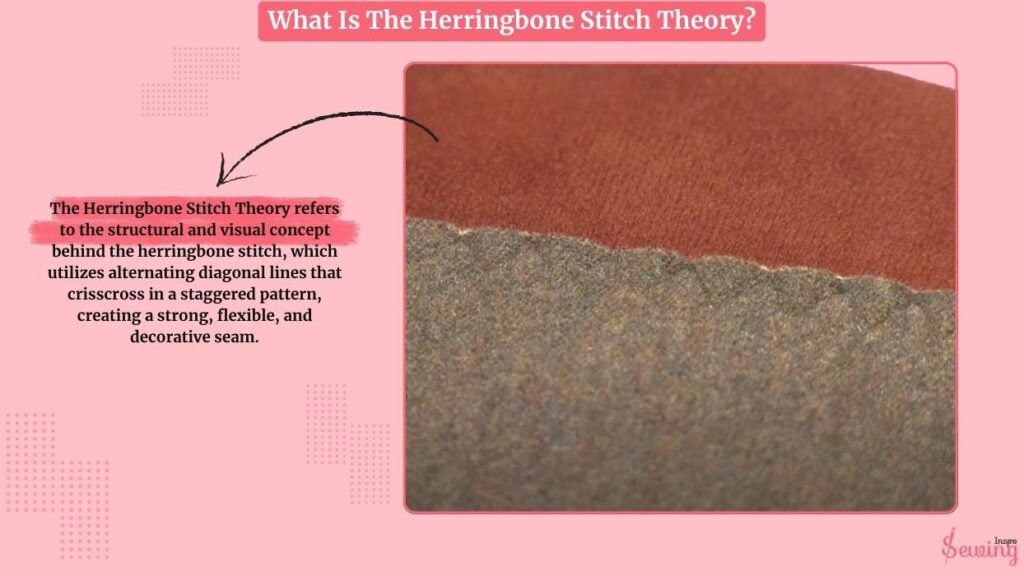
What Is The Herringbone Stitch Theory?
The Herringbone Stitch Theory refers to the structural and visual concept behind the herringbone stitch, which utilizes alternating diagonal lines that crisscross in a staggered pattern, creating a strong, flexible, and decorative seam.This kinda gives me heirloom stitch vibe too.
Herringbone Stitch Uses
The herringbone stitch is used in both decorative embroidery and functional sewing for its unique X-shaped, crisscross pattern.
Common uses include:
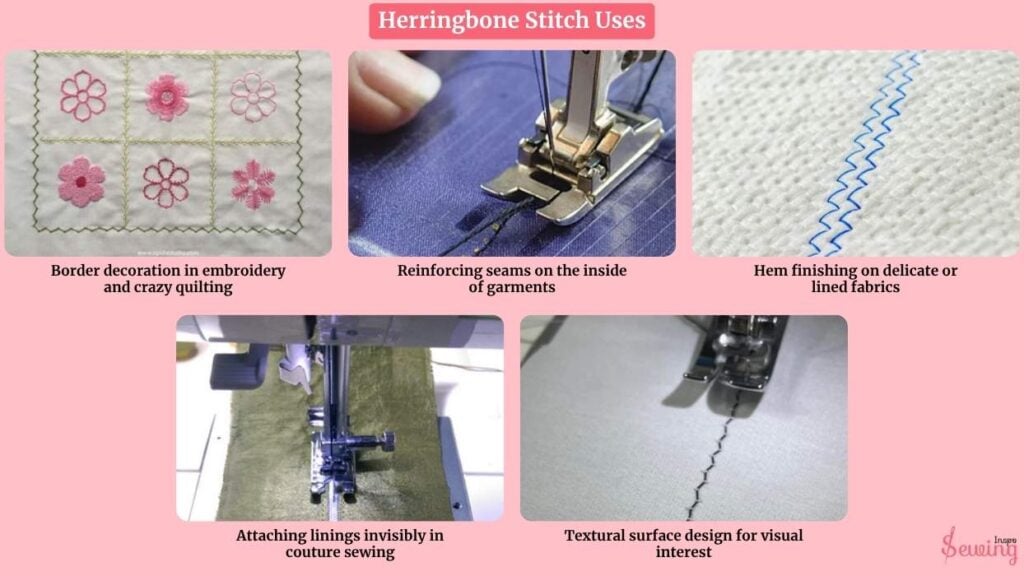
- Border decoration in embroidery and crazy quilting
- Reinforcing seams on the inside of garments
- Hem finishing on delicate or lined fabrics
- Attaching linings invisibly in couture sewing
- Textural surface design for visual interest
I love it for being both strong and stylish, adding structure and beauty to fabric.
Herringbone Stitch Design
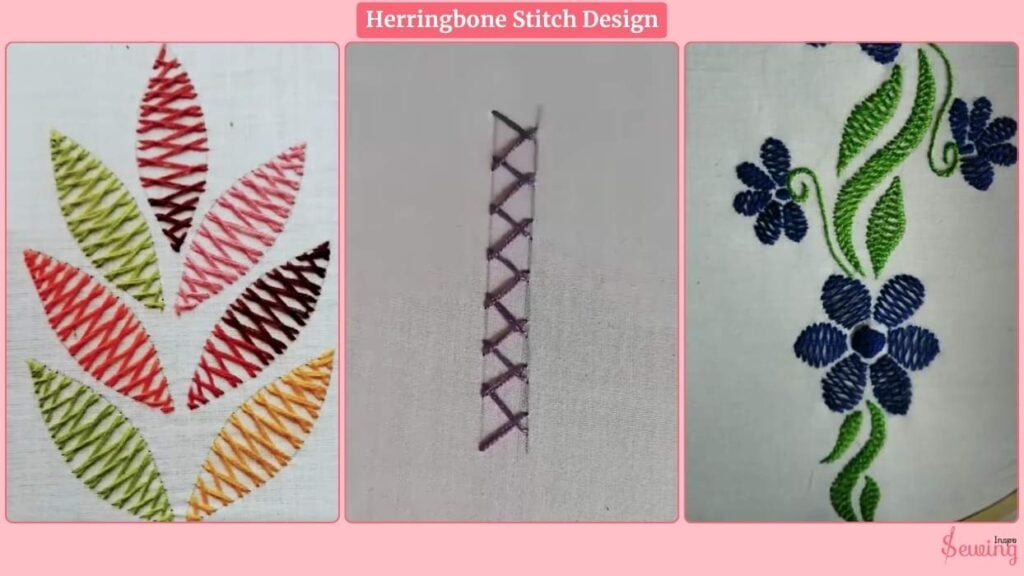
If you’re hearing about this stitch for the first time, watch this to see what it looks like in design.
Herringbone Stitch How Do By Sewing Machine
I know you must be surprised seeing you can do herringbone on a machine just like scallop stitch. But it’s true. You just need the right machine with the right settings & foot.
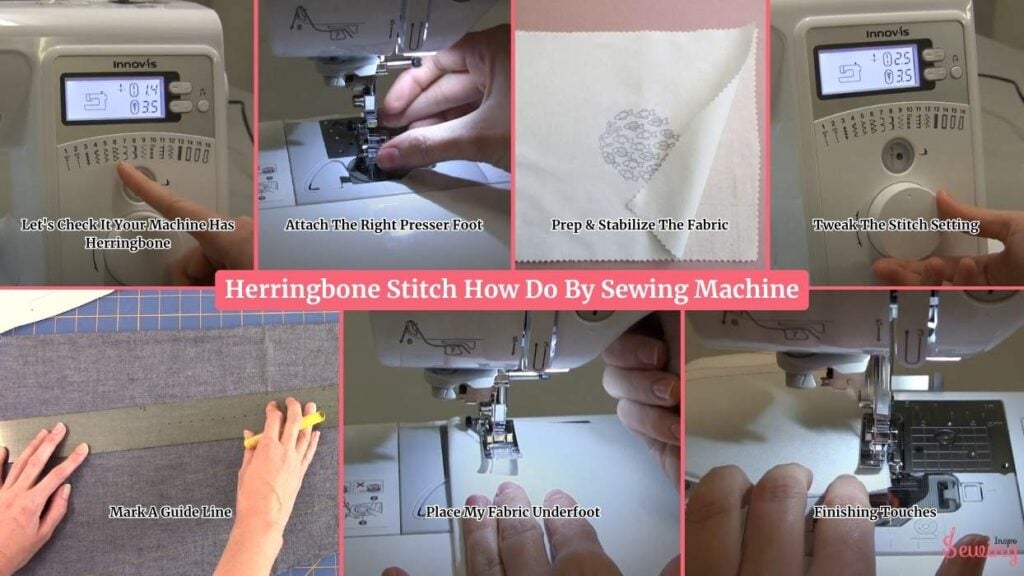
So to do a herringbone stitch on a sewing machine, follow 7 steps,
- Let’s Check It Your Machine Has Herringbone
- Attach The Right Presser Foot
- Prep & Stabilize The Fabric
- Tweak The Stitch Setting
- Mark A Guide Line
- Place My Fabric Underfoot
- Finishing Touches
Let’s Check If Your Machine Has a Herringbone or Cross-Stitch Style
First, I turn on my sewing machine and flip through the stitch options. If your machine has an LCD screen or stitch dial, scroll through the decorative patterns. What you’re looking for is something that either:
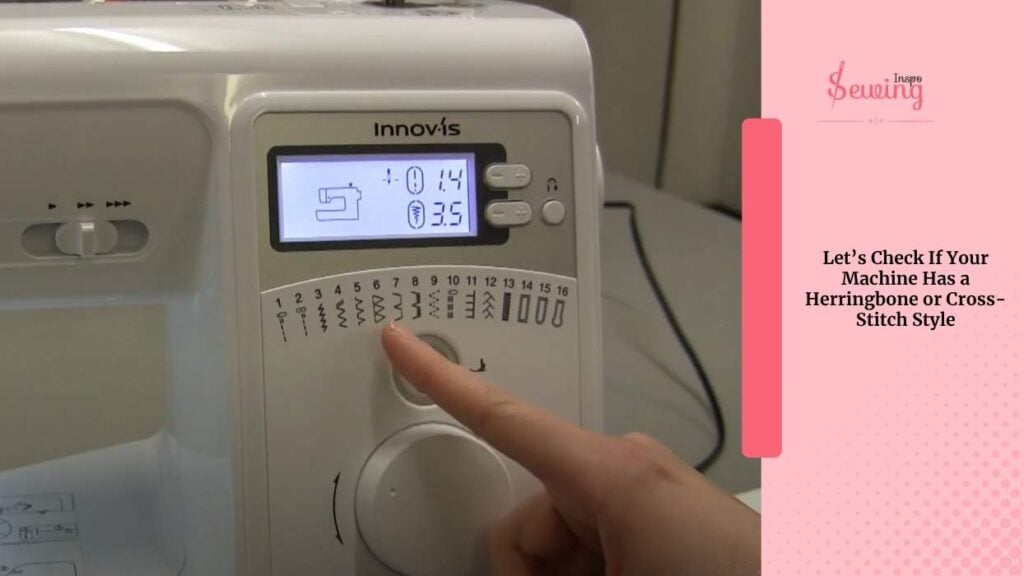
- Looks like tiny overlapping Xs
- Has a crisscross pattern
- Says something like “decorative cross-stitch,” “multi-stitch zigzag,” or “herringbone”
On my Brother machine, it’s stitch #39 — a crisscross pattern that mimics herringbone. Yours may vary, so check your manual or stitch chart.
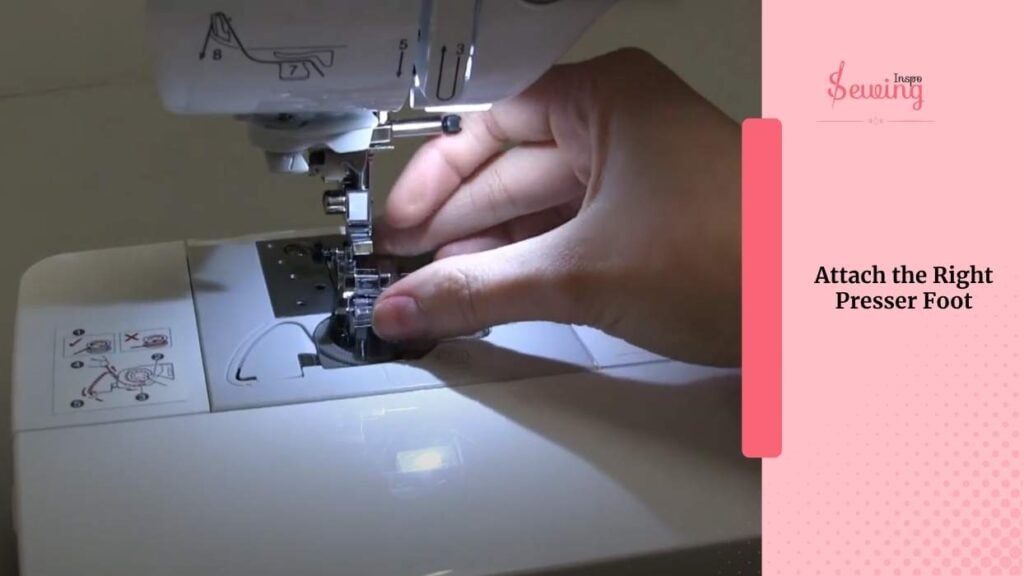
Attach the Right Presser Foot
Now I’m grabbing my zigzag foot (also called “J foot” or “F foot”). It has a wider opening to let the needle swing side to side, which is crucial for decorative stitching.
If you’re using a fancier machine, a “decorative stitch foot” may be included. Use that if you have it. You can use it for Chevron Stitch, too.
Prep & Stabilize the Fabric
This is super important. Decorative stitches can bunch or pucker if the fabric shifts, so here’s what I’m doing:
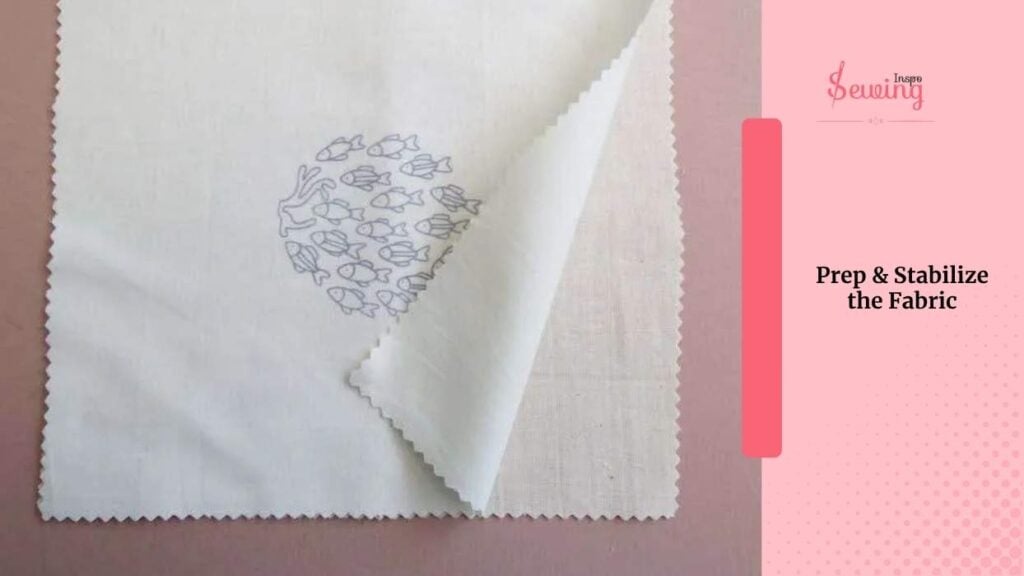
- I cut a piece of cotton (or whatever fabric you’re using).
- Underneath it, I place a tear-away stabilizer or a piece of light interfacing. I use this for smocking stitches too.
- If you’re stitching directly onto a garment, I recommend fusible interfacing on the inside.
Why? It keeps the stitches flat, sharp, and stress-free. Otherwise, you might end up with a wavy mess.
Tweak the Stitch Settings
Once the stitch is selected and the fabric is stabilized, we’ll adjust a few things. I start with 2.5. This controls the distance between each X or zigzag.
I go bold—about 4.5 to 5. This widens the crisscross effect and gives that beautiful herringbone flair. I leave it at the default first (usually 4). However, if you notice thread looping or tugging, I’ll adjust it later.
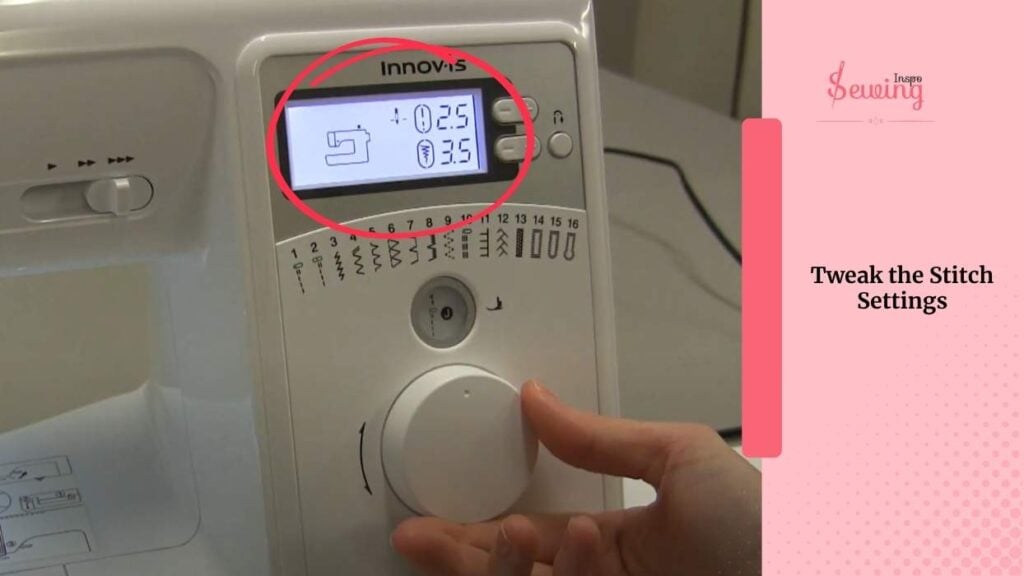
Tip: If your machine doesn’t let you change stitch width or length for this stitch, no worries. Test what it gives you.
Mark a Guide Line
This part keeps our stitching neat and straight. Lay your fabric flat. Use a fabric-safe chalk pencil or air-erasable marker. Draw a straight line where you want the herringbone stitch to go (like along a hem or seam).
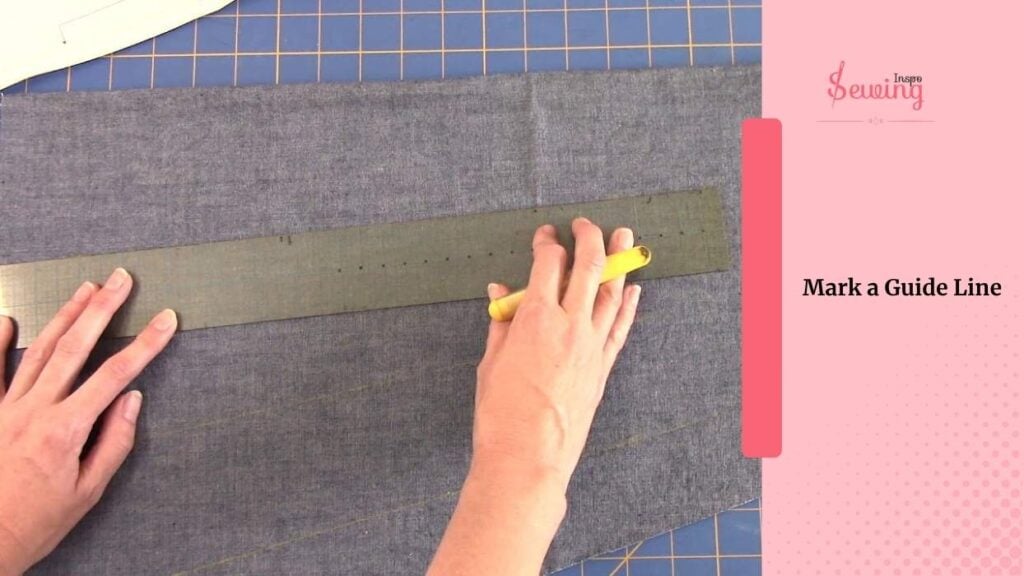
It’ll help you guide the fabric evenly under the foot.
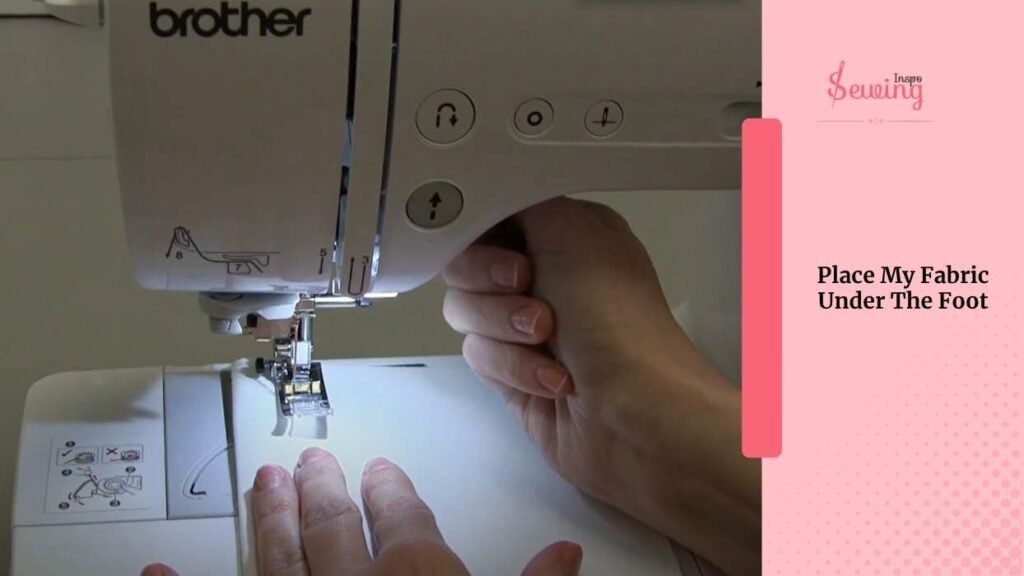
Place My Fabric Under The Foot
I’m placing my fabric under the foot, aligning that drawn line with the center of the presser foot.
- Lower the presser foot
- Hold both thread tails for the first 1–2 stitches (to prevent bunching)
- Start sewing slowly — I mean really gently at first. Watch how the stitch forms.
You’ll see those little crisscrosses or angled stitches start to appear. If it’s looking wonky or off-center, pause. Adjust your fabric slightly and continue. You’ll notice the machine moves side to side a lot—that’s normal for this stitch type.
Finishing Touches With Tear Away Any Stabilizer
Once I reach the end, I stop with the needle up. Lift the presser foot. Gently pull the fabric back and trim the threads.
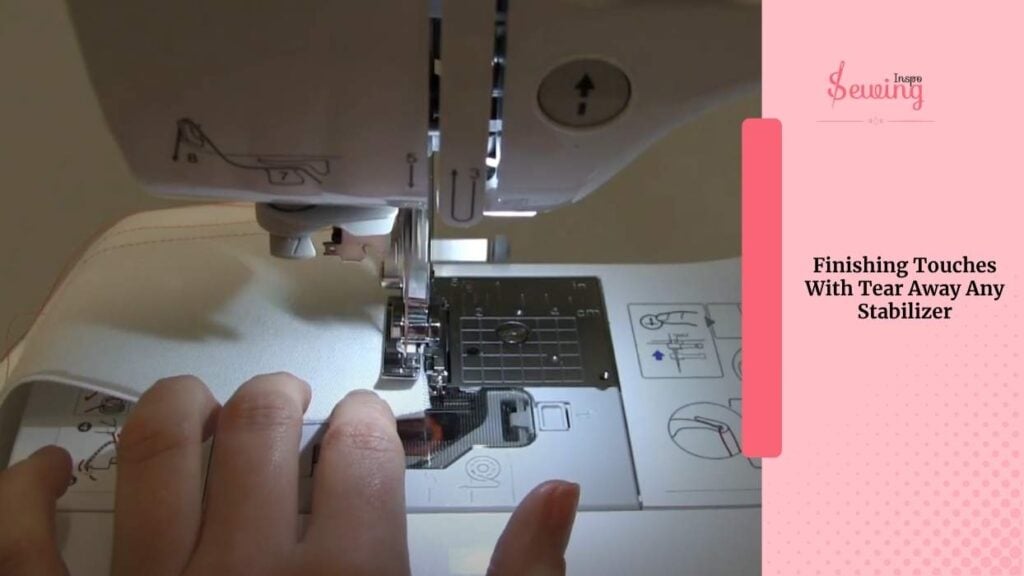
Now, turn your fabric over and tear away any stabilizer or trim the interfacing if needed.
Then I grab my iron and give the back side a quick press—this sets the stitches and flattens everything out. You’ll see that textured herringbone design pop beautifully.
Bonus: If Your Machine Doesn’t Have the Stitch
If your machine is more basic (like a mechanical model), we’ll fake it. Here’s how I’d do it:
- Set a zigzag stitch
- Stitch diagonally for 3–4 short stitches
- Stop, pivot the fabric slightly the opposite direction
- Stitch 3–4 short diagonal stitches again
- Repeat—crisscrossing as you go
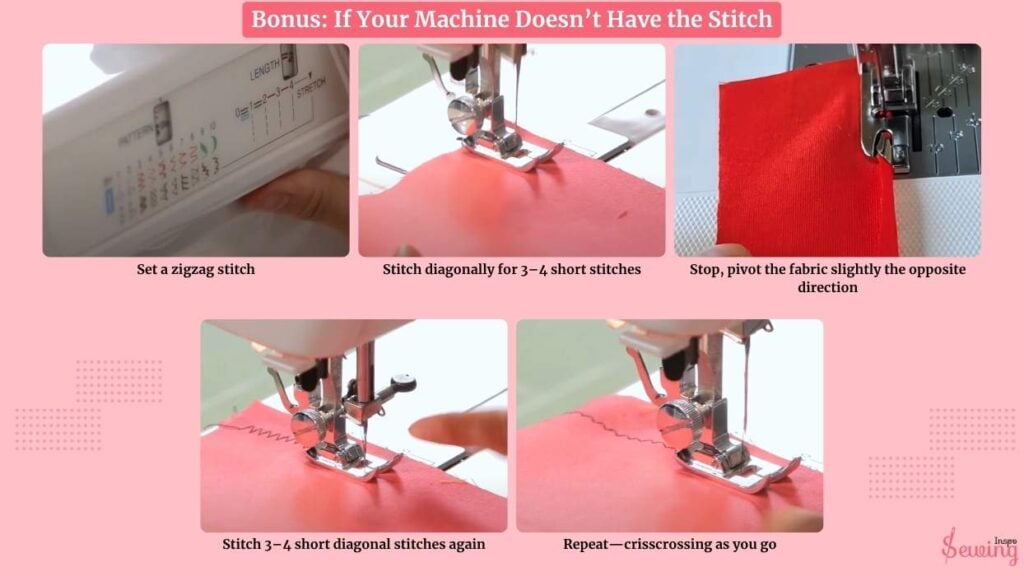
It’s more hands-on, but gives you control to mimic the X pattern.
Double Herringbone Stitch How To Do By Machine
You can’t just do the traditional herringbone. You can even do the double one too. The double herringbone stitch resembles two layers of crisscrossed diagonal stitches, one stacked over the other, typically creating a braid-like or lattice texture.
I know it sounds impossible to do in a machine, but it is possible. Here is how it is possible,
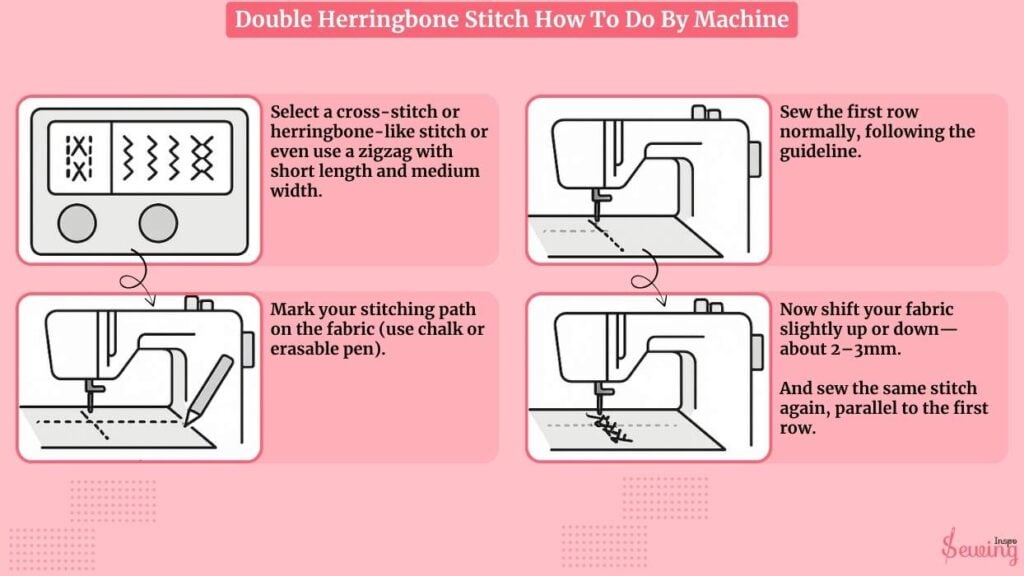
- Select a cross-stitch or herringbone-like stitch or even use a zigzag with short length and medium width.
- Mark your stitching path on the fabric (use chalk or erasable pen).
- Sew the first row normally, following the guideline.
- Now shift your fabric slightly up or down—about 2–3mm.
- And sew the same stitch again, parallel to the first row.
Two rows of crisscrossed stitches that overlap or interlock = double herringbone effect.
Frequently Asked Questions
Can I sew a herringbone stitch by machine?
Yes, many modern sewing machines have a decorative stitch that mimics the herringbone pattern. You can also manually create the effect by layering basic stitches.
What fabrics work best for herringbone stitching?
Medium-weight fabrics like cotton, linen, or canvas are great for learning. Use stabilizer with lightweight or stretchy fabrics to prevent puckering.
Is the herringbone stitch easy for beginners?
Absolutely. It’s beginner-friendly and easy to learn. Once you get the rhythm of alternating angles, it becomes very relaxing to stitch.
And That’s It!
You just stitched a herringbone-style finish with your machine! 🙌 Whether you’re embellishing a quilt, outlining seams, or adding flair to plain fabric. This stitch adds texture and style fast.


Leave a Reply