
I remember the first time I flipped over a pair of yoga leggings and saw those clean, almost invisible seams. No bulk, no folds—just flat, stretchy perfection. I thought, “How on earth did they stitch this so smooth?”
Spoiler alert: It was a flat lock machine stitch.
This stitch isn’t just about looks—it’s built for comfort, flexibility, and zero chafing. All you gotta do is,
To do a flatlock machine stitch, use a serger with the correct tension settings (low upper, high lower) to join fabric edges flat, resulting in visible looping on one or both sides.
So let’s break down what a flatlock stitch really is, how it works, and how to get those pro-looking, no-bulk seams at home.
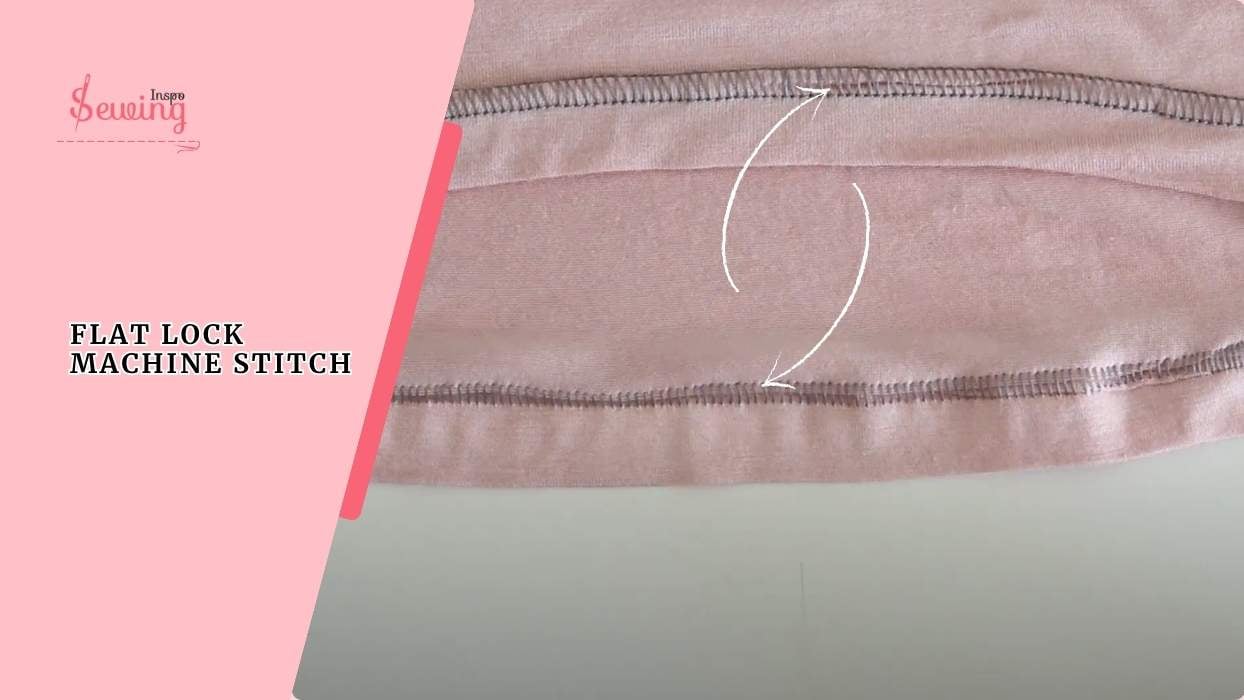
Table of Contents
What Is A Flat Lock Stitch?
A flatlock stitch is a stretchy, seam-flattening stitch that joins two pieces of fabric edge-to-edge with no overlap or bulk, leaving the seam flat against the skin. That’s where it differs from coverstitch.
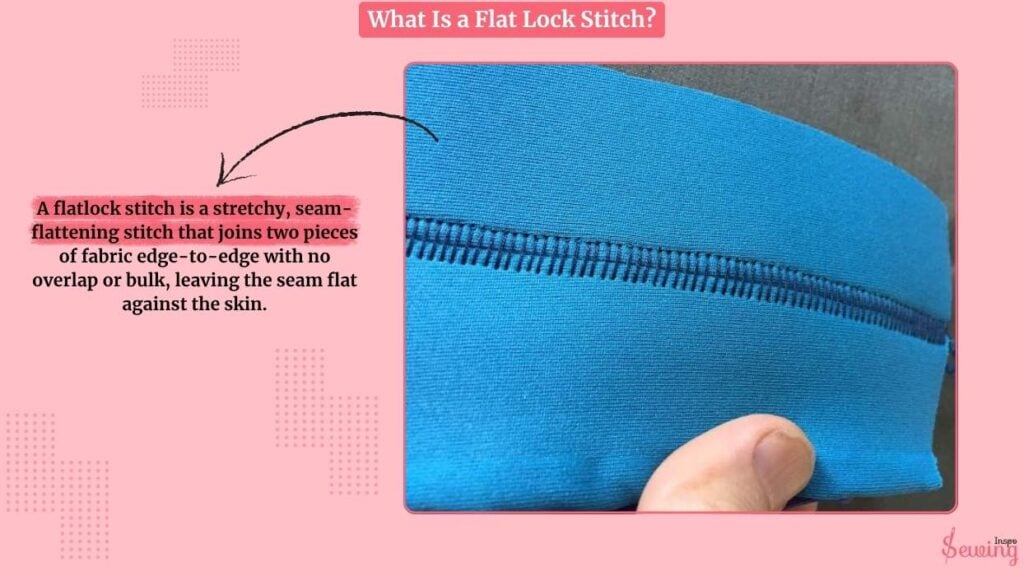
It’s most commonly used in activewear, swimwear, underwear, and stretch garments, where comfort and flexibility matter most. You’ll recognize it by its signature look: a ladder-like stitch on one side and a clean, flat seam on the other.
That’s how flatlock stitch vs overlock differs.
Flatlock Machine Stitch Picture
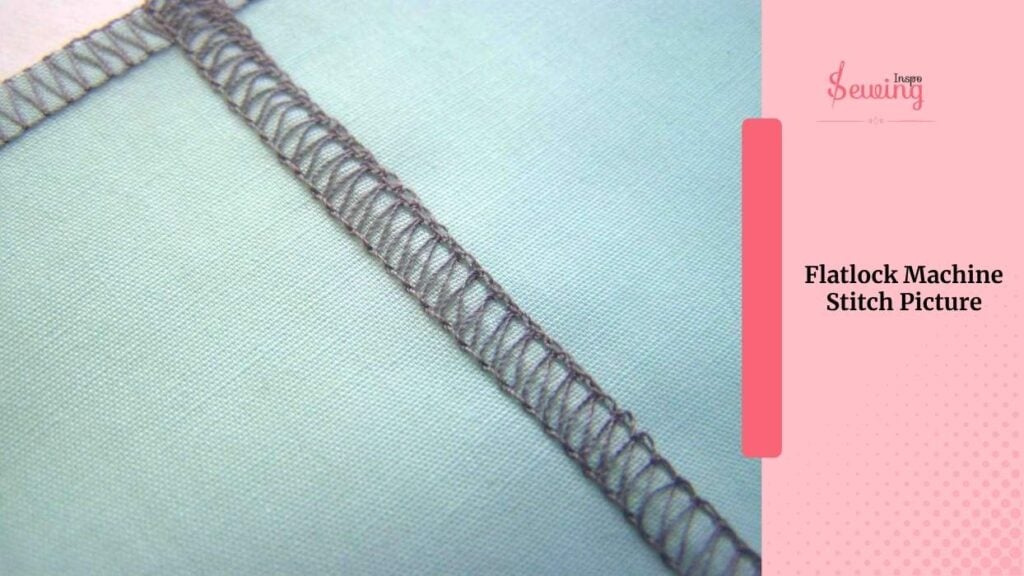
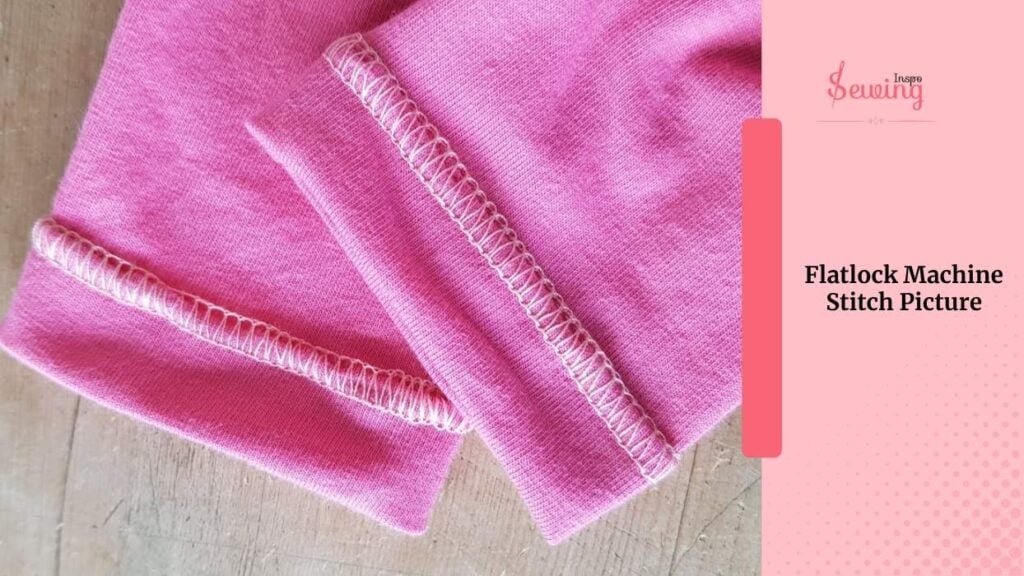
If you mix up this stitch with other one then here have a look at this.
Flatlock Stitch Types
There are even 4 types of flatlock stitch if you are using a flatlock sewing machine. Such as:
- 2-Thread Flatlock Stitch
- Narrow 2 Thread Flatlock
- 3-Thread Flatlock Stitch
- 4 Thread Flatlock Stitch
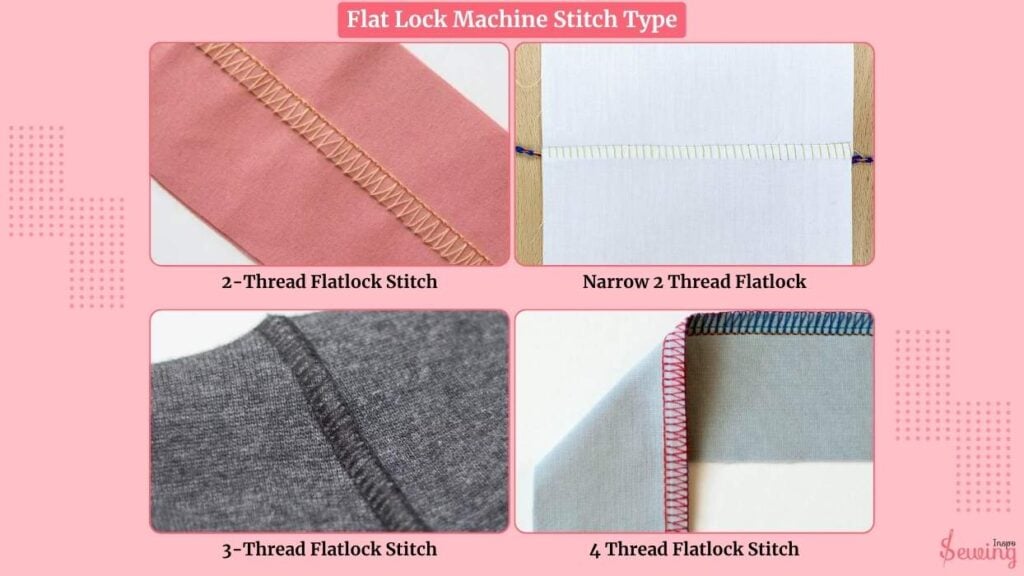
Each of them is stronger than the others. If you think a single flat stitch can’t hold up your fabric edge, then use the above 4.
If you are also confused about coverstitch vs overlock, what is blind stitch then read it.
Which Side Of The Flatlock Stitch Is The Right Side?
Both sides of a flatlock stitch can be the right side. It just depends on the look you’re going for. For example,
- If you want that ladder-like look. The one with a row of clean, parallel lines to show on the right side of your garment, then you need to stitch with the right sides together. This is kinda like an ease stitch on a sewing machine.
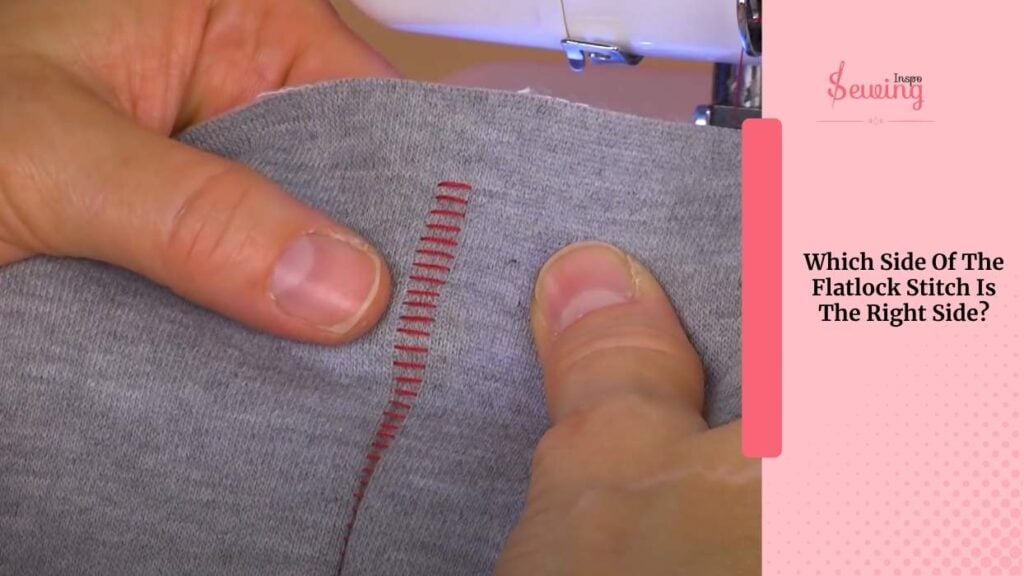
- However, if you prefer to keep the ladder stitch hidden on the inside and have the looped side facing outward, then stitch with the wrong sides together.
Confusing? Ok, Let’s say,
I’m attaching a sleeve to a shirt, and I want the ladder stitch to be on the inside (the wrong side). That means I’m going to place the wrong sides of the fabric together, line up the edges, and sew right along that seam.
Ok? Decide on the right side? Great, now let’s start,
How To Do A Flat Lock Stitch On A Sewing Machine?
To flat lock stitch, follow the bellow steps,
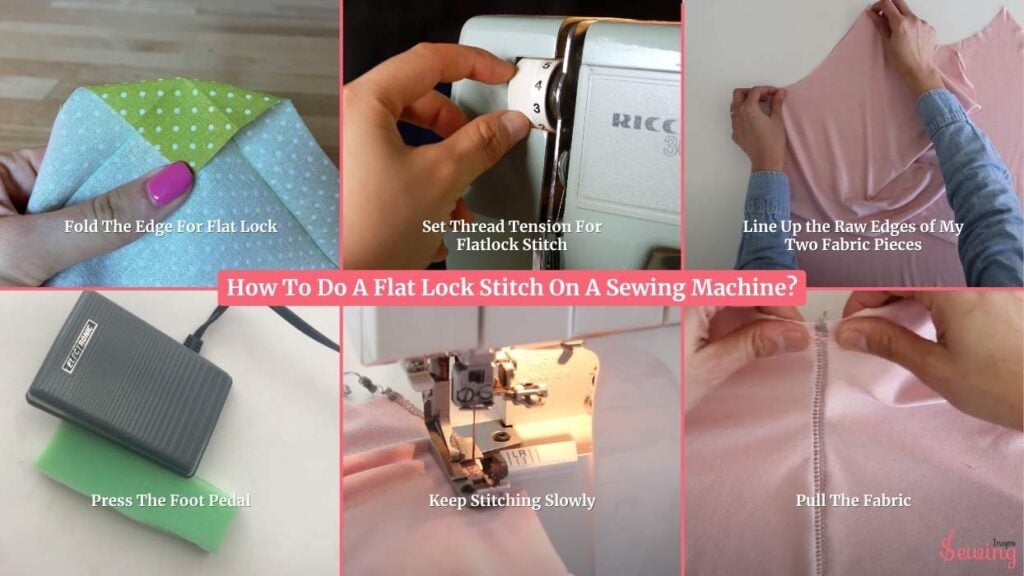
Fold The Edge For Flat Lock
I like to add about ⅕ inch extra to the curved edge of the pattern, as that part will be folded inward. At the same time, I trim off ¼ inch from the top and the sides because those edges won’t be folded in. It also helped me a lot with edge stitching.
If I’m doing it in the pocket,
I skipped adding to the curve and just cut ½ inch off the top and sides.
Next,
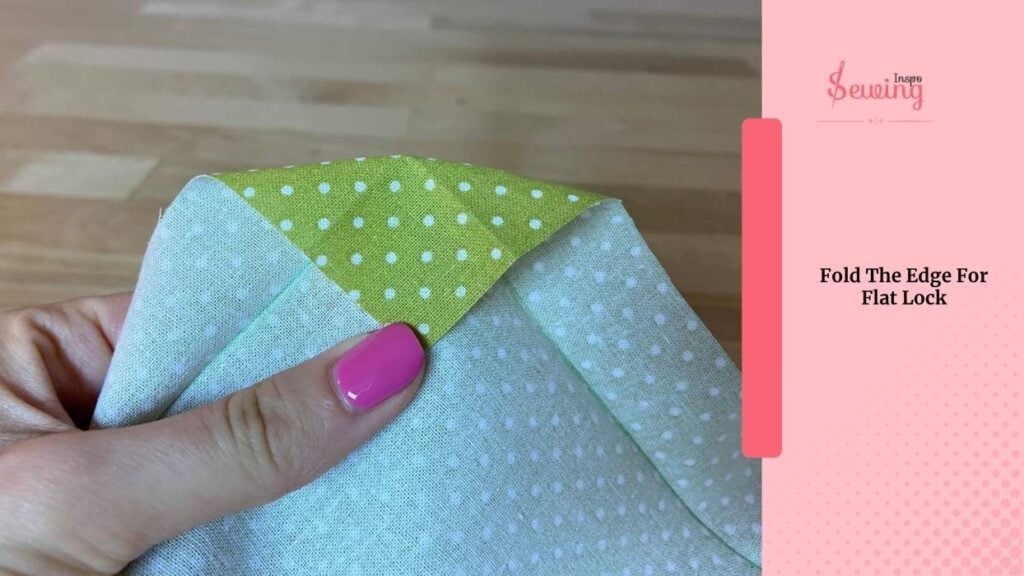
I take the curved edge and fold it inward by ½ inch, ensuring the wrong sides of the fabric face each other. Then, I fold it over again to neatly enclose the raw edge—this double fold gives me a smooth, clean curve ready for stitching.
Set Thread Tension For Flatlock Stitch
I always make sure the needle thread tension is nice and loose, while the looper thread tension is tighter. This combo, that loose needle and tight looper, is what gives the stitch its flat, open look.
Of course, the exact settings depend on your fabric and thread, but,
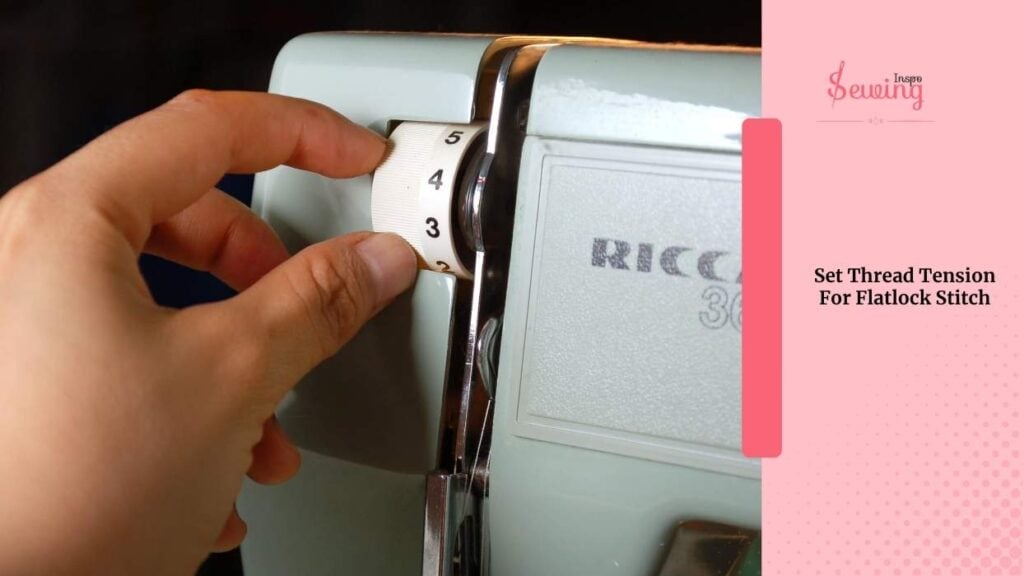
I usually start with the needle tension really low for flatlock stitch. Sometimes as low as 0 or 1, and keep the looper tension around 4 or 5. From there, I tweak it as needed until the stitch looks just right.
Line Up The Raw Edges Of My Two Fabric Pieces
Alright, I line up the raw edges of my two fabric pieces. I’m make sure they’re nice and even.
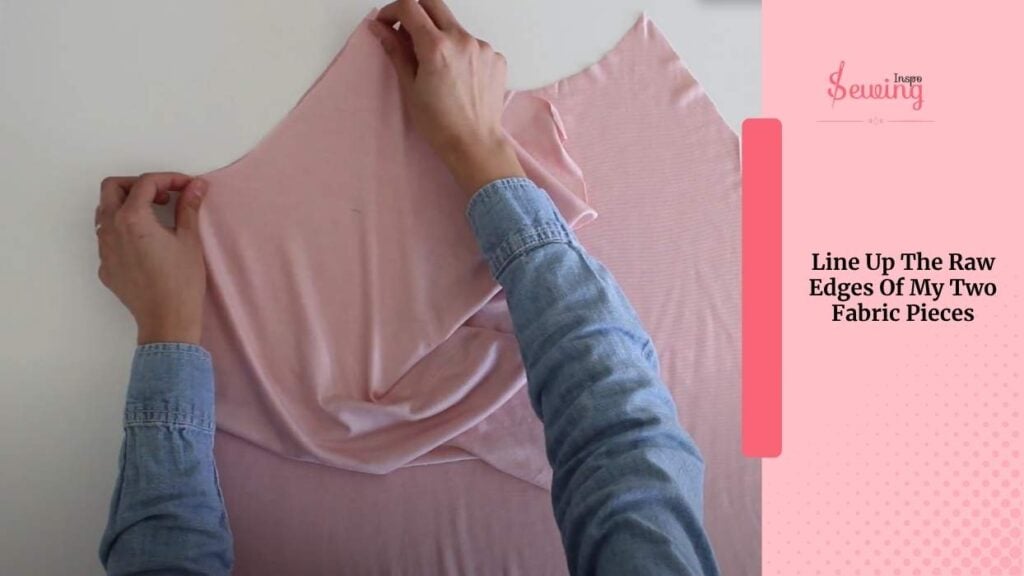
Then, I gently slide them under the presser foot, making sure the edges sit just past the cutting blade—unless I’ve turned off the knife for a no-trim flatlock stitch.
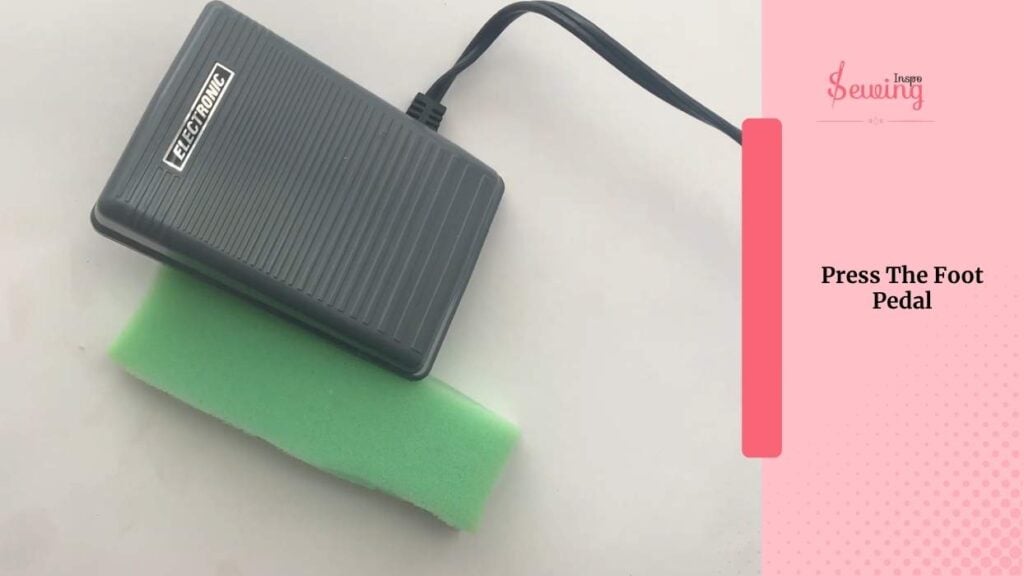
Press The Foot Pedal
I lower the presser foot and take a deep breath, ready to sew. I press the foot pedal gently at first, letting the machine start feeding the fabric on its own. No pulling or pushing here—just guiding softly with my hands to keep the edges straight.
As the needle dives in, I watch the stitches form along the edge of the fabric. It’s not flat yet, but that’s okay—this is in progress.
Keep Stitching Slowly
I keep my stitching pace steady and even, making sure to stay really close to the edge. If I stitch too far in or wobble, the seam won’t open up flat later. So, I focus on a smooth, even stitch.
Normally, I maintain a 3-4mm flatlock stitch length. This length also helps me avoid jumping stitches.
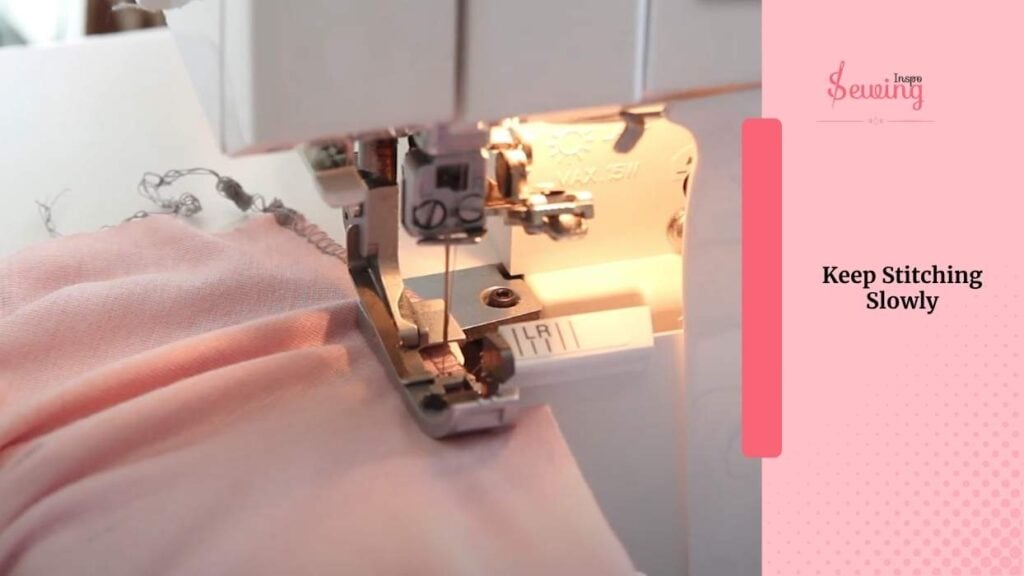
Sometimes, I pause to double-check the fabric alignment and adjust my hand position if needed, but mostly I trust the machine to do its thing.
Pull The Fabric
Once you’ve stitched the full length of your seam, gently pull the fabric pieces apart, side to side. You’re not stretching the fabric, just opening it up like a book.
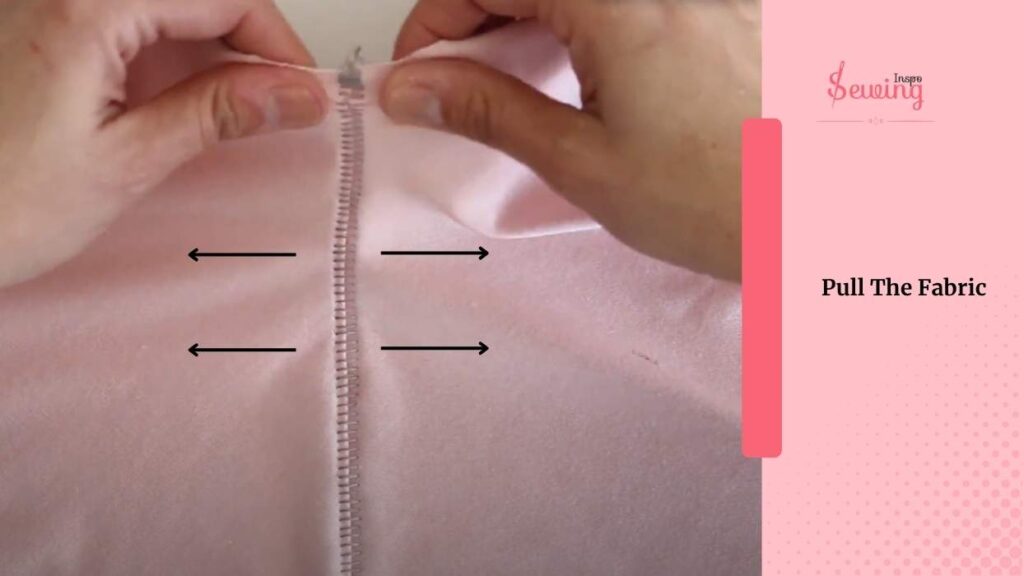
As you pull, the seam will flatten out beautifully, revealing that ladder stitch on one side and the looped finish on the other. That’s the flat stitch you were working on for so long.
The stitch is done! And it’s ready to secure your fabric.
If you’re unsure about anything, then watch this video Learn to Sew a Flatlock Stitch
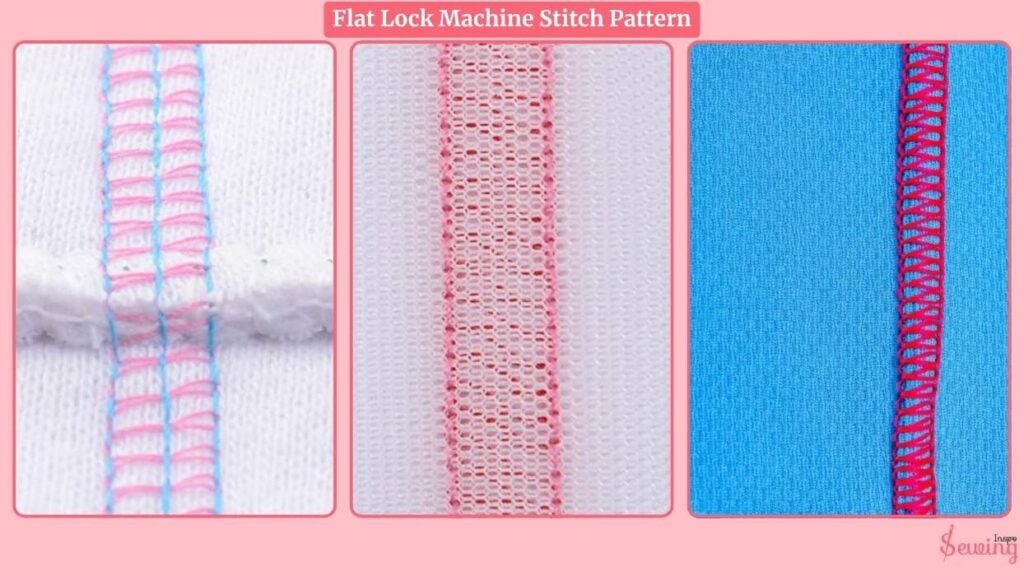
Flat Lock Machine Stitch Pattern
If you wanna try something different pattern with flat stitch, then use the below ideas
Frequently Asked Questions
What is the stitch class of a flatlock machine?
Flatlock stitches fall under Class 400 stitches. These are multi-thread chain stitches designed to join fabrics edge-to-edge with a flat, stretchy seam.
Is a flatlock stitch the same as a coverstitch?
Nope! A flatlock stitch joins fabric edges flat with a ladder-like appearance, while a coverstitch creates parallel rows of stitching on the top and a looper thread covering underneath, mostly used for hemming.
What is the process of a flatlock machine?
The machine trims the fabric edges, then uses loopers and needles to stitch the fabrics edge-to-edge. After stitching, you pull the seam open to create that signature flat, stretchy finish.
What is the 4-thread flatlock stitch?
It’s a flatlock stitch that utilizes four threads—typically two needles and two loopers—for added strength and durability, making it ideal for heavier or more demanding fabrics.
Warp up
Flatlock stitching can require some experimentation with tension and fabric type, so don’t stress if your first attempt isn’t perfect. Once you dial in the settings, though, it becomes a total go-to for stretchwear and comfy, no-bulk seams.


Leave a Reply