
I still remember the first time I tried to sew a sleeve into a dress bodice. Everything lined up perfectly until it didn’t. The sleeve cap puffed like it had a mind of its own, refusing to match the armhole no matter how much I pinned or pleaded. That’s when my sewing mentor leaned over and said, “You need to ease it in.”
“Ease it in?” I repeated, confused.
She smiled, threaded the machine, showing me,
Machine Ease Stitch
To do an ease stitch, sew one or two rows of long (basting) stitches without backstitching, then gently pull the bobbin threads to gather the fabric slightly.
That day, I learned that sewing isn’t always about straight lines. Sometimes, it’s about gentle persuasion. I learned something new, so I had to share it with sewinginspo. So here I am explaining what does ease mean in sewing.

Table of Contents
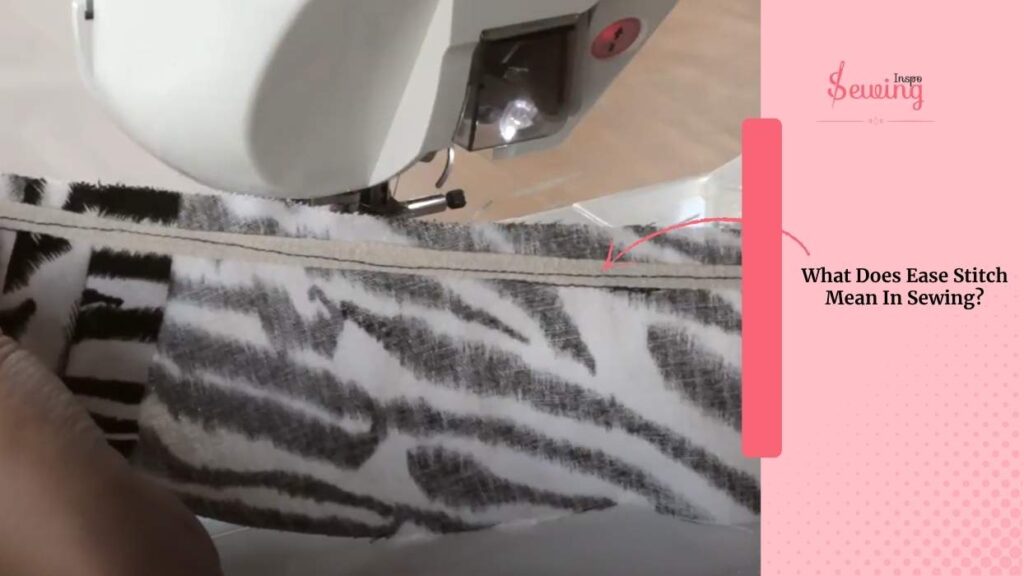
What Is An Ease Stitch?
Ease stitch is like “shrinking” one piece just enough to match the other. It is usually for sleeves, princess seams, or curved edges. This can also be used as decorative stitches on the sewing machine.
But there is one confusion about it with the blanket stitch machine.
Easy stitching and gathering stitches might look similar, but they serve different purposes. Ease stitching is all about subtle shaping, and gathering stitches are used when you want the fabric gathering to bunch up and form ruffles or fullness.
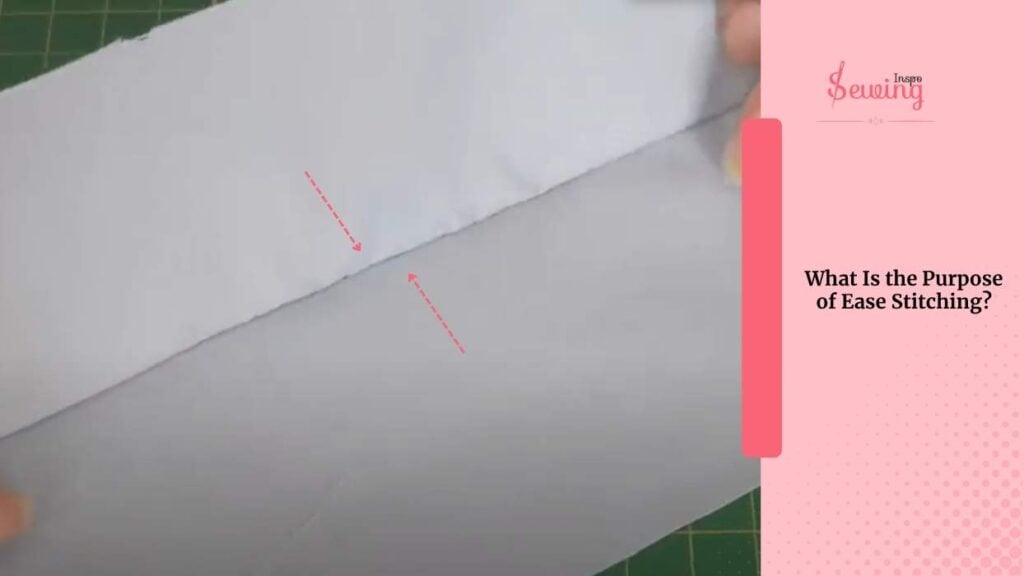
What Is The Purpose Of Ease Stitching?
Ok, so that’s what is an ease stitch in sewing but what does it do? Well,
It’s basically to help two pieces of fabric—usually one a bit longer than the other—fit together without causing a fight.
Ease stitching lets you gently pull in that extra fabric so it fits the armhole smoothly, without bunching or obvious gathers. You can sometimes also use this for Straight stretch stitch.
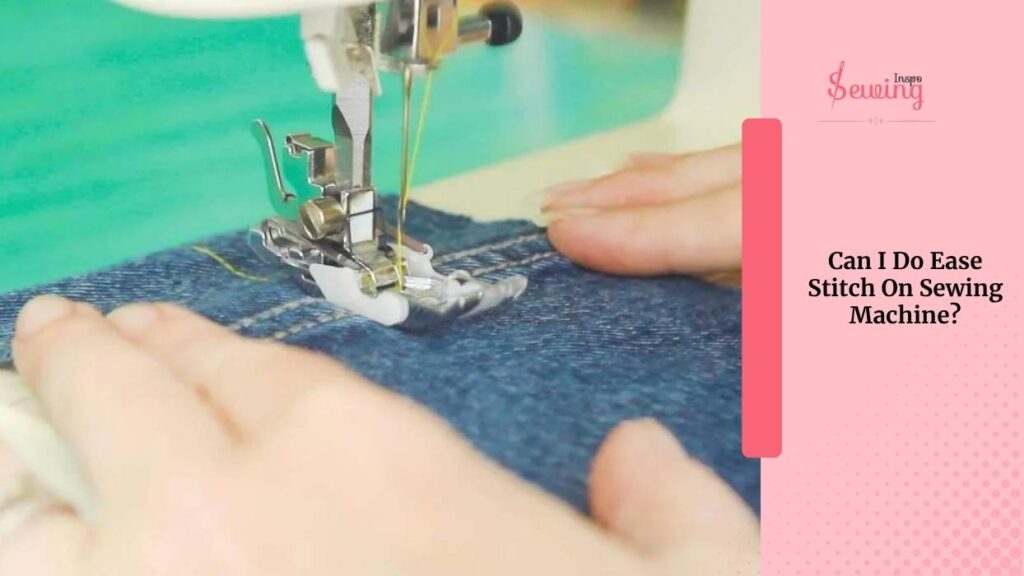
Can I Do Ease Stitch On Sewing Machine?
Yes, you can do an ease stitch on a sewing machine, and it’s actually pretty simple once you know the trick. It’s kind of opposite of straight stitch.
An ease stitch is just a slightly longer stitch used to gather fabric so it fits smoothly without puckering gently. It is perfect for sleeves, yokes, or curved seams.
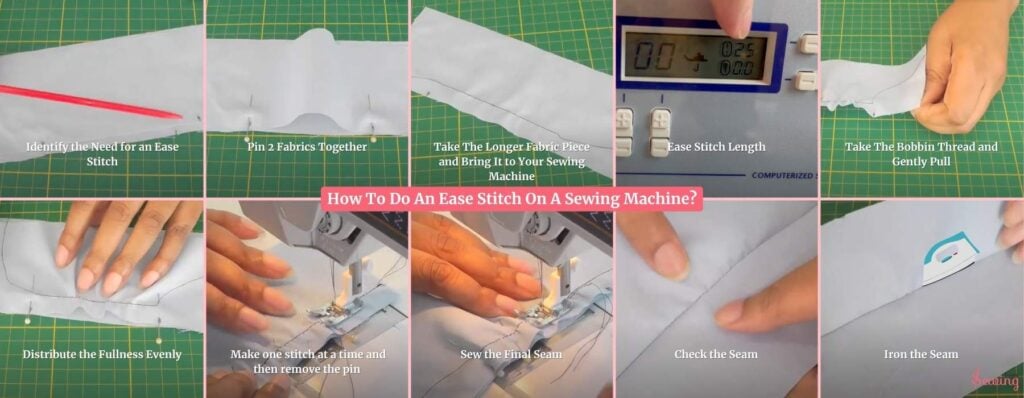
How To Do An Ease Stitch On A Sewing Machine?
To do an ease stitch, follow the steps below,
Ease Stitch on Sewing Machine Tools and Materials Required
To do an ease stitch, I first set my sewing machine to a long stitch length or sometimes a regular stitch or even a basting stitch, depending on the fabric I need.
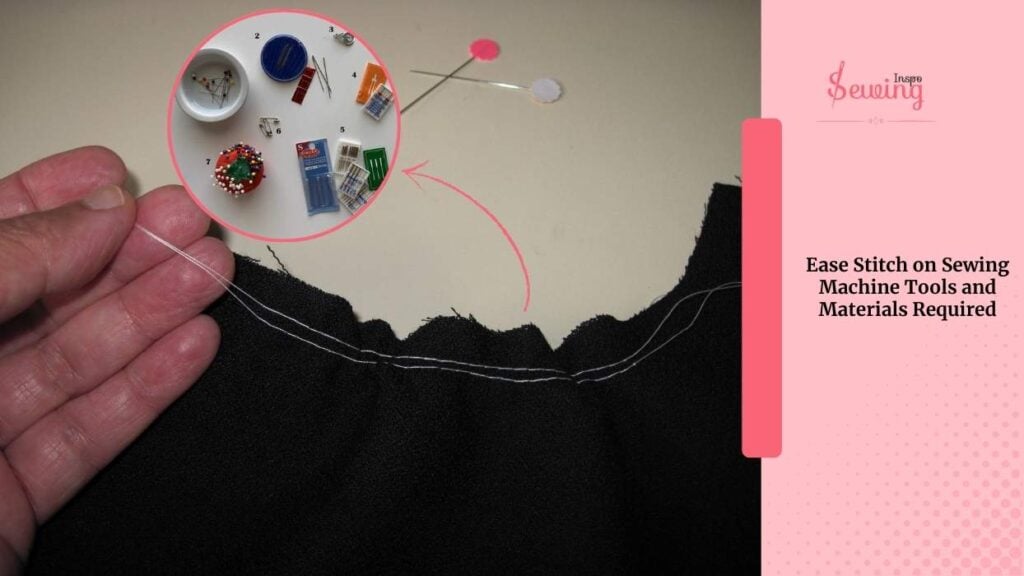
- A high-quality, matching all-purpose thread for a scallop sewing machine.
- The material you intend to ease.
- Pins
- Ruler or Long Tweezers
- Seam Ripper
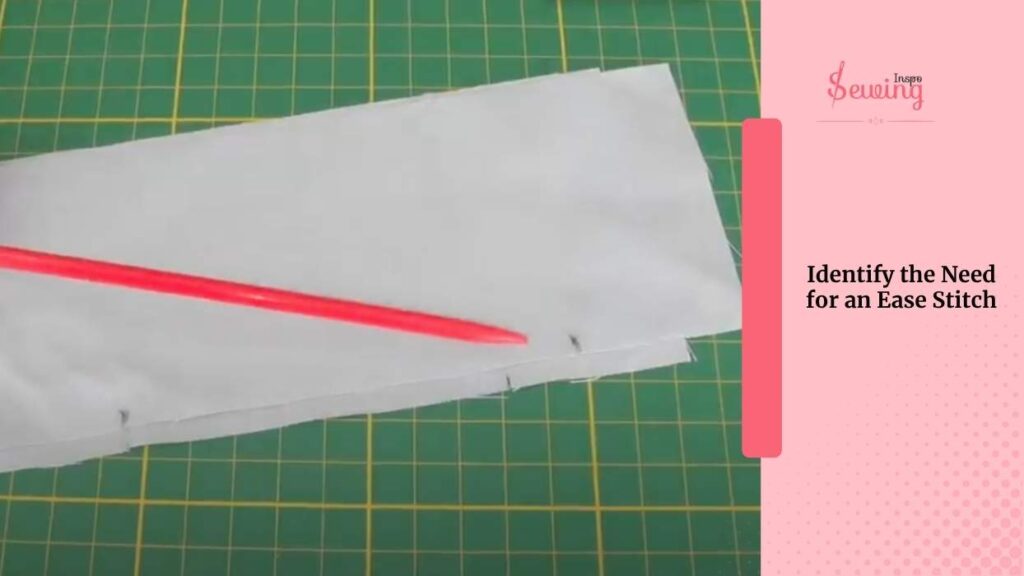
Identify the Need for an Ease Stitch
First, take a close look at your fabric pieces. You’ll notice that one piece is just a bit longer than the other, by around 1.5 to 2 cm (or 5/8 to 3/4 of an inch).
This difference shows up clearly when you match your pattern notches or markings and realise that the edges don’t quite align. That’s your cue to use an E Stitch—we will gently ease that longer piece to fit without creating gathers or pleats.
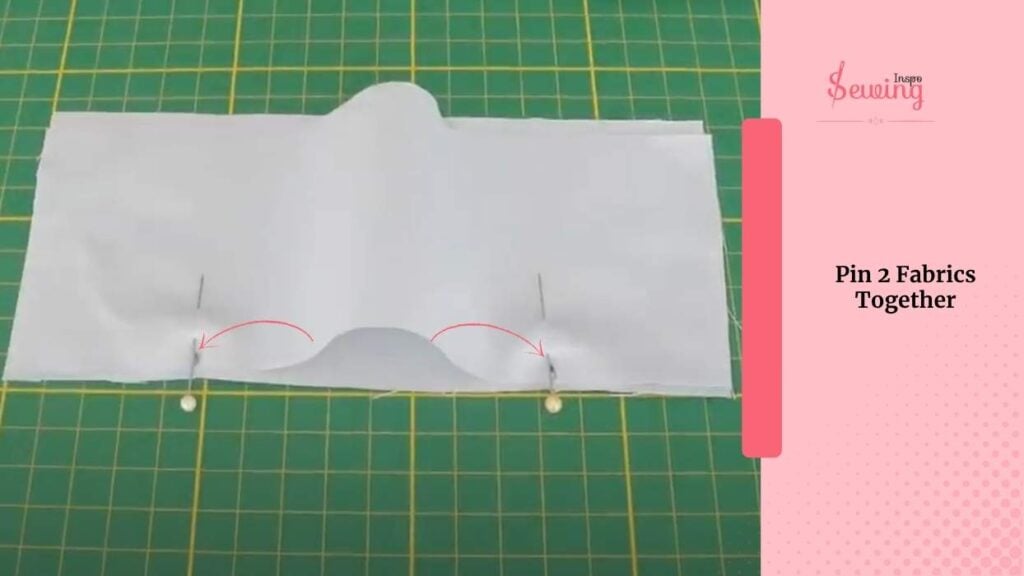
Pin 2 Fabrics Together
Lay the 2 fabrics together and pin them down. Those little notches or symbols. You’ll clearly see the extra length in one layer. That little bit of extra fabric is what we’re going to deal with. It will help you to maintain right tension adjustment.
This is exactly where the Ease Stitch comes in. It will help us gently ease out that fullness without causing any gathers or pleats. It’s kind of like a cover stitch.
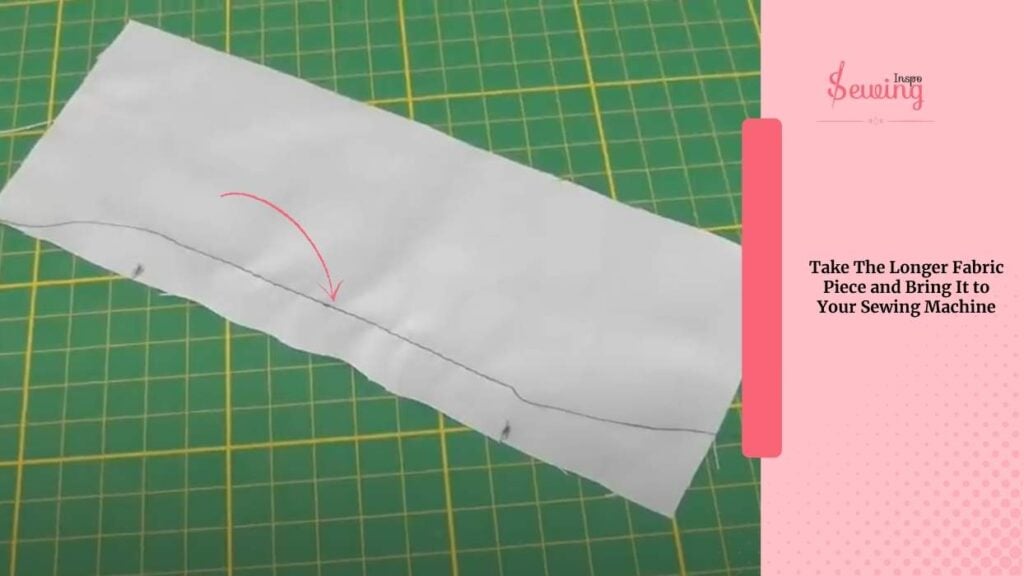
Take The Longer Fabric Piece And Bring It To Your Sewing Machine
Take the longer fabric piece and bring it to your sewing machine. We’re going to work directly on this piece first. Make sure the fabric is right side up and that you’re sewing within the seam allowance area. It will avoid the jump stitch issue. Don’t worry, this line won’t show later.
But before that,
Thread your machine with a contrasting thread if you want it to be more visible (just for now).
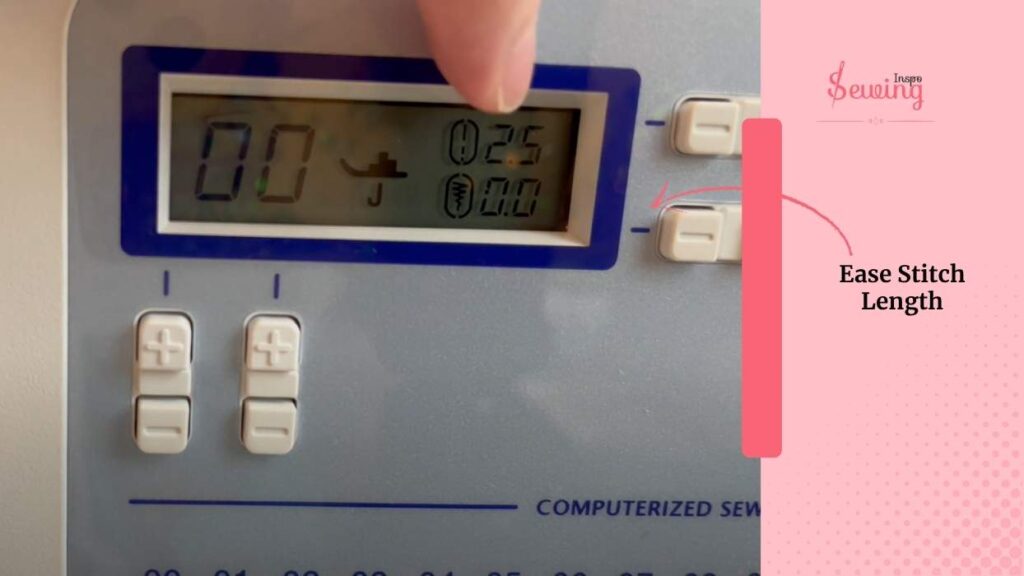
Ease Stitch Length
Set your ease stitch length to long—usually 4.0 or higher. Now, sew one line of stitching within the seam allowance, about 2–3 mm from the edge. That’s perfect for ease stitch sewing.
This line is your Stitch. There is no need to backstitch at the beginning or end. I am going to use this line to ease into the fullness.
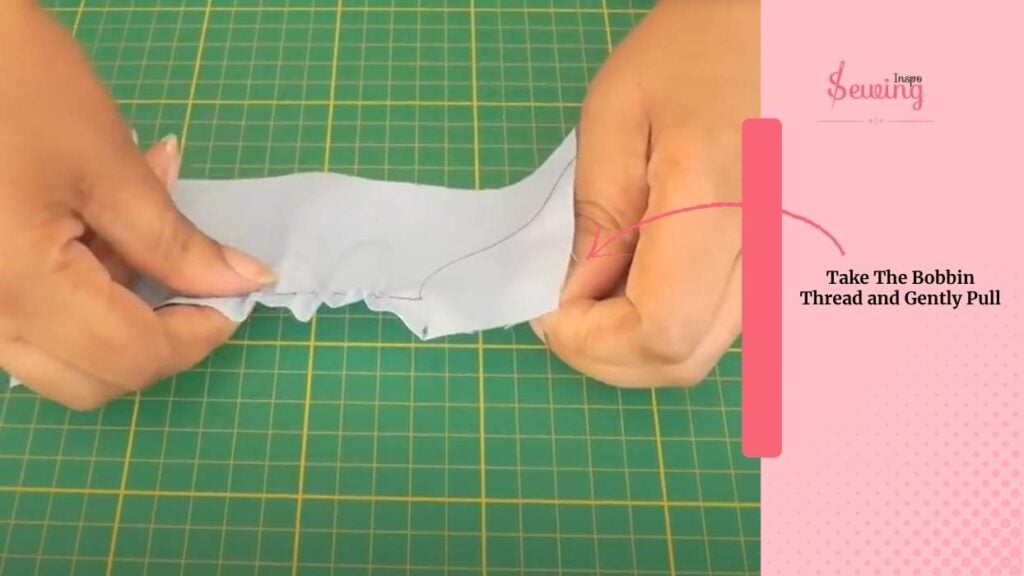
Take The Bobbin Thread And Gently Pull
Take the bobbin thread from your Stitch and gently pull to gather just a little bit of fullness along the edge.
Don’t go overboard—we’re not making ruffles.
You’re just slightly shrinking the fabric edge to help it match the shorter piece. It should look smooth, not frilly.
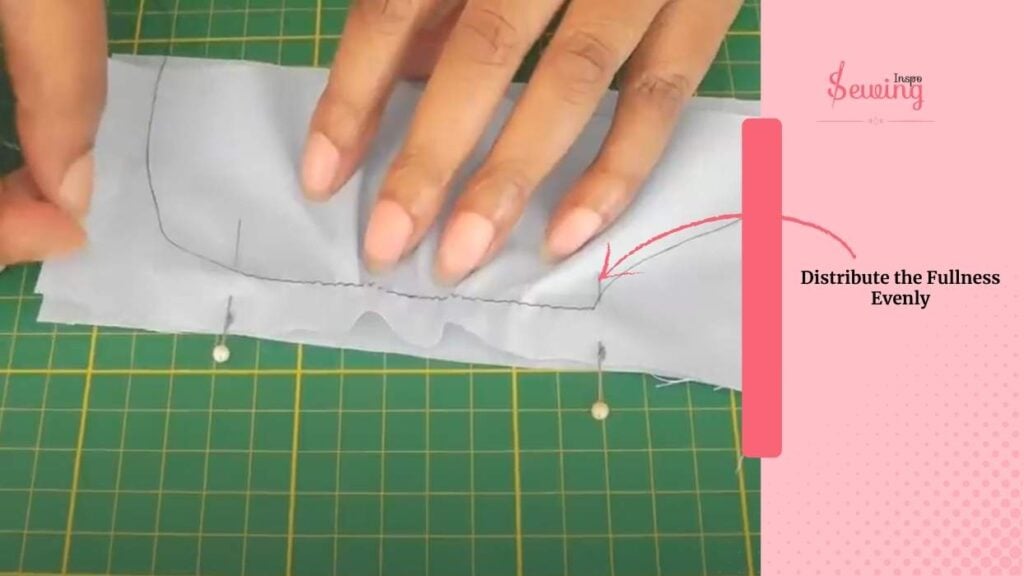
Distribute the Fullness Evenly
Spread that tiny bit of fullness evenly along the stitched area with your fingers.
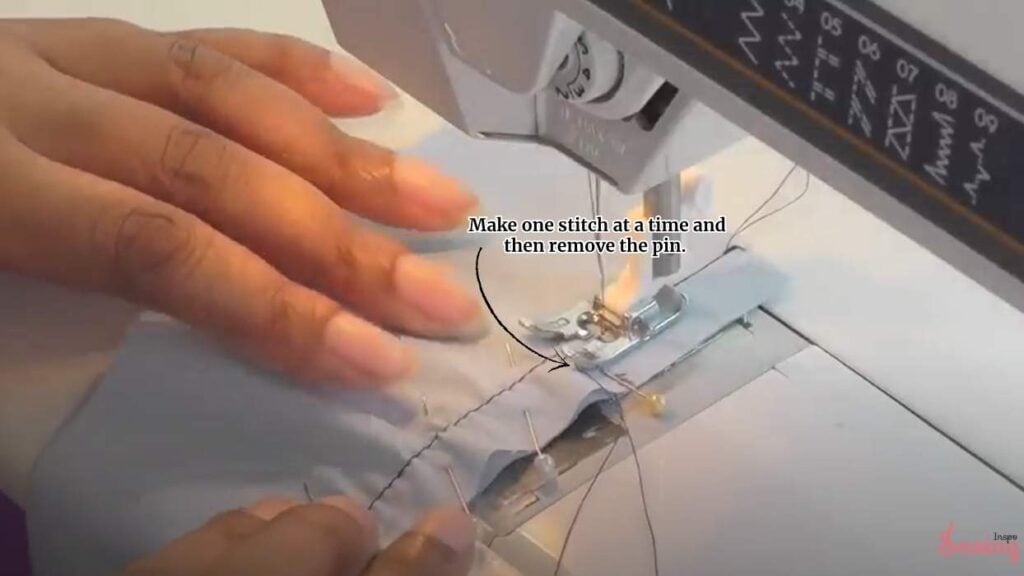
Make one stitch at a time, and then remove the pin. And place the fabric under presser foot.
The key here is no lumps—you want it smooth and invisible once sewn. Shift the ease around gently until it feels balanced.
Sew the Final Seam
Take your pinned fabric to the sewing machine. Set your stitch length back to normal (usually 2.5), and sew along your actual seam line. I typically 1.5 cm (5/8″) from the edge. Start slow and stay relaxed; this part needs a bit of finesse. I use this for a zigzag sewing machine.
Keep sewing straight down the seam line until you reach the end. You’ve done the hard part—this is just finishing up the line. Backstitch if needed, depending on your project. That works best for an ease stitch sleeve, too.

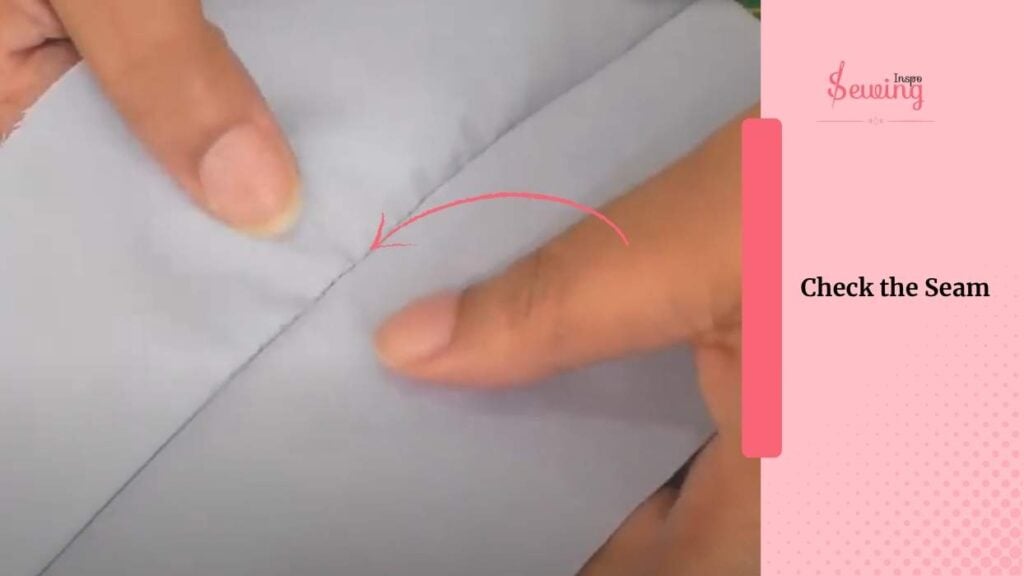
Check the Seam
Flip your fabric over and check the right side. You might see the tiniest bit of gathering, but that’s okay. It should look smooth and natural.
What you don’t want are pleats or puckers. If you spot any, you can gently unpick and redo that section.
Almost invisible, right? That’s what a blind stitch sewing machine can do, too. But ease and blind stitch are both kinda different. Don’t mix them up.
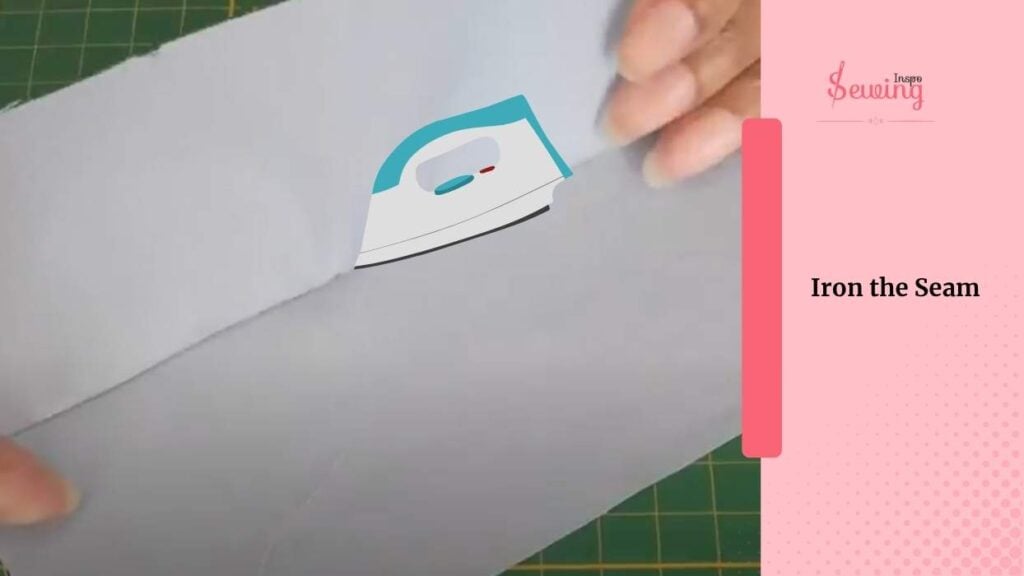
Iron the Seam
Finally, take your fabric to the ironing board. Use a bit of steam and press the seam flat, smoothing out that eased area. This step really transforms the seam from “okay” to professionally finished.
Now you’ve got a beautiful, clean, and smoothly eased seam!
How To Remove Ease Stitch On Sewing Machine?
Ease stitching is that long, loose stitch you use to gently shape fabric, like easing a sleeve cap into an armhole or helping a curved seam lay flat without puckers. But once it’s done its job, that stitch doesn’t always need to stick around.
Here is how to do it,
- Grab a seam ripper
- That’s usually the thread on the underside and easiest to pull.
- Gently lift every few stitches with the ripper; don’t tug too hard.
- Work slowly, especially on delicate or lightweight materials.
- Pull the top thread out once the bobbin thread is loosened—it should come out clean.
- Brush off loose threads or use a lint roller to tidy up.
That’s it!
Frequently Asked Questions
Is ease stitching the same as gathering?
Nope! Gathering creates visible ruffles. Easing is more subtle—you’re just shaping the fabric to fit, not making it frilly.
Can I sew over ease stitches?
Yes, but sew your final seam just below the ease stitches so they don’t show. Then, if needed, you can remove the ease stitching.
Do I have to remove ease stitching?
Only if it’s visible on the outside or gets in the way. If it’s hidden inside the seam and not causing bulk, it can stay.
Conclusion
Ease stitch on sewing machine is a small detail. But it’s one of those quiet sewing heroes that can make your garment look clean and professional. So, try it and ease your fabric whenever it needs it.


Leave a Reply