
Worn-out clothes aren’t a new thing, actually. It happened over time. But if it happens, does it mean you need to throw those clothes away? NO WAY! Just do a darning stitch sewing machine!
How does it work? Well, it’s easy. Basically,
Darning Stitch
To do a darning stitch on a sewing machine, select the darning or straight stitch, lower the feed dogs, and move the fabric manually to cover the area.
But can all machines do a darn stitch? Umm! Let’s find out.

Table of Contents
Can You Darn On A Sewing Machine?
Yes, you can darn on a sewing machine. If it has a free-motion or darning setting. If you do, simply drop the feed dogs and begin.
It’s perfect for fixing holes in jeans, thinning spots in shirts, or even patching socks like baste stitch.

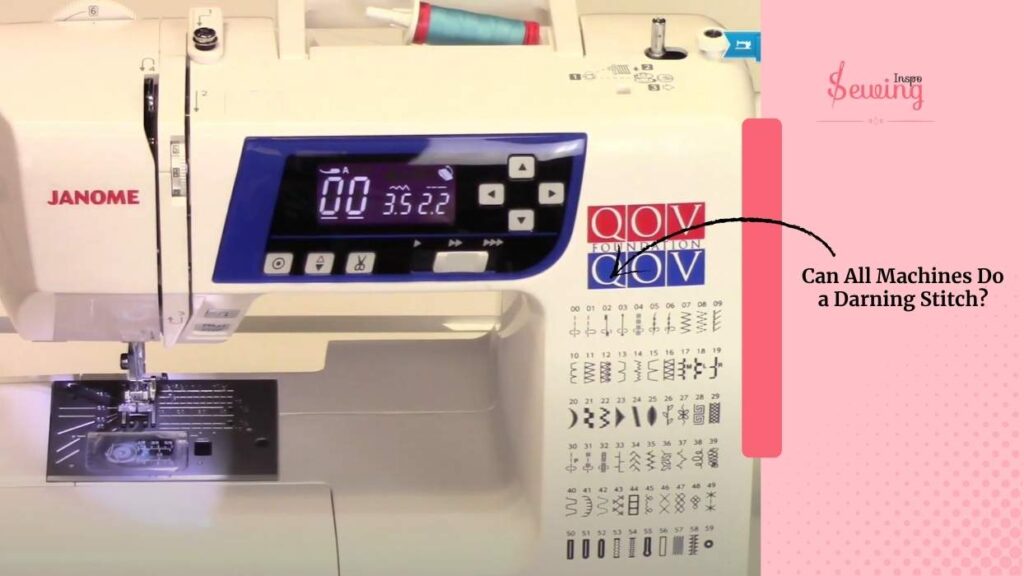
Can All Machines Do A Darning Stitch?
Not all sewing machines can do a darning stitch right out of the box. However, many can be improved with a few tweaks.
If your machine lets you drop or cover the feed dogs and attach a darning or embroidery foot, you’re set.
What Stitch To Use For Darning?
For darning on a sewing machine, use a darning stitch. If you don’t have it, use a straight stitch in free-motion mode instead.

How To Fix Darning Stitch Sewing Machine?
After learning that the darn stitch, I wouldn’t let my worn out fabric. Whenever I see holes in fabric, I fix them. To do a darning stitch on a sewing machine, I follow the steps,
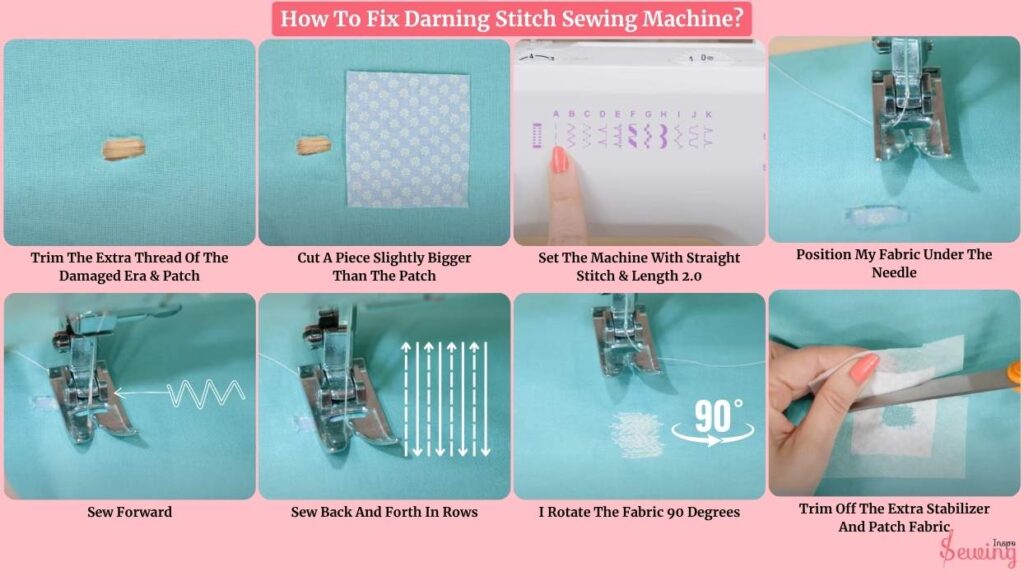
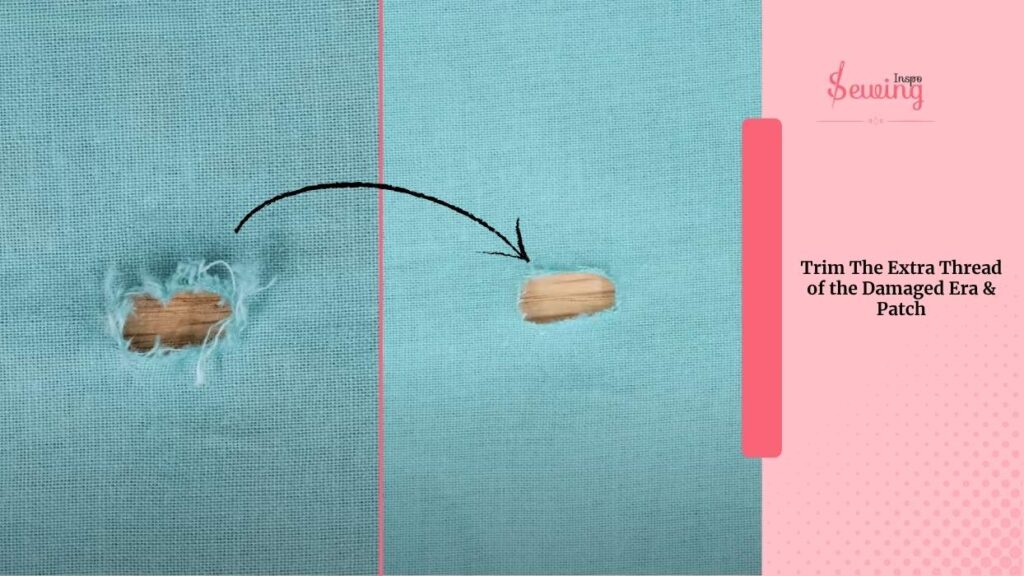
Trim The Extra Thread Of The Damaged Era & Patch
I flip the fabric over so the wrong side is facing me. Then I carefully trim away any loose threads or fraying. If there’s a hole, I cut a small patch from similar fabric (same weight is essential!). That patch goes over the hole, wrong side facing down.
So, when I flip the fabric over, the patch shows its right side. It’s not a honeycomb stitch, so it’s not to be perfect sewing technique.
Cut A Piece Slightly Bigger Than The Patch
Now, for the stabilizer, I cut a piece slightly bigger than the patch. Since mine’s sticky, I just press it down to hold everything in place.
If you’re using a regular stabilizer, a few pins will do the trick, like a lightning stitch.

Set The Machine With Straight Stitch & Length 2.0
At my sewing machine, I select a straight stitch and set the stitch length to about 2.0 or 2.5. That gives me tight, even stitches—great for strong repairs.
Bobbin thread the machine with an all-purpose thread (or a finer one if I’m working with something delicate), and I keep my regular presser foot on.

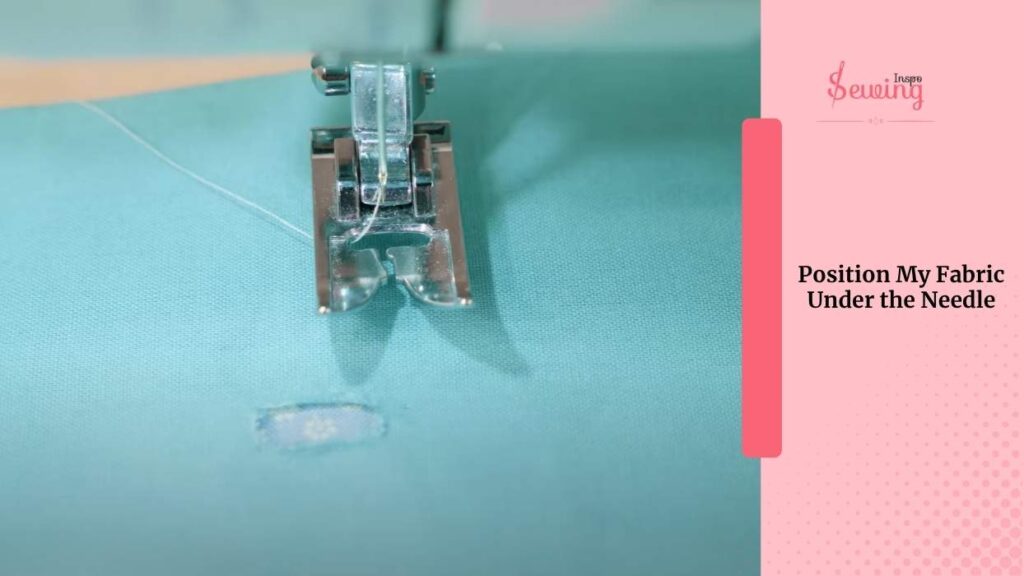
Position My Fabric Under The Needle
Then I position my fabric under the needle, right side up, and lower the needle just outside the damaged area.
This ensures I’m stitching into sturdy fabric, not just the weakened edges. This also helps me to do a pick stitch.
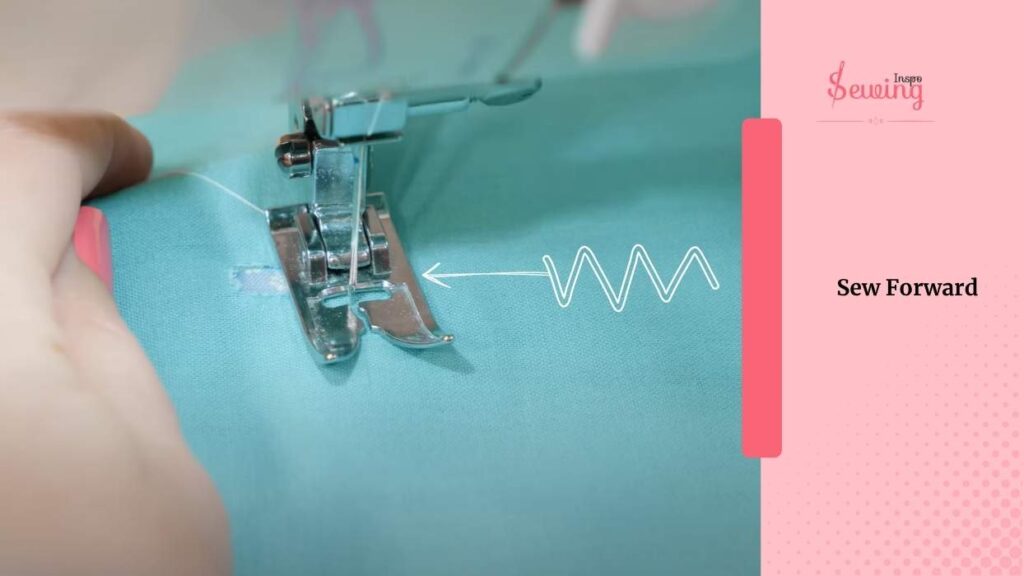
Sew Forward
I start sewing forward, just past the damaged section. Then I hit reverse and stitch right back to where I started. These first stitches form my base. I do it with brother sewing machine overlock stitch too.
Now here’s the rhythm,
I shift the fabric slightly to the side, so the next row of stitches lands right next to the first. Then I stitch forward again. Back. Slight shift. Forward. Repeat.
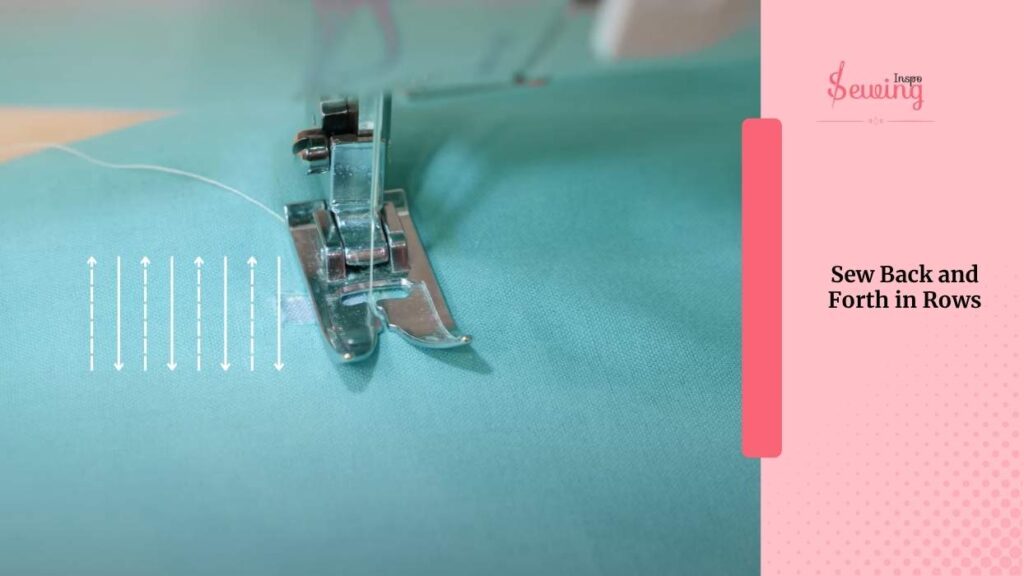
Sew Back And Forth In Rows
Basically, I’m sewing back and forth in rows, slowly covering the entire damaged area.
If reversing doesn’t line up well, it’s totally fine to stitch directly over the same row again and then shift the fabric on the next pass.
I Rotate The Fabric 90 Degrees
Once the first layer of stitches covers the hole, I rotate the fabric 90 degrees. Then I do the exact same back-and-forth motion across my first set of stitches.
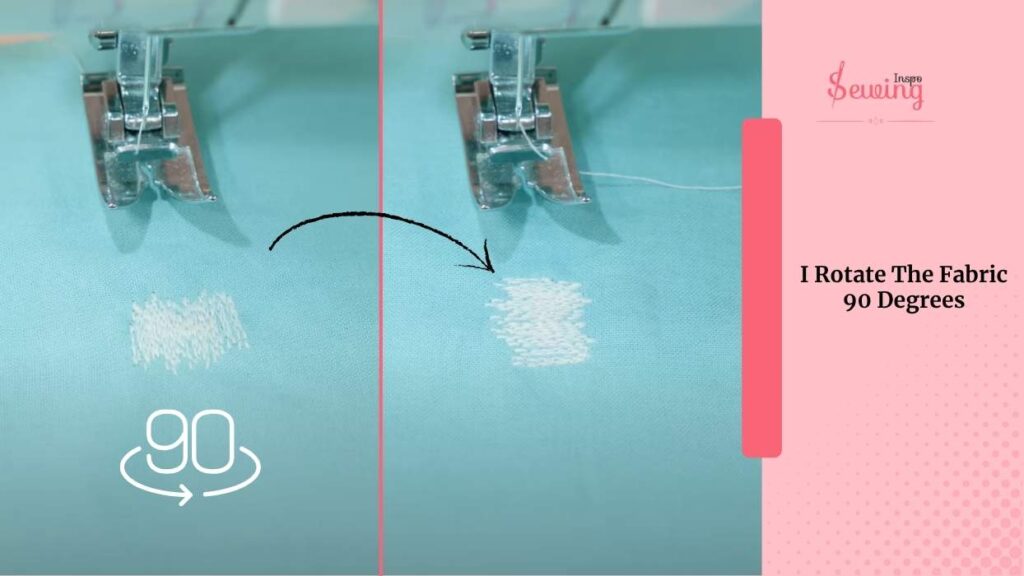
This makes a criss-cross pattern that’s super durable. That’s especially handy for jeans or other heavy fabrics. But for lighter fabric? One direction is usually enough.
Trim Off The Extra Stabilizer And Patch Fabric
When I’m happy with the repair, I flip the fabric to the wrong side and trim off the extra stabilizer and patch fabric. If I used washaway stabilizer, I would give it a rinse—makes the repaired area soft and flexible.
And that’s it! I’ve just saved my favorite piece of clothing with 0 cost!

Darning Stitch Brother Sewing Machine
I did the darn stitch on a regular machine, but some of the users wanted to know how the Brother sewing machine works. So here is how it works on the Brother machine.
- Brother machines often come with or support snap-on darning or free-motion feet. I just clicked mine in place.
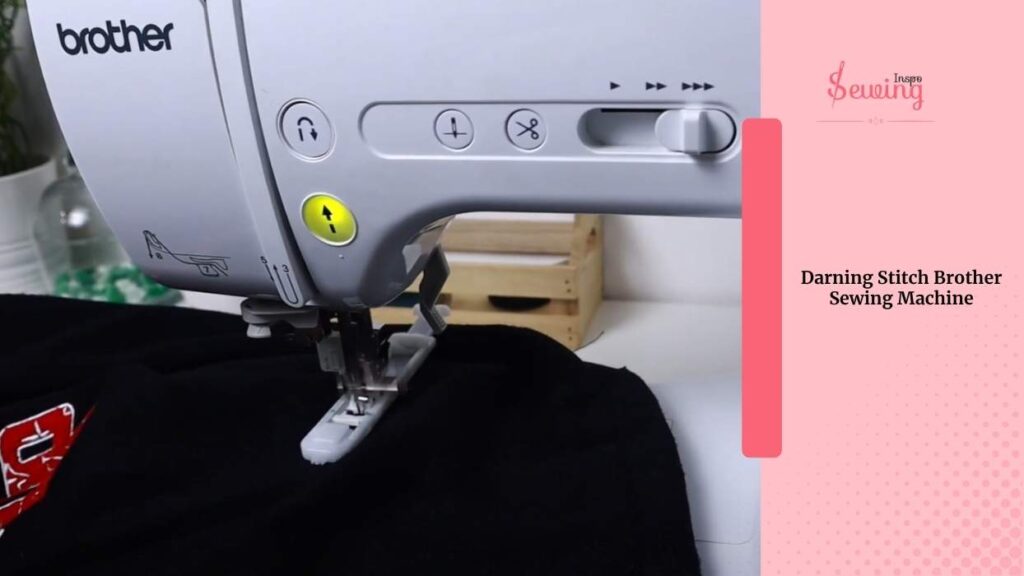
- Most Brother machines let you fine-tune your stitch length easily. I just dialed in 2.0 mm for that nice, tight coverage. So it won’t go zigzag.
- With a Brother machine, I could slow the stitching way down for better accuracy.
- Basic models often just have a pedal—no digital control—so speed management takes more practice.
The best part about this sewing machine is,
Some Brother machines have an LCD screen that shows your stitch settings. It makes the setup super easy. You don’t get that luxury on a mechanical model.
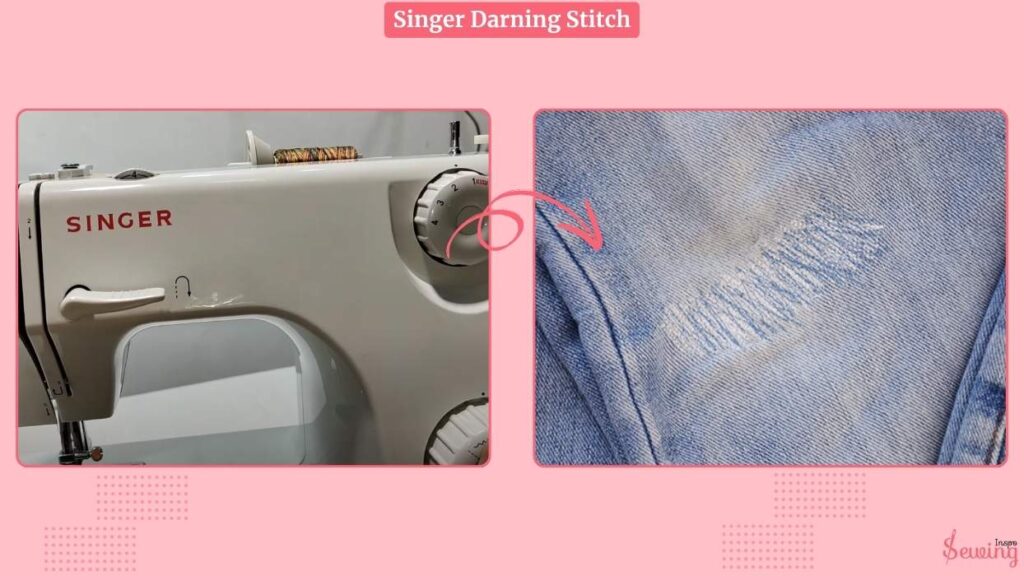
Singer Darning stitch
Seeing this, some sewinginspo readers also want to know about the Singer sewing machine. So I added it here too.
- You’ll find a switch or lever (usually on the back or side) to drop the feed dogs.
- On my Singer Heavy Duty 4452, it was extremely easy. I simply slide the switch, and you’re ready for free-motion stitching.
- Singer machines are great at supporting standard darning feet. If your machine doesn’t come with one, they’re super easy to find online or at craft stores.
- When darning lightweight or woven fabric, I prefer to use a water-soluble stabilizer.
- It keeps the fabric from bunching up under the stitches, and Singer machines glide right over it without skipping.
NOTE: Most Singer machines don’t have a built-in “darning stitch” button—you’re doing the work yourself.
But,
I like this because it gives me complete control over stitch placement. You just sew back and forth in straight lines until the hole is filled. That’s it. That’s how it work, the singer works.
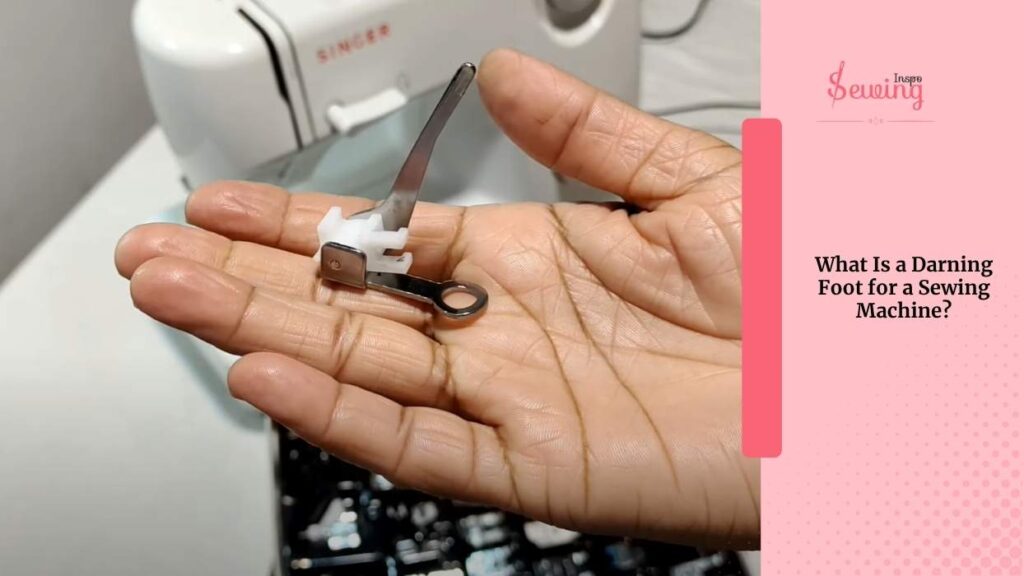
What Is A Darning Foot For A Sewing Machine?
If your machine doesn’t come with a built-in darn stitch, then you need a darning foot. This is also called a free-motion or embroidery foot. This is a special presser foot designed for stitching in place.
How does it help? Well,
It hops up and down as you sew, which means your fabric can move freely in any direction while the needle does its thing. That’s what makes it perfect for darning.
Frequently Asked Questions
Can you really darn fabric using a sewing machine?
Yes! With the right setup—darning foot, dropped feed dogs, and a little patience—you can totally repair holes, thin spots, or even do freestyle stitching.
What kind of fabric can I darn?
Darning works best on woven fabrics like denim, cotton, or linen—but you can try it on stretch fabric too with some stabilizer and a light hand.
Can I use regular thread for darning?
Yep! Just make sure it’s strong enough for the fabric you’re mending. Polyester thread is a solid all-around choice.
Warp up
That’s how the darning stitch sewing machine helps me fix my holes in fabric.
Do you have another way to fix your fabric holes?
If yes, then feel free to share it with us.


Leave a Reply