I was reading about the difference between running and back stitch. That’s when Running Back Stitch caught my attention. I was like, what is that? Aren’t both quite different?🤔 I was too lazy to research on my own.
So I went to Hasan and asked him about it.

He said,
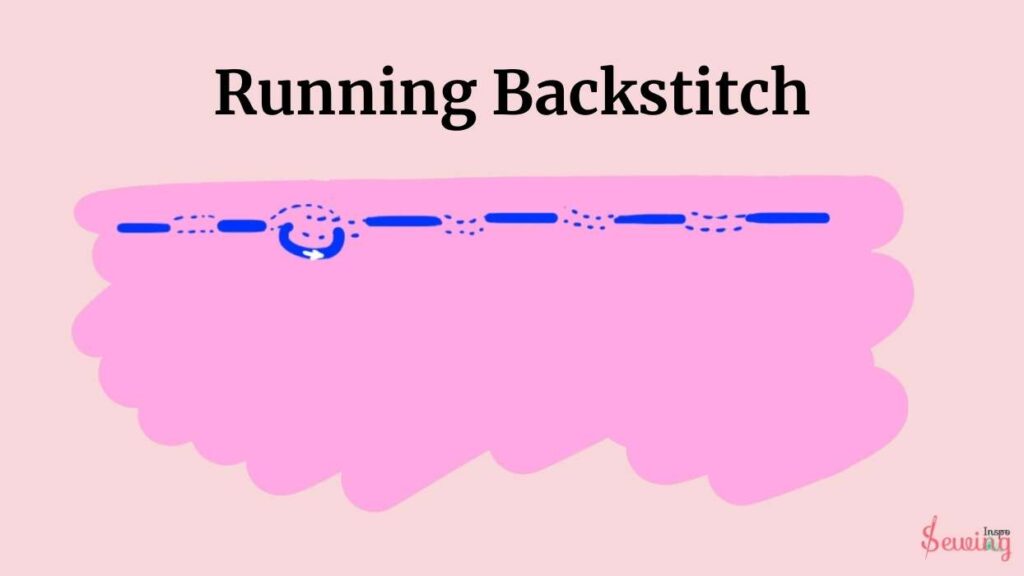
A running back stitch is a mix of back stitch and running stitch. To do a running backstitch, sew a few straight stitches forward, then take a small step back and stitch over the last stitch before continuing forward.
Creating strong seams is easy yet effective. Are you curious to know how? Let’s follow along and make a running backstitch.
My running stitch experience:
I recently tried out a running back stitch for the first time. Instead of using a pattern, I sketched a floral design directly onto the fabric. The running stitch let me do the stitch according to my style easily. As I worked, I found that the uneven texture of the running stitch gave me a free hand to stitch easily.
Table of Contents
What is Running Back Stitch?
A running backstitch is a mix/combination of 2 stitches: a running stitch and a backstitch. This isn’t the strongest hand sewing stitches, but still does the work. It’s another variety, like the back chain stitch.
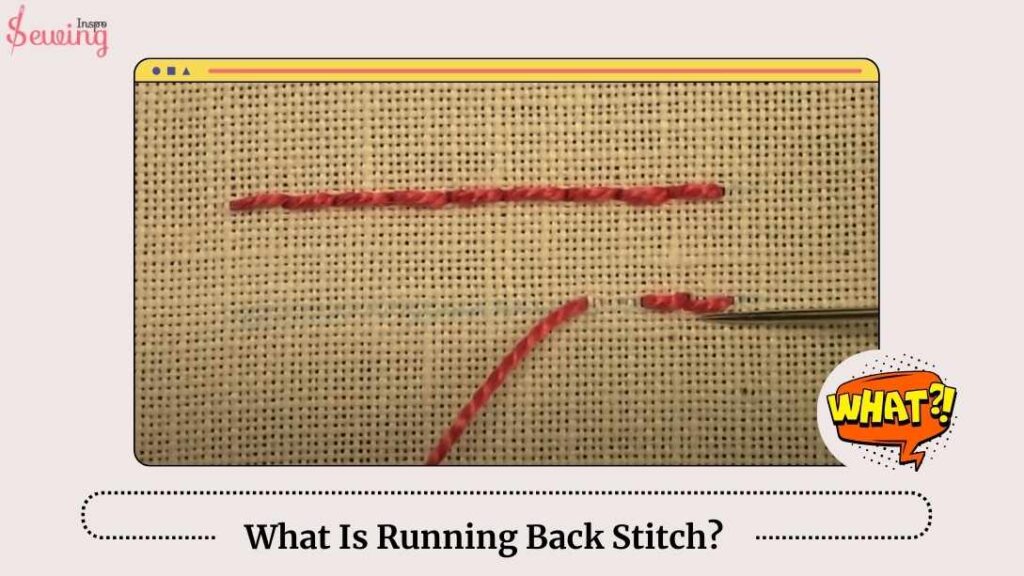
It is used when you need something stronger than a running stitch but not as strong as a full backstitch. But it still adds some extra strength. It blends the quickness of a running stitch with the strength of a backstitch, making a fairly strong seam.
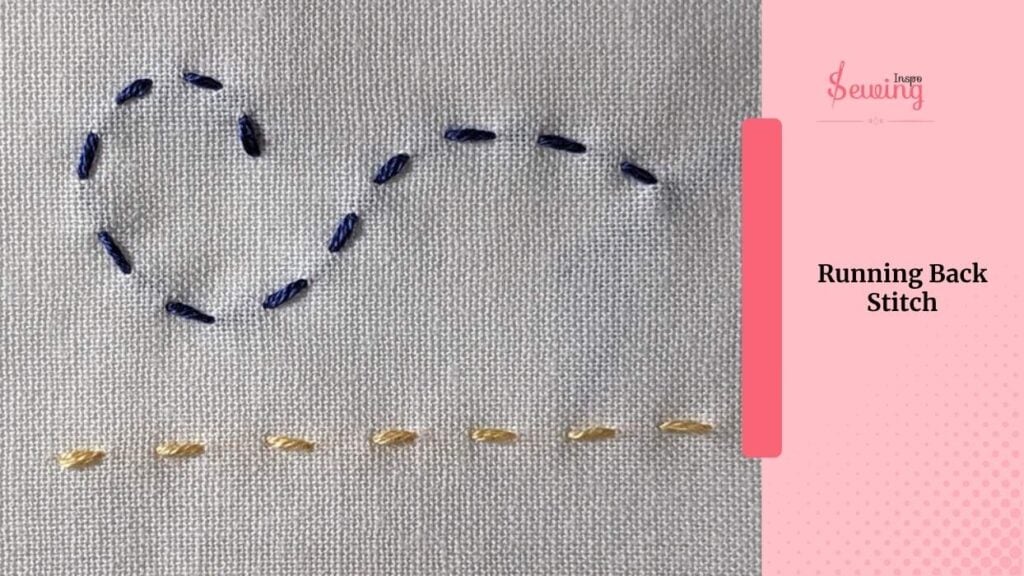
The definition is kinda like straight stitch definition, right?
When To Use Running Back Stitch?
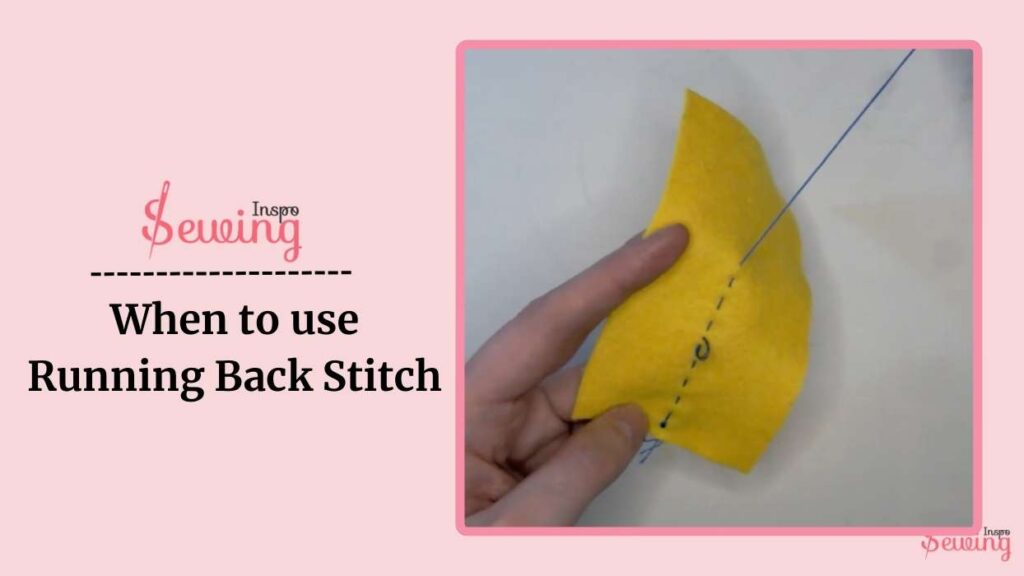
Use a running backstitch if you need a strong but quickly sewn seam. It combines a running stitch’s speed with a backstitch’s strength. The areas like petticoat seams or skirt hems, where you want a durable seam but don’t need the full strength do running backstitch. You can even try doing double threaded back stitch on it, too.
Running Back Stitch Examples
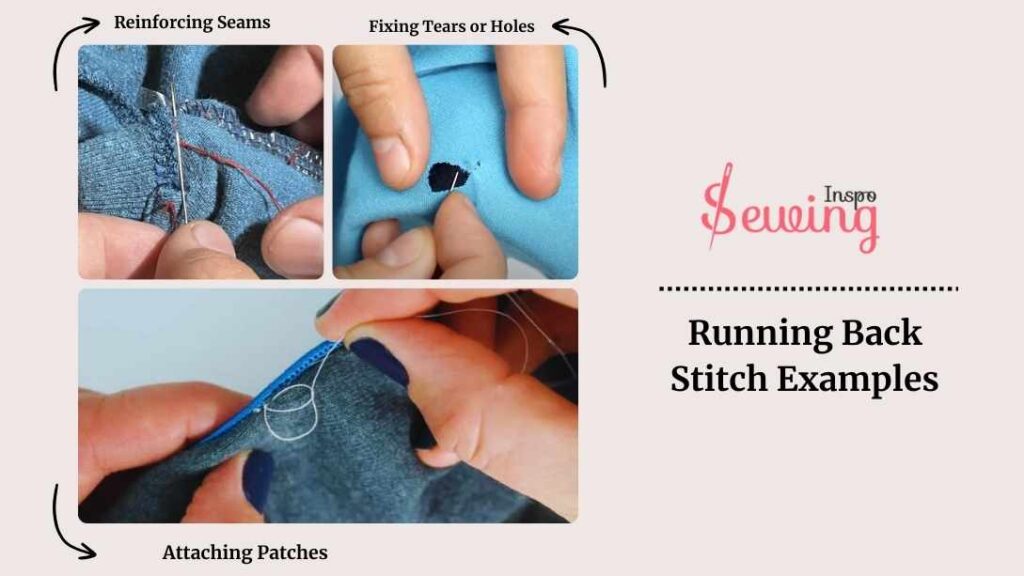
Running back stitch is easy and mostly used when you need to stitch quickly. Here are a few examples of where I mostly used running back stitch:
- Reinforcing Seams
- Fixing Tears or Holes
- Attaching Patches
Now let’s do a running back stitch.
I used a running backstitch here because it perfectly balances speed and strength. Backstitch by hand takes time to do it properly. But The stitch is quick to do but also reinforces the seam. It is durable enough to handle everyday wear. Plus, it adds a neat, tidy finish that looks great. ❤️
How To Do Running Back Stitch?
To do running back stitch 4 steps:
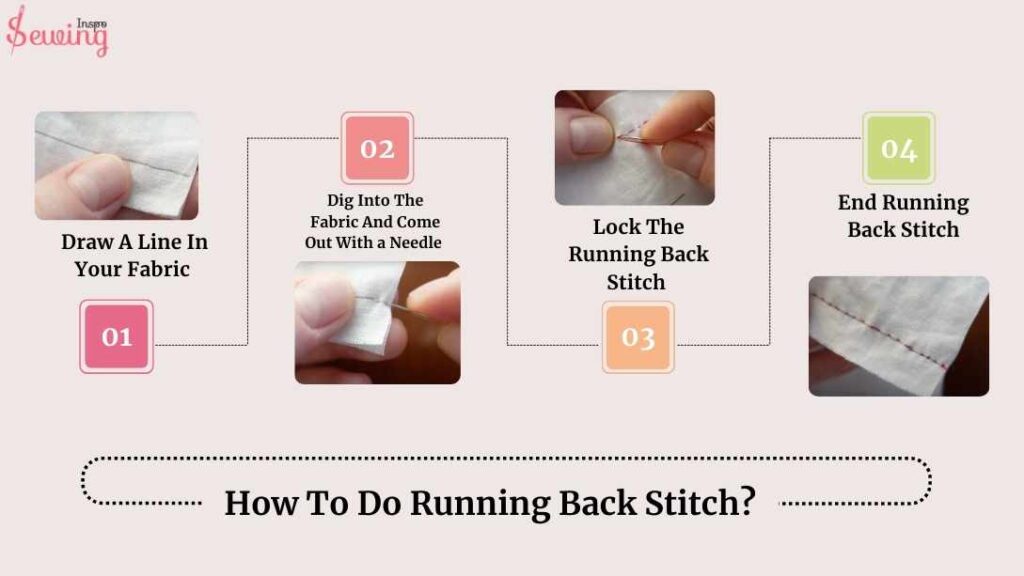
- Draw A Line In Your Fabric
- Dig Into The Fabric And Come Out With a Needle
- Lock The Running Back Stitch
- End Running Back Stitch
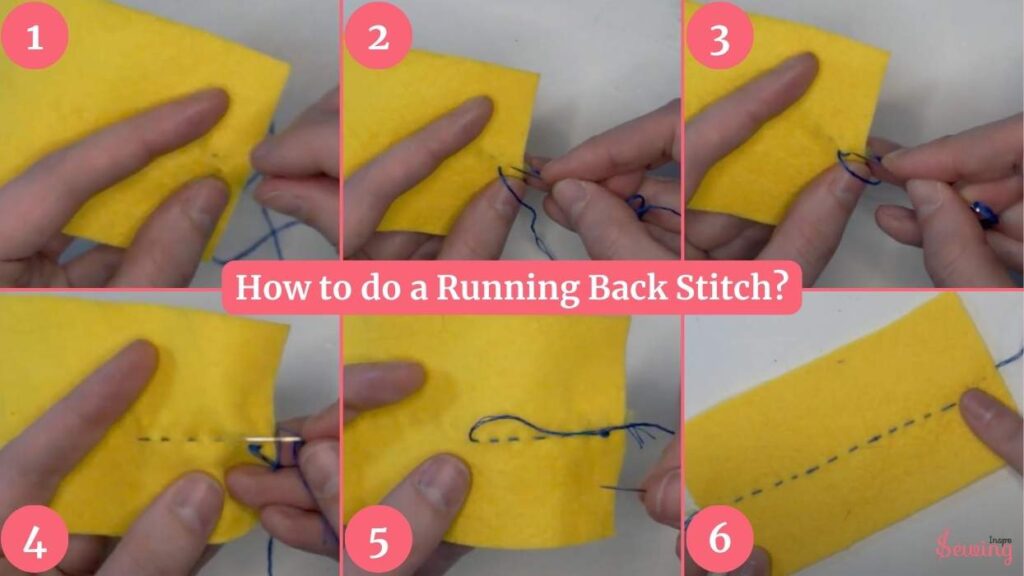
That’s the brief of a long process, so now let’s do running back stitch in steps. And make a perfect running and back stitch. It will create a beautiful back stitch design.
Draw A Line In Your Fabric
Drawing a line on your fabric is a handy trick to keep your stitches straight and precise. Start by picking a fabric marker or tailor’s chalk. Just use something that won’t leave a permanent mark. I even use this trick for laced back stitch.
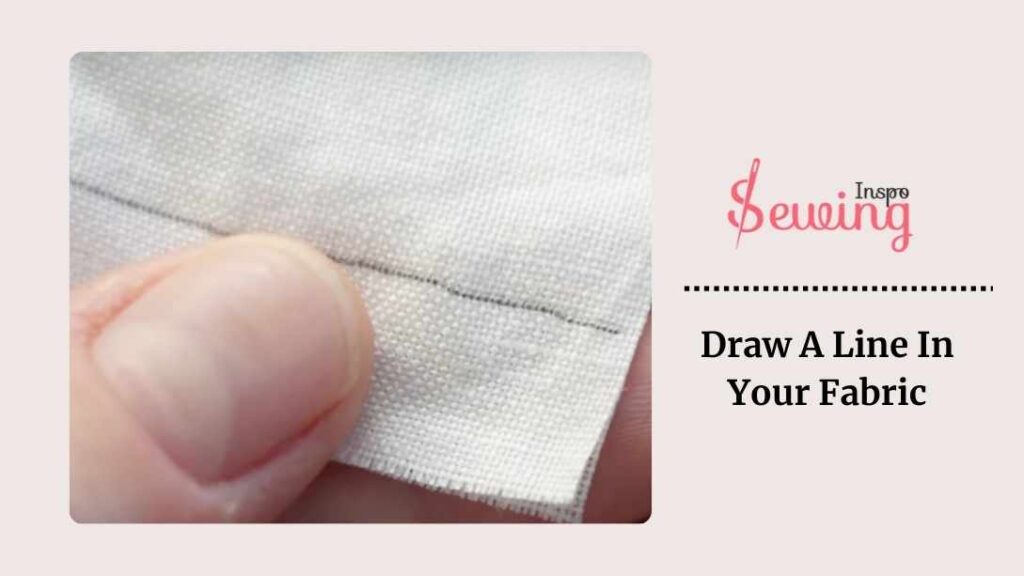
Lay your fabric flat on a smooth surface, and if it’s wrinkled, give it a quick iron to ensure your line stays nice and straight. Next, use a ruler and gently draw the line on the fabric. 📏
Press lightly if you’re using chalk or a fabric marker to avoid any permanent marks. You can try this technique for leather hand stitching patterns too.
Then thread you needle with the perfect size thread. Do that use you can use the sewing thread thickness chart.
Dig Into The Fabric And Come Out With a Needle
Start by dipping the needle into the fabric. Then, come back out again, but only about 1/16th of an inch away, just a tiny bite. However, the distance of the bite varies on your stitch length. So, no need to obey the distance all the time.
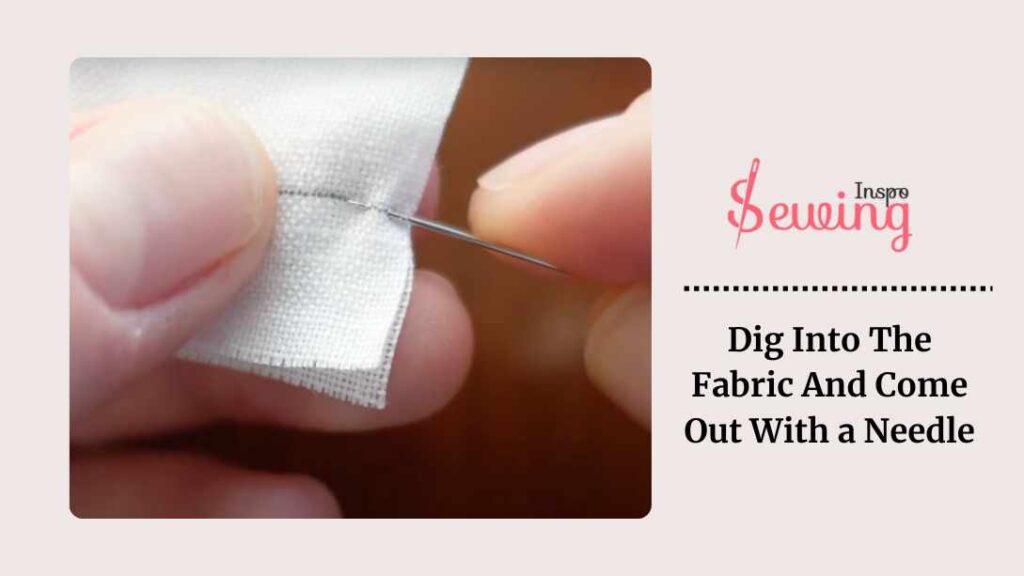
You’ll want to make this little dip and rock motion about 3 or 4 times. It’s all about making small, controlled movements to keep your stitches neat and precise. This is perfect for hand sew two pieces of fabric together.
And
To do this running back stitch motion smoothly, you need 7 size needle.

Lock The Running Back Stitch
To lock the running back stitch, go back to the last stitch you made. Then, move your needle forward, about the width of the stitch away from where you ended.
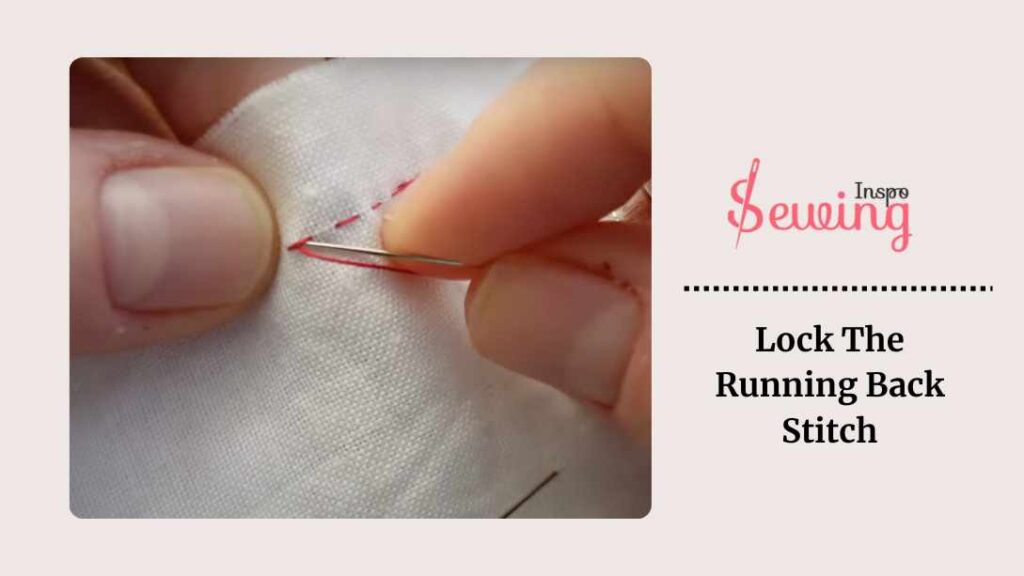
This will help lock your stitches and keep stitch in place. Sometimes, you can do 2 stitches touching or overlapping the previous stitch a bit. This is kinda like doing whipped backstitch. This will enhance the look and secure your stitch. It’s like killing 2 birds in one shot. 😉
Then, continue doing the stitch with the same rhythm until the end.
End Running Back Stitch
To finish your running backstitch, ensure you’ve stitched to the end of your seam. Once you’re there, flip the fabric over and secure the thread. You can do this by bringing the needle up through the last stitch and then back down through the same spot to create a small loop.
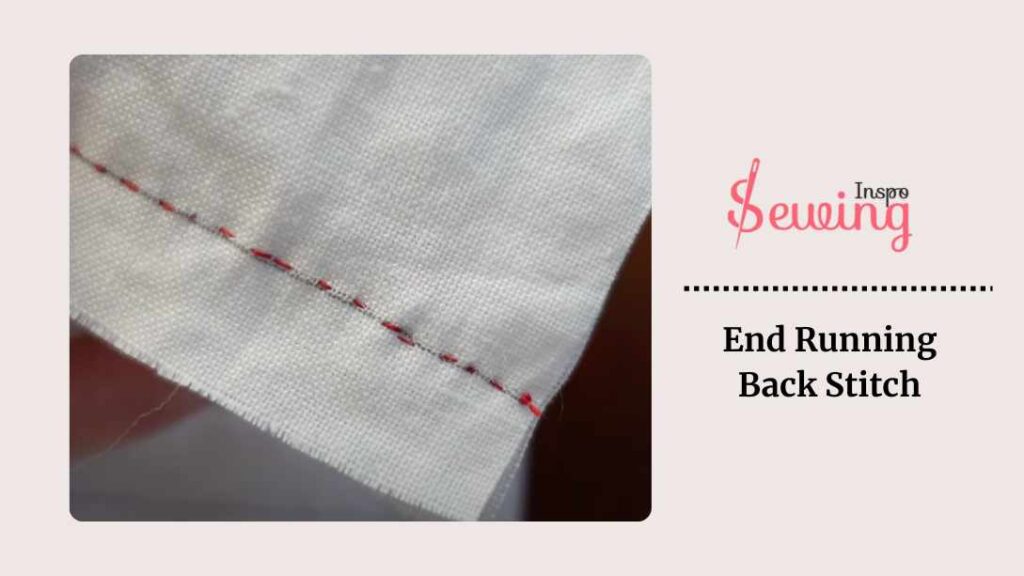
Pull the thread through this loop to make a knot and secure it. You might want to make a couple of small knots to ensure it’s locked in tight. Finally, trim any excess thread close to the fabric.
And that’s it! You have a beautiful running back stitch.
Running Back Stitch Embroidery
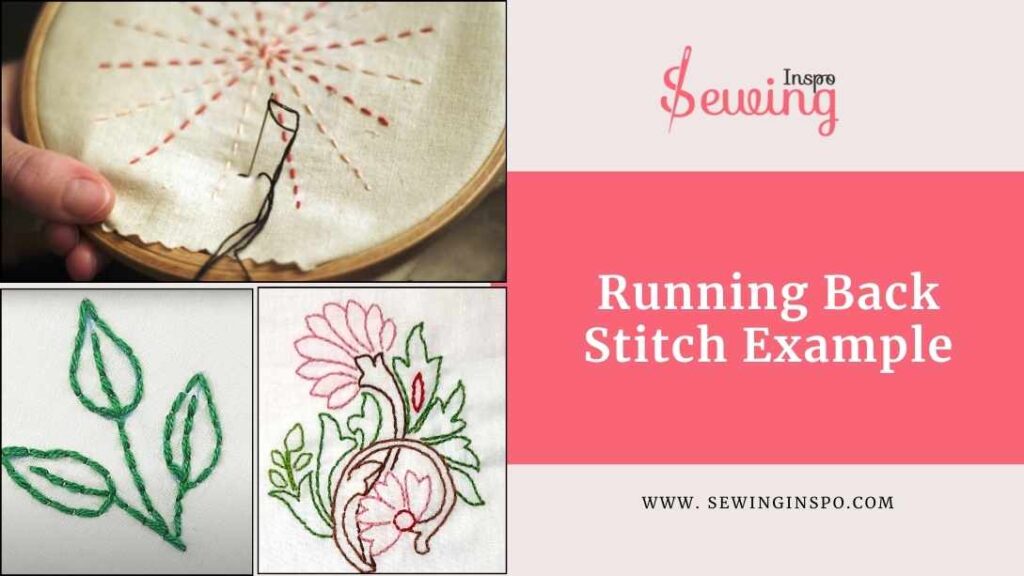
Running backstitch embroidery combines the utility of a strong seam with the beauty of decorative stitching. It isn’t only to secure seams. It can also make beautiful embroidery, just like back stitch embroidery patterns.
You can do it by layering backstitches over a running stitch base. You can create intricate patterns and designs that stand out while still durable. That’s why I love running back stitch embroidery so much. I use this whenever I don’t want to go in a complicated way with lockstitch by hand.
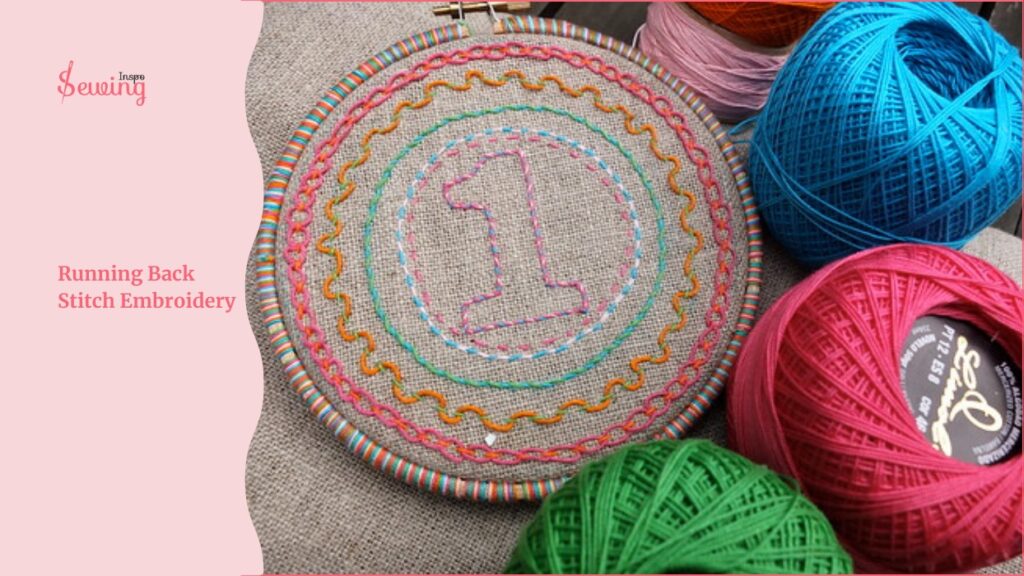
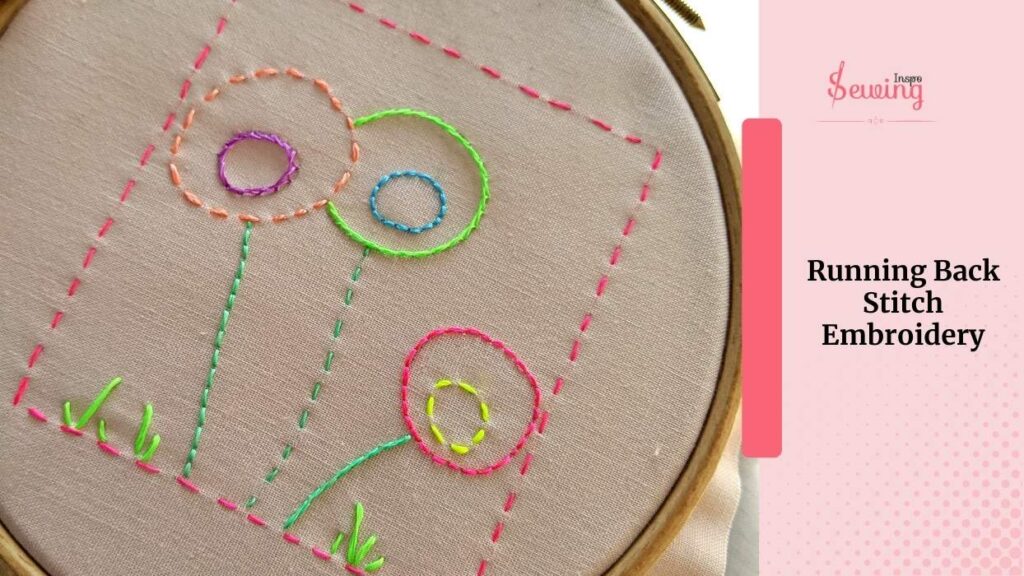
These basic embroidery stitches are perfect for outlining shapes, adding detail, or creating continuous lines with a bit of texture.
Here are a few of the embroidery works I did use running back stitch:

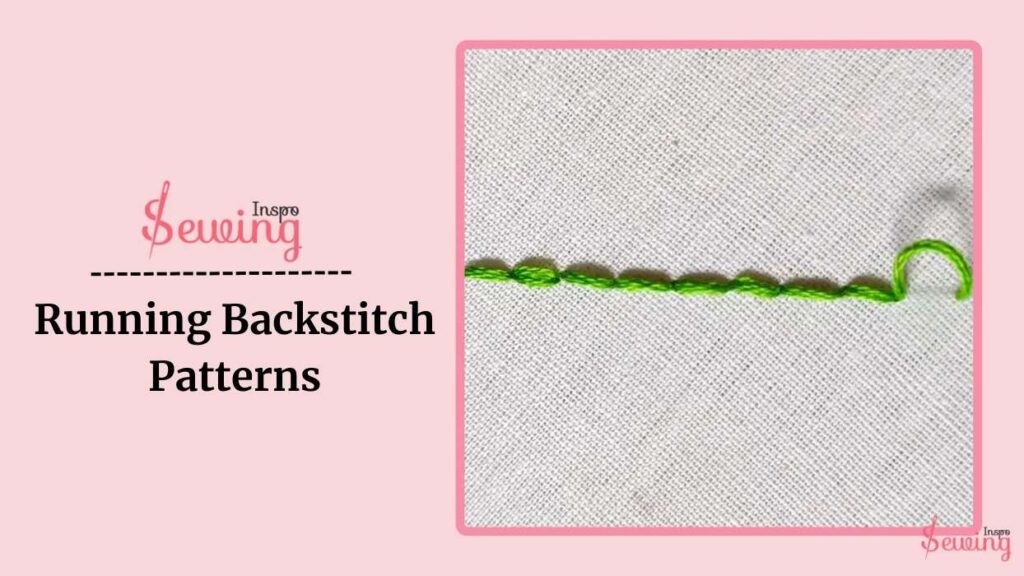
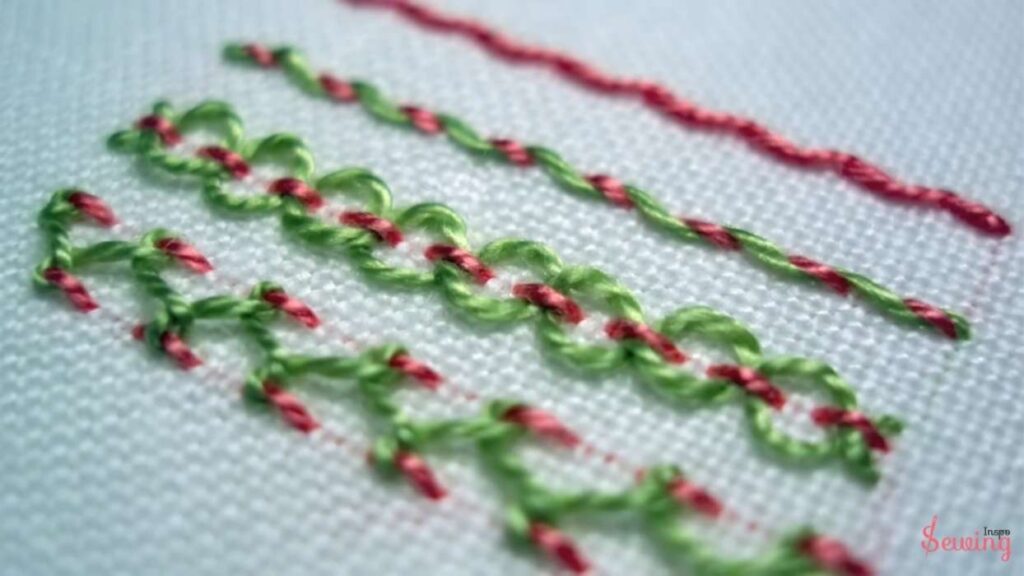
Running Backstitch Patterns
Running backstitch is such fun right? I find it fun too that’s why I keep practicing with running back stitch. And did some patterns with it. Here, have a look:
Running Back Stitch Knitting
If you prefer knitting to sewing, you can also do running back stitches. These awesome stitches in knitting are often used to add detail, reinforce edges, or join pieces of knitted fabric together.

Similar to the sewing version,
It combines running stitches with backstitches, but it’s done on knitted fabric. This method is typically used when seaming garments, attaching patches, or adding decorative elements. Or you can even do backstitch numbers with this backstitch.
It’s beneficial for making solid and invisible seams or creating a neat edge on your knitting projects. This creates beautiful continuous stitch lines. This stitch helps keep everything in place while adding a bit of extra durability to the areas that need it most.
That’s how to backstitch cross stitch.
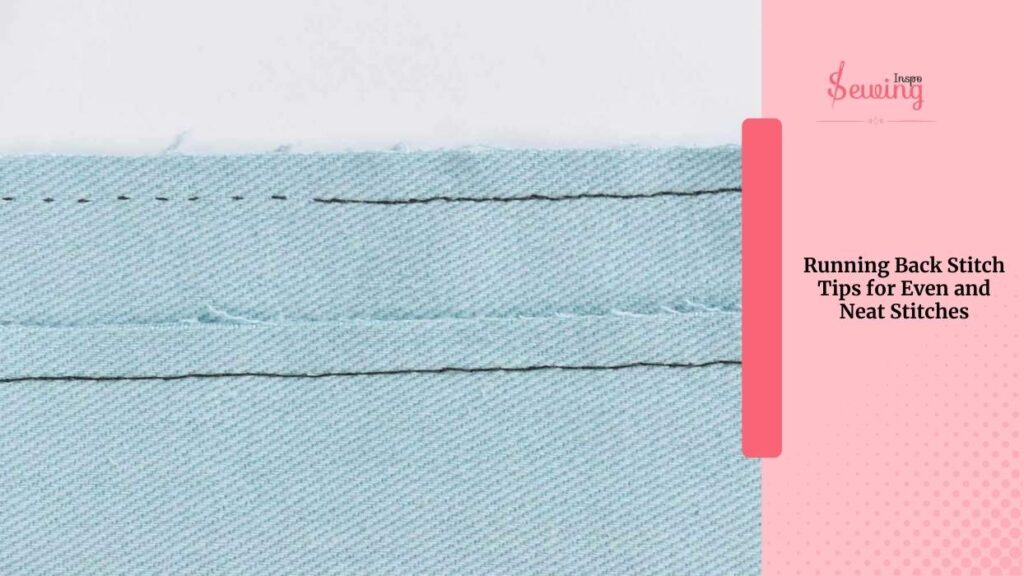
Running Back Stitch Tips for Even and Neat Stitches
When I first started back stitching, my lines were all over the place. Some stitches are too long, others too short. Over time, I picked up a few tricks that really helped me keep my back stitches neat and consistent:
- Keep a steady hand: I make sure my fabric is taut in the hoop, so the stitches don’t pull or pucker.
- Even stitch length: I count each stitch carefully, trying to keep them roughly the same size. It’s easier to spot mistakes early if you stay consistent.
- Anchor threads properly: I always start and end with a small, secure stitch on the back to avoid loose threads.
- Take your time: I stitch slowly when precision matters, especially around curves or letters, so the lines stay clean and sharp.
Using these simple tips, my back stitches now look neat and professional, and it really makes the cross-stitch design pop.
Frequently Asked Questions(FAQ’s)
Can I Use Running Backstitch On All Fabrics?
Yes, running backstitch can be used on various fabrics, including cotton, denim, and knits. Just choose the right needle and thread for your fabric type.
Is Running Backstitch Suitable For Embroidery?
Absolutely! It is often used in embroidery to outline shapes and add detail. It provides both strength and a decorative finish.
How Do I Ensure My Running Backstitch Is Even?
To keep your running backstitch even, use a ruler or marking tool to guide your stitching. Maintain consistent spacing and try to keep your stitches the same length.
Now It’s Your Time To Running Stitch
I followed Hasan’s instructions to do a running stitch project, and it turned out to be amazing 😍😍
So don’t waste time anymore. Start your sewing projects.
And share it with sewinginpso.


Leave a Reply