
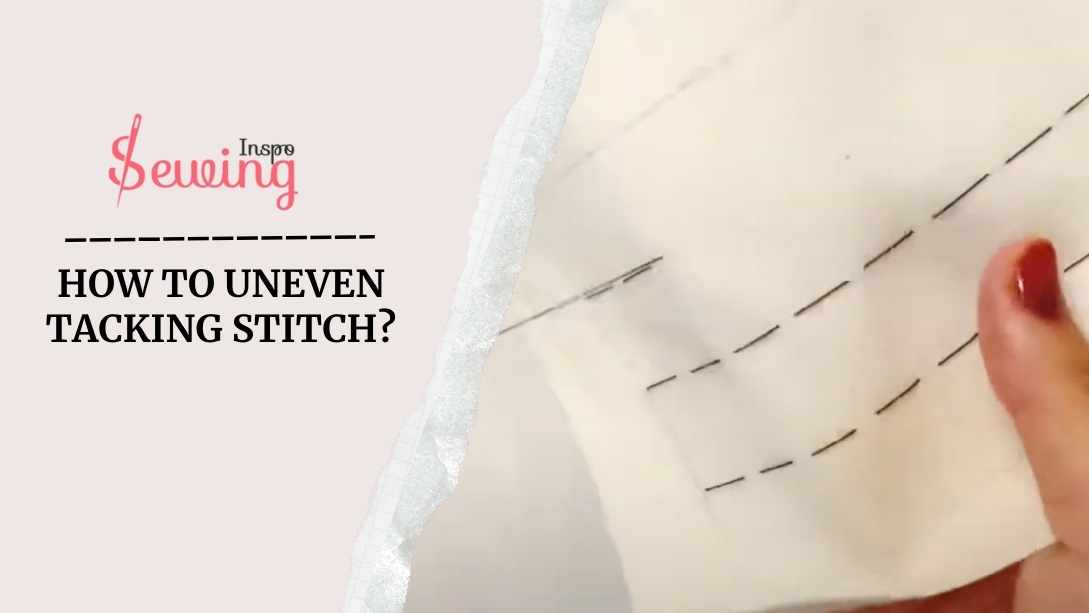
After learning the steps to an even tacking stitch, I’m curious to learn more. I bet it is easy with a little twist. But insisting on learning myself, I decided to bother Grandma again 😜 I ran to Grandma’s home and asked her how to uneven tacking stitch. She shows me a tacking stitch picture. But I was still confused, so asked her to demonstrate it.
She said,
Uneven Tacking Stitch
To do an uneven tacking stitch, mark three dots on the fabric, make three short stitches at those dots, and then add a longer stitch, repeating the pattern for a textured design on the seam allowance.
It sounds kind of like even tack, right? Let me show you, and then you will understand the difference clearly of the uneven stitch.
At a glance:
- Uneven tacking stitch is the total opposite of even tacking stitch This is also called uneven basting stitch.
- You can practice this while drawing dots on the fabric edge.
- You can do some temporary designs with uneven tacking stitches.
Process overview sewing project:
| Skill | Time | Tools |
| Entry | 2 minute | color thread, sewing needle |
Table of Contents
What Is The Uneven Tacking Stitch?
An uneven tacking stitch is mismatched sized stitches. This is the total opposite of even stitch. You can use Uneven stitches in hand sewing to align and secure layers of fabric before you do the final sewing. Not permanent stitches. The best part is that it’s super easy to remove later; just tailor stitch.
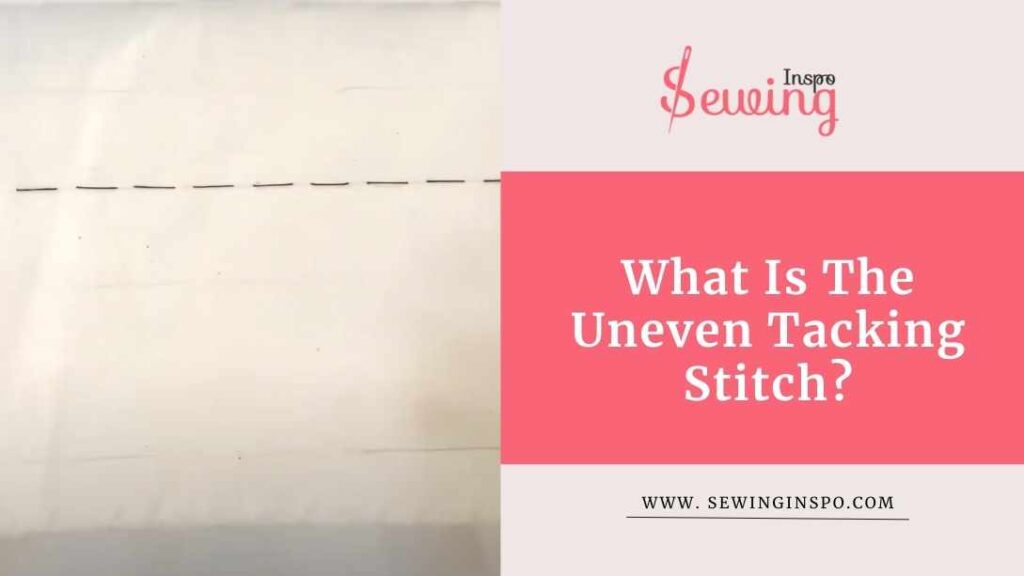
That’s what kind of stitches are there. It won’t interfere with your finished piece. You just want to keep the stitches loose enough so the fabric lies flat, and you can space them however you like, whether close together or a bit apart. That’s the format of uneven stitching. Basically, it’s the total opposite of tack down stitch.
That’s the uneven stitching but are you still confused about even and uneven stitches? Ok then listen,
Even tack goes in a straight line and uneven doesn’t do a straight line stitch. This is why it is also called uneven basting stitch.
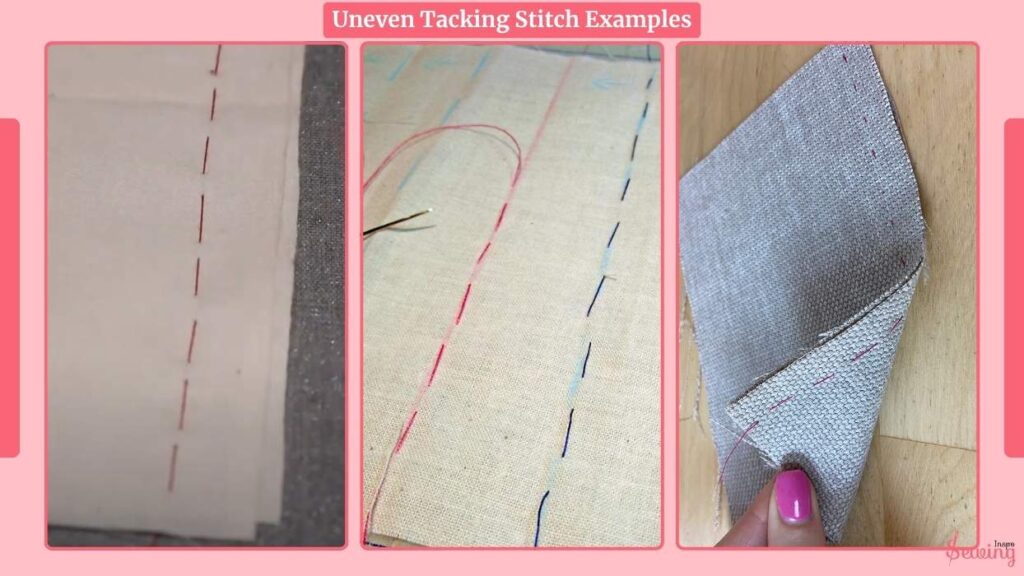
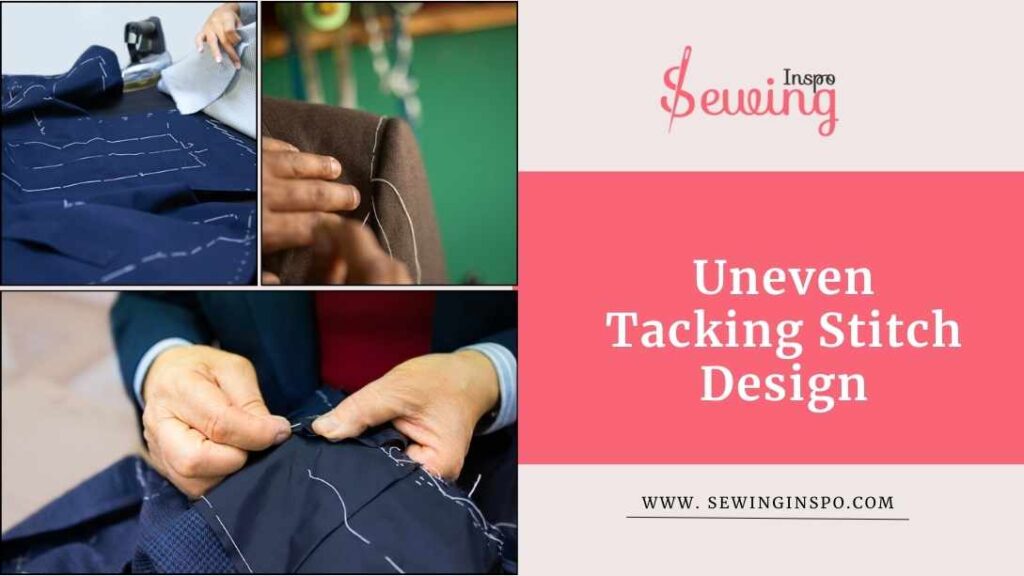
Uneven Tacking Stitch Examples
If you are still unsure, take a look at these pictures of uneven tack to know them better.
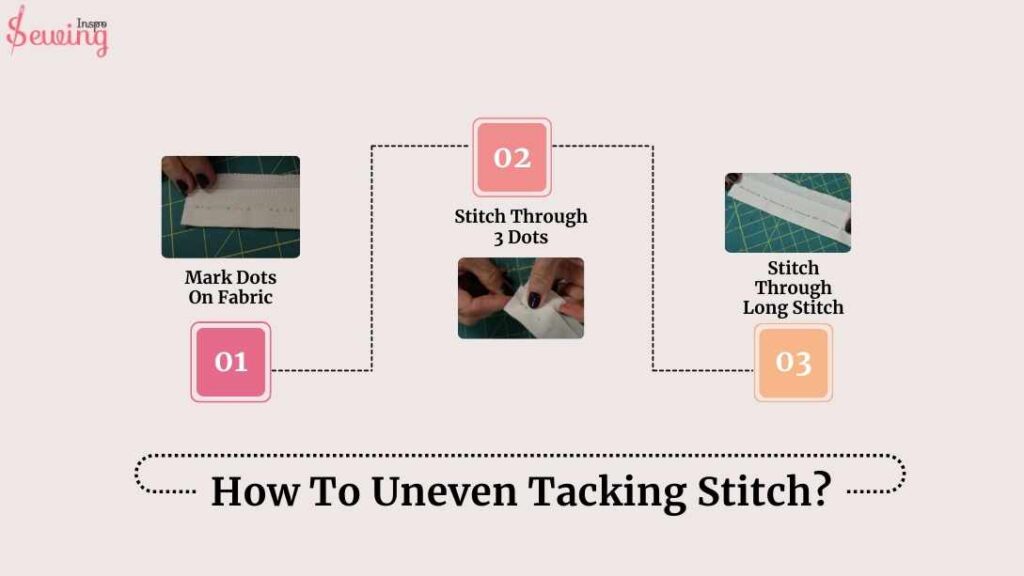
How To Uneven Tacking Stitch?
To do uneven tacking stitch, follow 3 steps,
Uneven tacking stitch steps
- Mark Dots On Fabric
- Stitch Through 3 Dots
- Stitch Through Long Stitch
Now you know uneven stitch definition. So now It talks in detail about uneven tacking stitch steps, just like a list of sewing stitches.
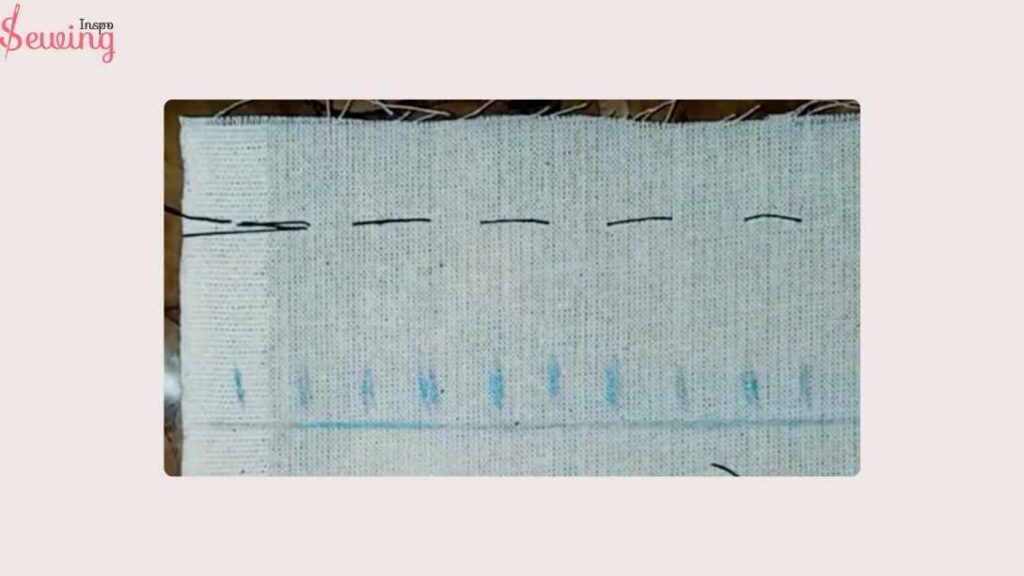
Mark Dots On Fabric
To do this simple tacking stitch out the fabric on a flat surface. Grab a fabric marker or some chalk and draw 3 small dots close together where you want to place your short stitches. These dots will guide you as you hand-sew stitches. You can apply this technique for long and short tacking stitches too.
It’s easy to do uneven stitches\ diagonal basting stitches if you mark them.
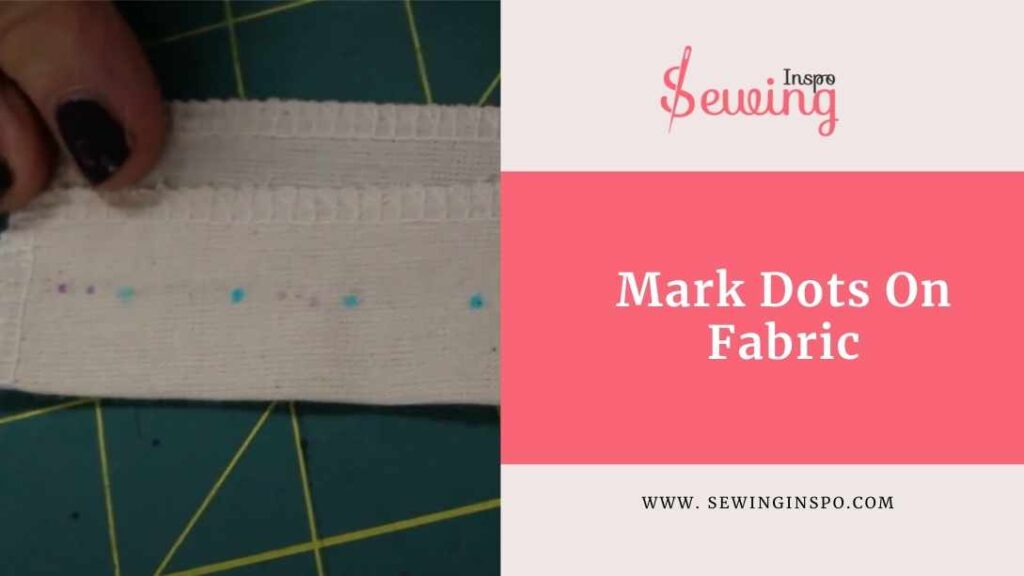
Once you’ve marked those, go ahead and make 3 short stitches right where the dots are. That’s where Uneven basting stitches names come from. This will form a beautiful uneven stitch design.
After that, add a longer stitch in between those short ones. So, the sequence would look like 3 short stitches followed by a long one. And then, you can repeat this pattern across your fabric.
Just imagine it: short, short, short, long, and then back to short again. That mix of stitch lengths will create a really cool texture! This is an easy type of tacking stitch.
Stitch Through 3 Dots
After you’ve made your first stitch, you need to match up again at the next small dot. Remember, the rhythm is key here. You’re aiming to create 3 small stitches in total before you move on. with 7 needle size.
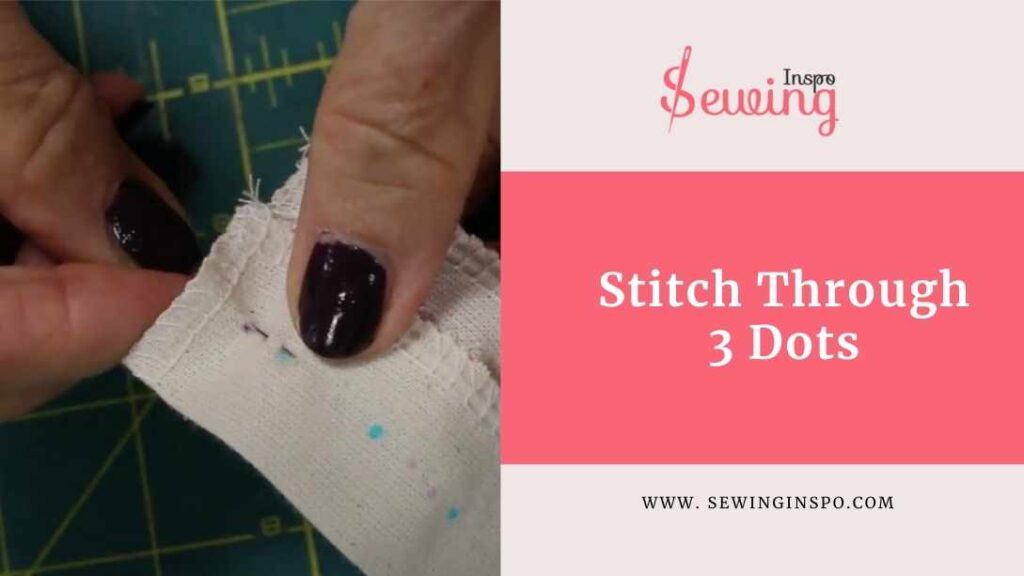
So, to break it down:
- Come up through the fabric at the first small dot and pull your thread through. This is your first small stitch of the uneven stitch.
- Next, move over to the second small dot and come up again. Pull your thread through, and that’s your second small stitch.
- Finally, go to the third small dot and make your last small stitch by coming up through the fabric here.
Stitch Through Long Stitch
Next, start adding a longer stitch to the mix. After you finish your 3 tiny stitches, let’s return to the last dot where you came up. Instead of making another small stitch, this time, you will make a longer stitch.
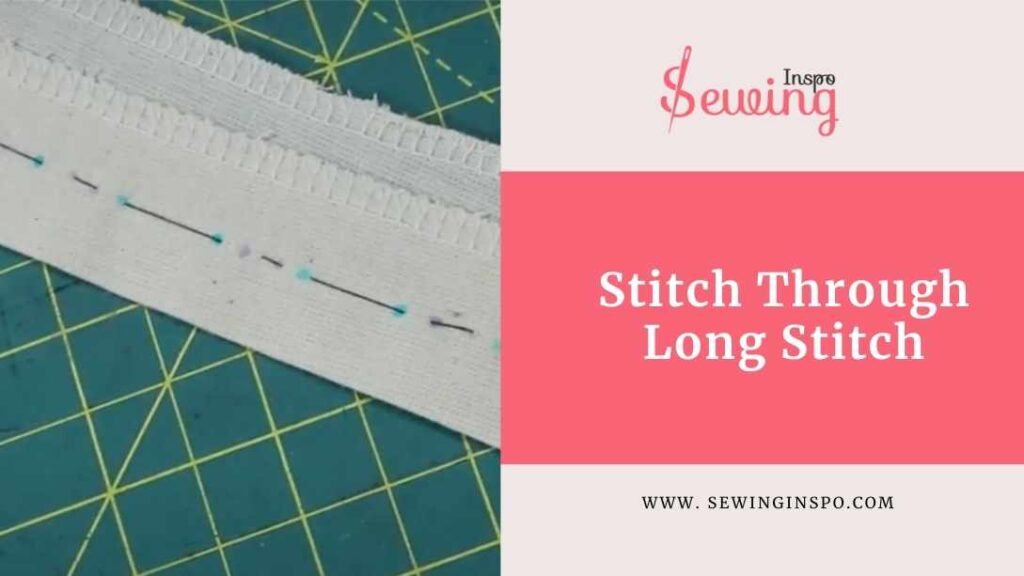
Pull your needle and thread up through the fabric ½ inch away from the last dot. This longer stitch should create a nice contrast with your small ones.
So the pattern will look like this: 3 small vertical stitches followed by one long stitch. It makes the perfect Tacking uneven stitch design. Keep stitch consistency until the end.
Now, you can repeat this sequence across your fabric. Just remember the rhythm: three small stitches, then a long one. This will create a lovely flowing pattern that adds some great texture to your work.
Enjoy the process, and let your creativity shine! And that’s how to uneven tacking stitch.
Watch this video for clearer idea of uneven tacking stitches UNEVEN BASTING
Uneven Tacking Stitch Pdf
Save this PDF for future usage.
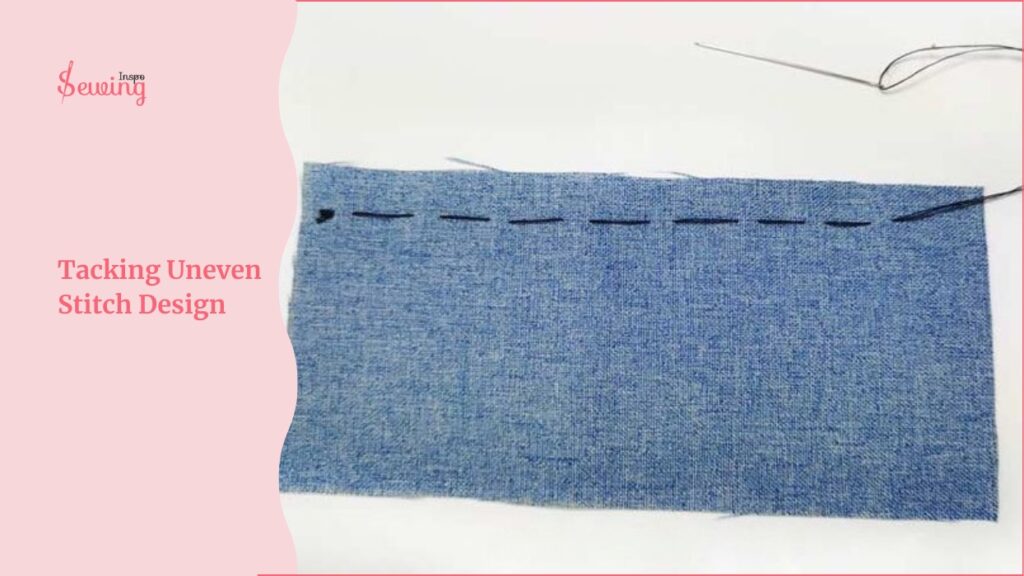
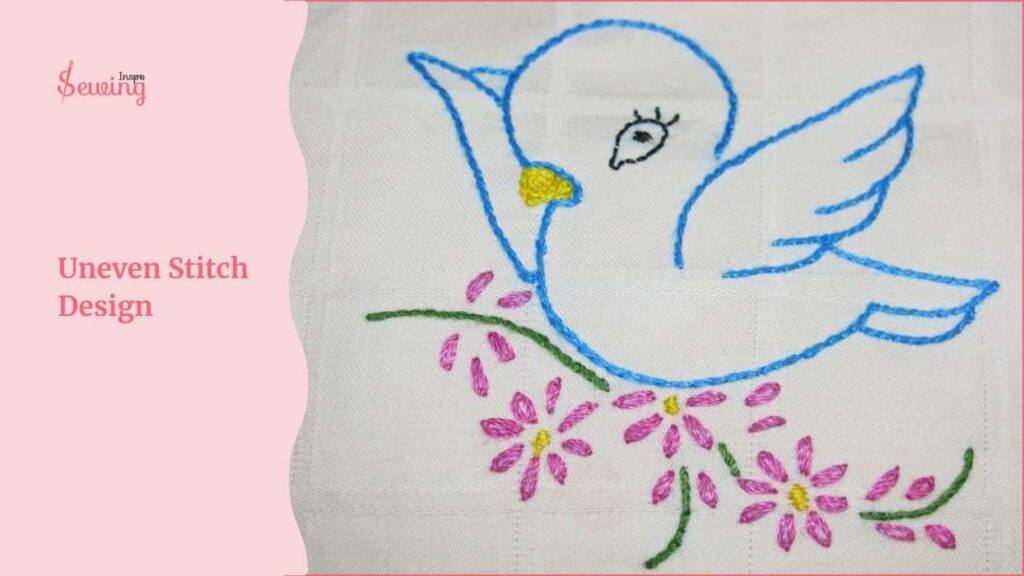
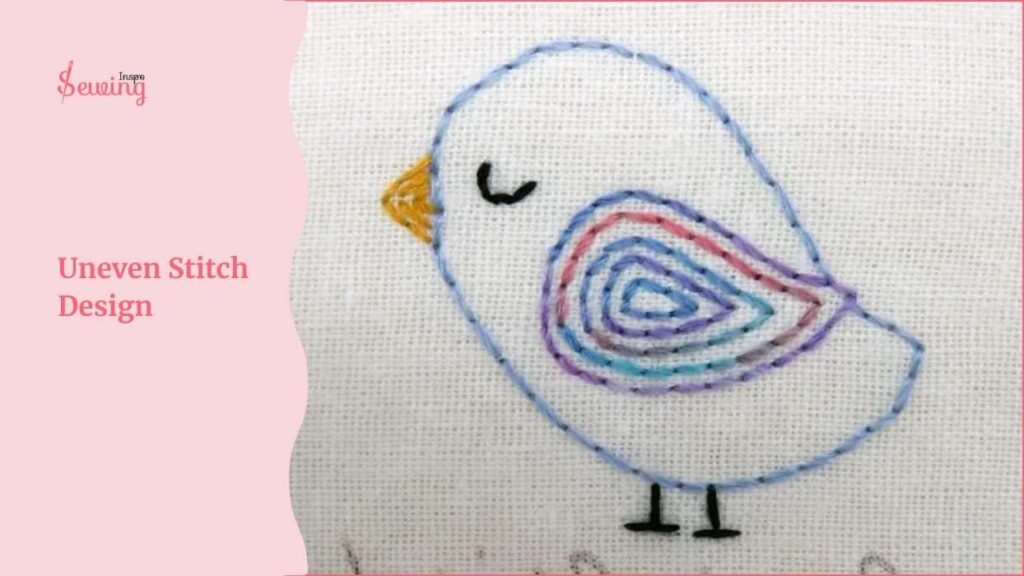
Uneven Tacking Stitch Design
After learning even to tack stitch from grandma, I tried it out myself. As I stitched, I made three small stitches close together, followed by a longer stitch in between. This tacking stitch use as a temporary stitch but it can also create pattern. This pattern added such a nice texture to the pieces of fabric for decorative purposes! If you want something thicker design then do a bartack stitch.
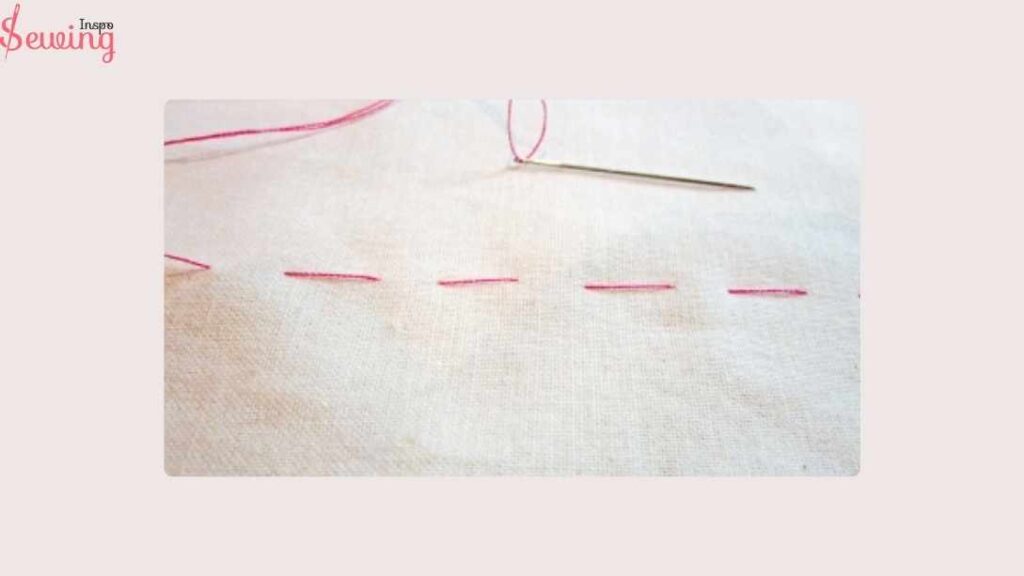
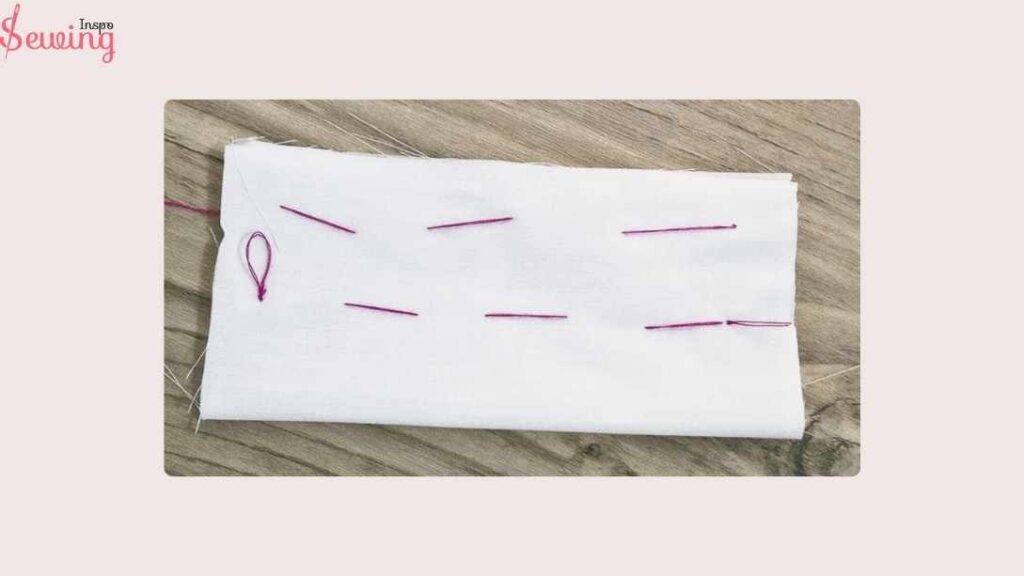
I loved how the varying lengths gave the design a rhythmic quality. I made sure to keep the stitches loose so that everything lay flat, which made it super easy to work with. Here are a few examples of my uneven stitch design!
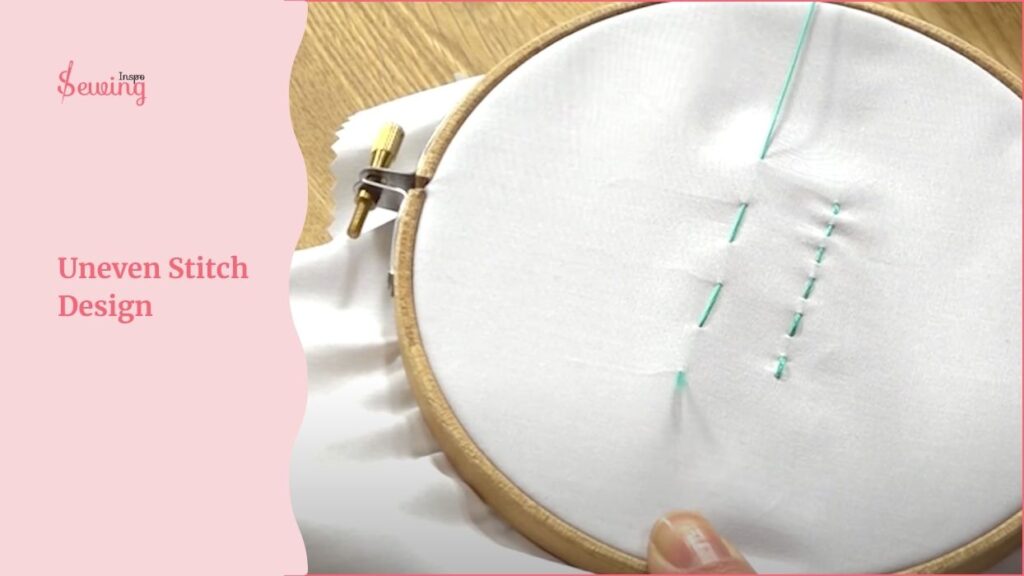
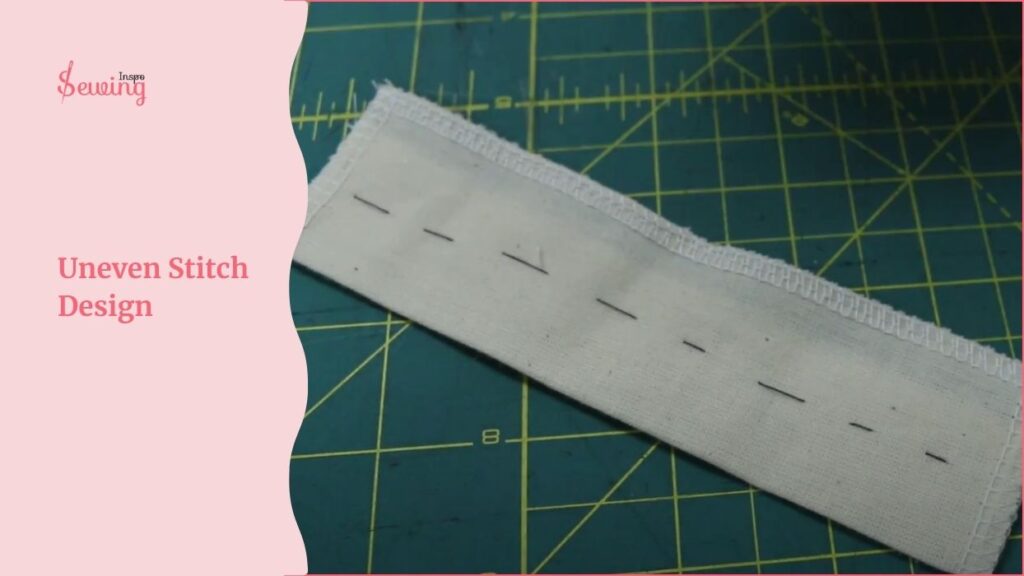
Uneven Stitch Design
After learning the method I tried and made a few designs. Here have a look,
Frequently Asked Questions(FAQ’s)
How Tight Should I Pull The Even Tack Stitches?
You should keep the stitches loose to avoid gathering the fabric. This will ensure that the fabric lies. Removing the uneven hand basting stitch easier.
Can I Use Any Type Of Fabric For Even Tack Stitch?
Yes, the uneven tacking stitch can be used on various fabric types, but for the best results, adjust your stitch length and tension based on the fabric type.
How Do I Remove The Uneven Tacking Stitches?
After you’ve completed your final stitching, simply pull on the single thread of the uneven tacking stitches to remove them. They should come out easily without damaging the fabric.
Summary
So, that’s how to uneven tacking stitch.
Is it so easy, right?
Why not try it out? Try it and share it with my sewing inspiration.

Leave a Reply