
The other day, I fell down a rabbit hole while googling different types of stitches—don’t we all? 😅 That’s when I come across x stitch sewing… and oh my goodness, every pattern looked like a mini masterpiece! 🤩 I couldn’t stop admiring how neat and colorful those little X-shaped stitches were. I had to try it.
So, I did what any curious stitcher would do—I called up my grandma and asked, “How to do a cross stitch hand sewing?”
She chuckled and said,
Cross Stitch Hand Sewing
To sew cross stitch by hand, use even-weave fabric, a blunt needle, and colored threads to make X-shaped stitches according to a pattern.
But the short example isn’t enough. So I try X stitch sewing for beginners. Let’s do a box x stitch by hand.
Table of Contents
What Is The X Stitch Called?
It gets its name from the little X-shaped stitch you make on the fabric. Each stitch is made by crossing two diagonal stitches over each other.
It’s forming that classic “X” look you see in cross-stitch designs. So when someone says “X stitch,” they’re almost always talking about cross stitch. There are many types of cross stitch as well. But the most famous one,

- Raised Cross Stitch
- Woven Cross Stitch
- Cross Buttonhole
- Chained Cross Stitch
- Crossed Feather
That’s where you can see the difference between cross stitch and embroidery very clearly.
Can I Do Cross Stitch Without A Hoop?
Yes, you can do cross stitch without a hoop! I prefer to go hoop-free, especially when working with stiffer fabrics like Aida cloth, or when the project is small and easy to manage by hand.
It’s not that hard. The key is to keep your fabric taut and wrinkle-free while you stitch. You can hold it in your hand vary easily.

And if you want to emphasise it further, use an outline method!
Use a backstitch with one strand of thread to trace around the stitched areas and bring out those juicy little details.
How To Do An X Stitch By Hand?
To do x stitch or cross stitch, follow the steps,
- Thread Your Needle
- Bring The Needle Out& in in 180 degree
- Insert The Needle At Point 5
- End Of Cross Stitch With a knot

Thread Your Needle With 6 Strands Thread
OK, to start a stitch of hand sewing, you need to thread your needle. If your thread’s already cut from a kit, grab a strand and carefully separate 2 from the 6. Thread your cross stitch needle with those 2 ends. Just like you would do with whip stitch.
But the thread choice depends on you fabric. But normally,


For cross stitching on 14-count and 16-count Aida, it’s common to use 2 strands of stranded cotton. You can adjust the texture by mixing the number of threads, using one, two, or even three strands in the same project. You can use this thread for catch stitch by hand.
-That’s the general rule of thumb, right? What materials do you use normally, Grandma?
I used to maintain those, but now I use 11 Aida fabric, a 22-inch needle, and 41-inch longer thread. That’s the perfect combination of cross stitch hand sewing.
Bring The Needle Out & In 180 Degree Angle
To start x stitched, bring the needle out at point 1 and go 180 degrees to point 2. That will be the base of x sewing pattern.

Then, again, go back to point 3, which is below 1. Next, insert the needle at point 4, above 2, to create a basic cross stitch.

-Remember to maintain 2-3 inch space between cross stitches. This spacing will keep x shaped stitch evenly.

Or if you want to make the stitching process easier, then use the grid fabric method. How?
There are a few ways to grid cross stitch, but I usually grab a water-soluble or heat-erasable fabric pen and lightly draw a grid on my Aida cloth. I match it with the pattern’s 10×10 squares, and just like that, stitching is easy now.
Insert The Needle At Point 5 To Make X Effect
For the next hand stitches, insert the needle at point 5 and bring it out at point 4. Then, insert it at point 6 to complete the second cross. Continue this process for more crosses. That’s how to sew an x.

End Of Cross Stitch With a Knot
Leave a little thread tail hanging out the back. Then, slide your needle under 1 or 2 stitches on the backside. It will make sure it doesn’t peek through to the front.
Give the thread a gentle tug to snug it up against the cross stitch embroidery fabric. That’s how to end cross stitch. If you want something more secure, then you can try other method like,
- Weaving Ends In
- Waist Away Thread
- Pin Stitch
- Loop Stitch

That’s how to sew a box x stitch by hand.
X Stitch Sewing PDF
Download this PDF just in case you forgot something. Or you can use free wedding cross stitch patterns and make some beautiful things to gift.
How To Cross Stitch With A Pattern?
These were simple X-stitch sewing patterns. But can I do it on some embroidery pattern? I didn’t seek an answer; I found it. 😜 I did it in a pattern and found that I can actually do it!
Here is how it went,
- Select an embroidery pattern or draw it.
- Embroidery floss usually comes in 6 strands. That’s perfect to make sewing method cross stitch.
- Most patterns call for 2 strands, but always check the instructions!
- Cut about 18-24 inches to avoid tangling and knotting.

- Bring your needle up from the back of the fabric at the bottom left of a square.
- Make a diagonal stitch to the top right.
- Then, complete the “X” by stitching from the bottom right to the top left. It will make x shaped stitches.
- Continue row by row or block by block — whatever feels easiest for you!
- Move left to right or top to bottom — whichever is more comfortable.
- Use a highlighter or pencil to mark off the areas you’ve already stitched on your pattern.
- Tackle one color at a time to keep things organized.
And that’s it! You got a beautiful x-stitched embroidery.
Fast Cross Stitch Techniques
Honestly, cross-stitch is a little time consuming. If you want to complete it more quickly, you can follow this method.
- Stitching Complete ‘X’
- Highlighting the Pattern
- Working from the Right corner
- Filling in Nearby Symbol
- Using Silhouette Pattern
- Stitching Half Stitches first
- Loop Method
Cross Stitch Hand Sewing Kit
If coming up with a pattern idea and gathering tools seems like an annoying task. Or if you are just lazy, then buy an X stitch sewing kit, like,
- Riolis Cross Stitch
- Stoney Creek Cross Stitch
- Caterpillar Cross Stitch
- The Stitchery Counted Cross Stitch

X Stitch Sewing Patterns
And if you still don’t wanna spend money on the kit and all, then practice on this pattern,

Cross Stitch Sewing Method
That’s the one simple method grandma demonstrated. There are more cross stitch sewing method out there. Each of them serves eye eye-catching effect that brings out the embroidery more. For example,
- Railroad method
- English Cross Stitch
- Danish Cross Stitch
- Sewing Method
- Victorian Method
- Parking Method
- Country method
- Loop Method
- Typewriter method

Beside those there are many more kinds of cross stitch sewing method. You just need to know when to use what.
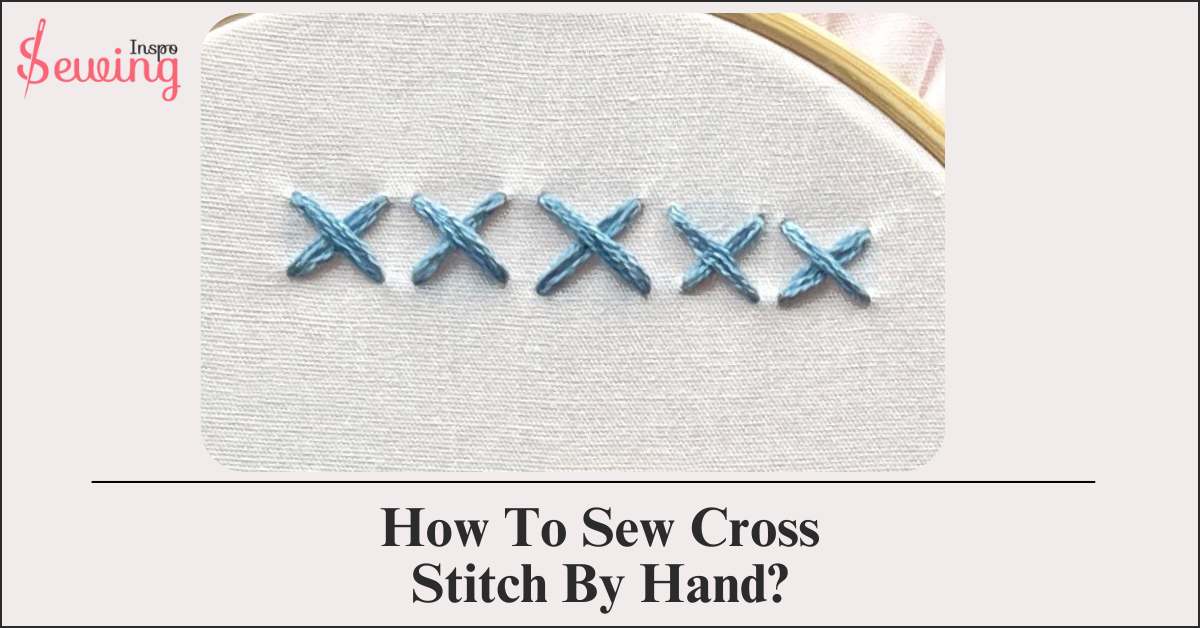
My cross stitch hand sewing tutorial
Frequently Asked Questions(FAQ’s)
How To Do Cross Stitch Quickly?
To cross stitch quickly, use a larger needle and work with a single color at a time, completing all stitches of that color before moving on. Keep your inch of thread untangled and work in rows or sections for efficiency.
How To Cross Stitch With A Pattern?
To cross stitch with a pattern, place your cross stitch fabric in an embroidery hoop, follow the pattern’s grid to make X-shaped stitches with embroidery floss color, matching the colors on the pattern. Sewing cross stitch is perfect for fancy stitching.
Final Thought
Now, you know how to sew cross stitch by hand, right?
So, why not you try it out right now? Try it out and let us know what your tried cross stitch and let us know what you have done.
Happy stitching! If you know a new technique for how to sew an x, please let us know.


Leave a Reply