
After learning what a bar tack stitch is, I learned how to do it. So, I didn’t waste any time, so I went straight to learning how to do a bar tack stitch. And trust me! It is easier than it sounds.
It is basically,
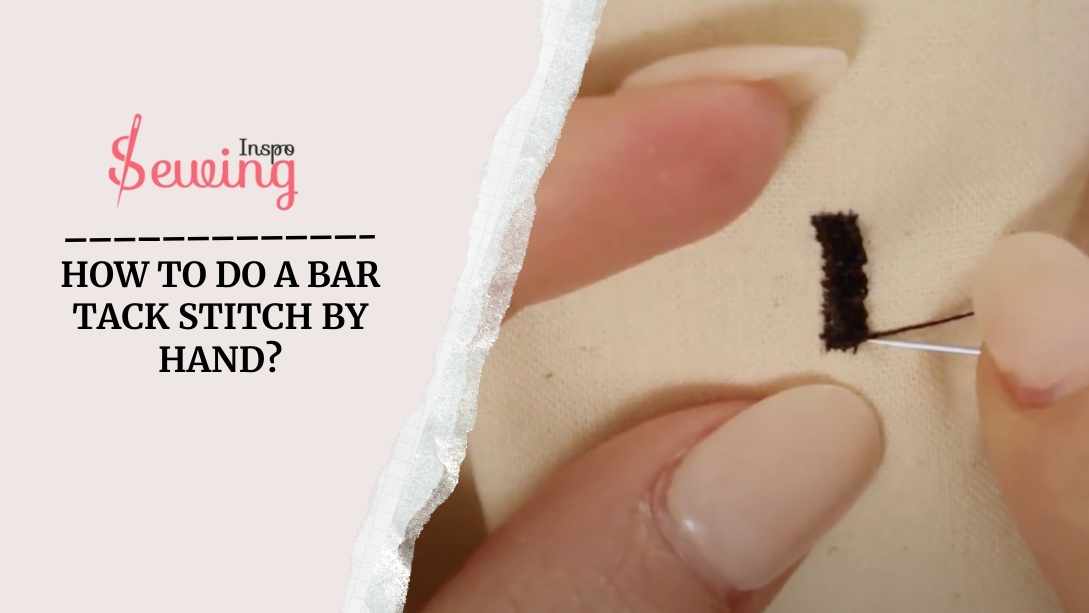
To do a bar tack stitch by hand, make several closely spaced stitches back and forth over the area you want to secure, forming a tight, zigzag pattern for strength.
It’s so easy, right? Umm, not really! There is more to the process. Read on to learn how to make bar tacking stitch.
Main Facts of how to sew a bar tack::
- You can do bar tack stitch in just 3 simple steps.
- Use leaf bar tack stitch to add a twist to your embroidery stitch.
- You can even do bar tack in webbing as hand tack.
Project Overview:
| Skill Level | Time | Tools |
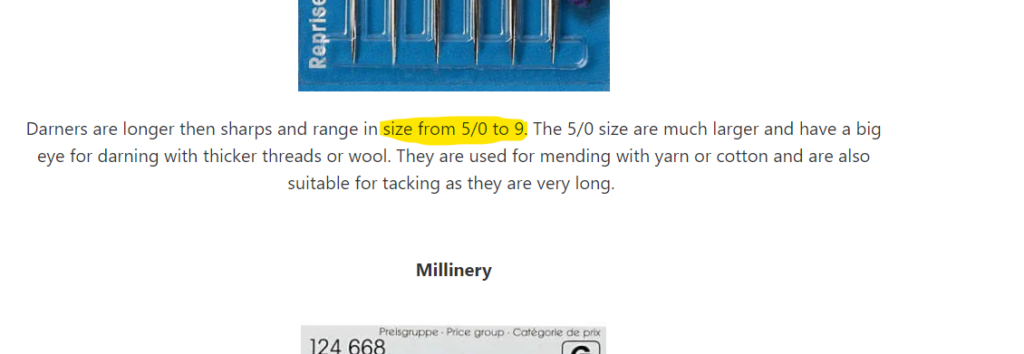
| Beginner | 5-10 min | 5/0 To 9 Size Needle & T-80 Thread |
Table of Contents
How To Do A Bar Tack Stitch?
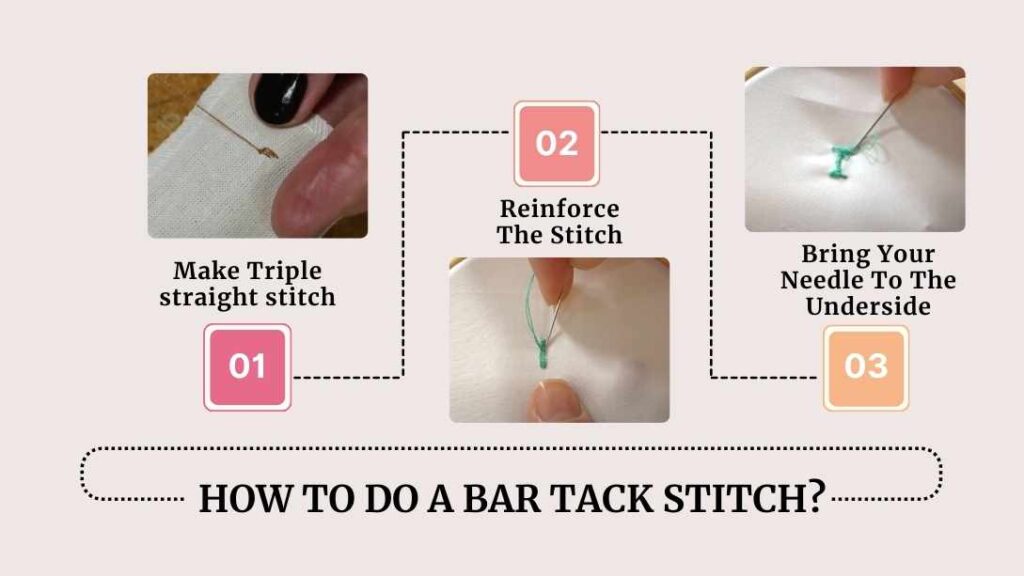
To do bar tack stitch by hand, you need to follow 3 steps.
- Make Triple straight stitch
- Reinforce The Stitch
- Bring Your Needle To The Underside
Let’s hand sewn bar tack.
Make Triple Straight Stitch
Grab your needle and some strong thread. Trust me, this is one of those times you don’t want your thread breaking mid-stitch. To be in the safe zone, use T-80 thread size is best for bar tacking. That’s a must-have to learn how to sew a bar tack stitch. You can even use the thread to box tack.
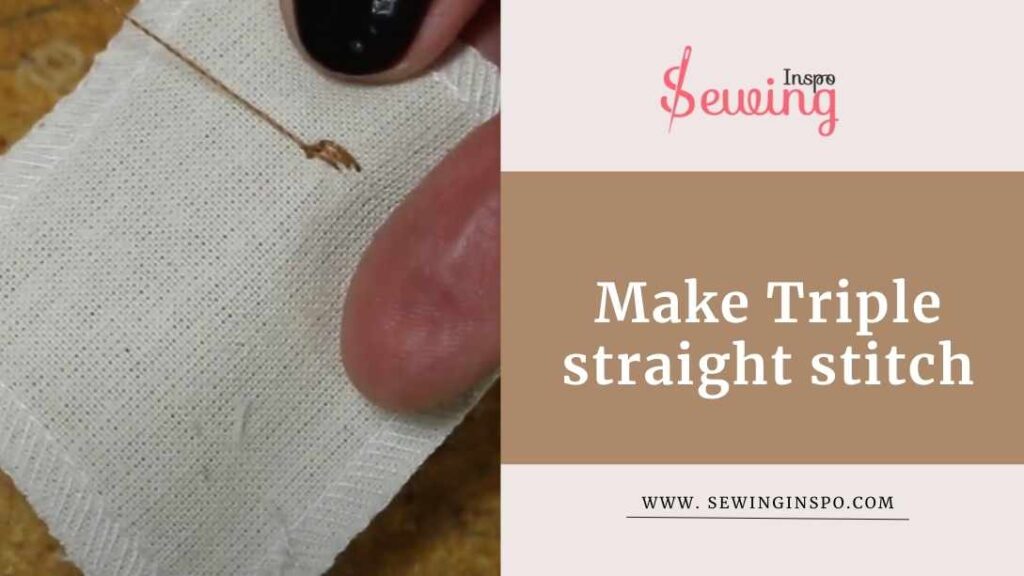
Start by bringing your needle up from the back of the fabric to the front, where you want your bar tack to go. That’s how to start a stitch by hand. Now, go ahead and make a series of 3 large stitches.
That will be the sewing bar tack starting point.
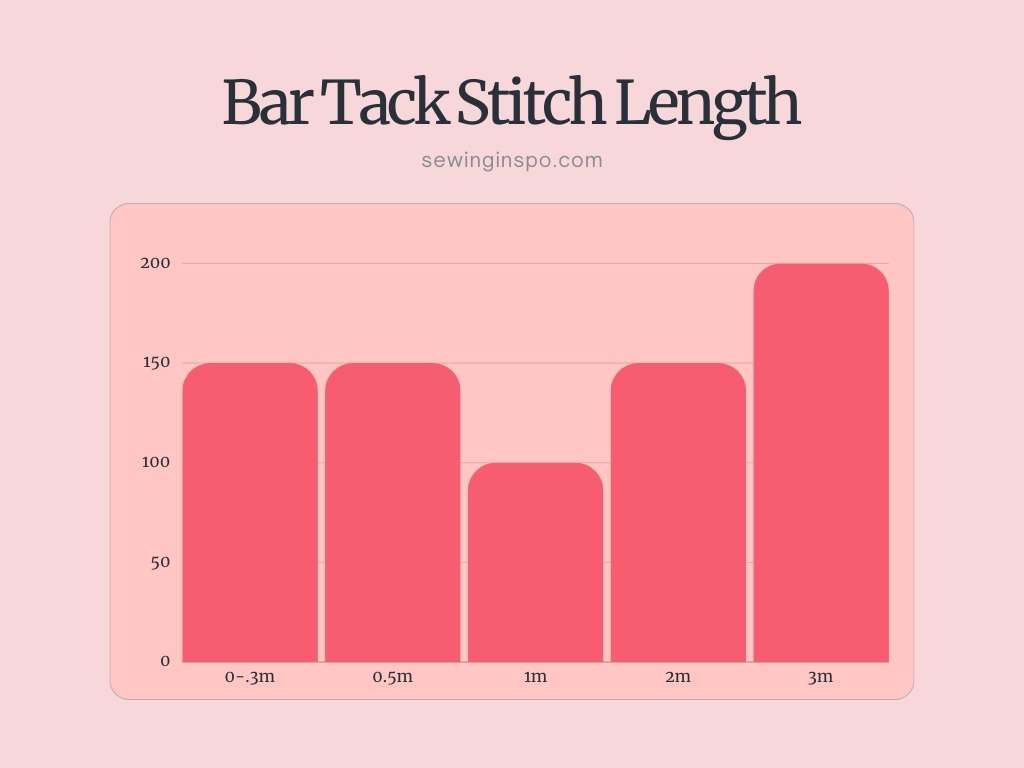
I said large stitches, but the how long and short tacking stitch will depend on your design type. If you see tack stitch pictures, then you would know.
In general, the bar tack stitch is generally 0.3-0.5 mm and has a width of 2-3 mm.
For beginners, it is best to start with a large stitch. I can do a 3m long bar tack stitch. That’s the length that’s perfect for strong stitches.
No matter how long you choose, keep them close together. This way, you pull your needle through and make the first, second, and third stitches. The technique is kinda like arrowhead tack.
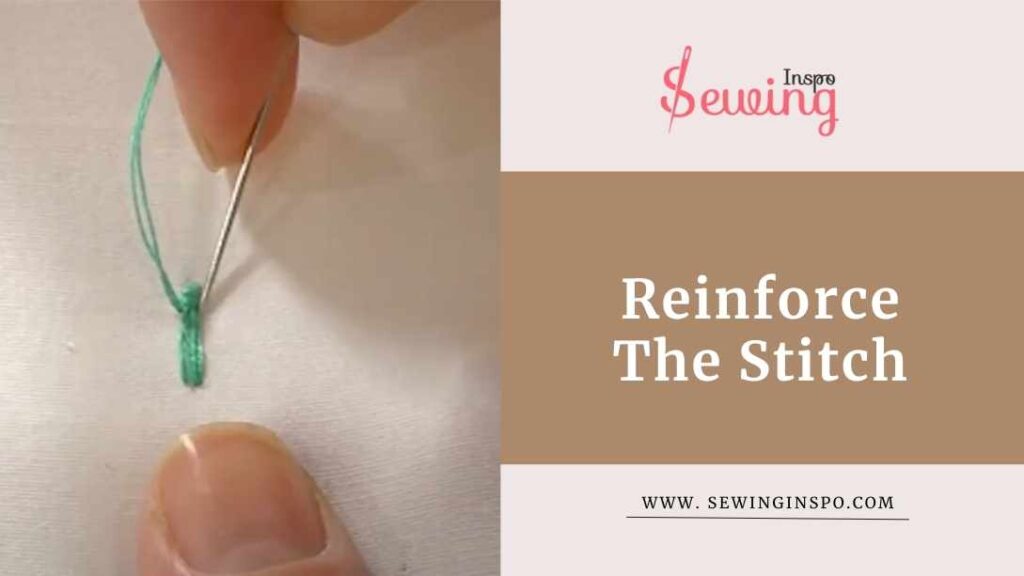
Reinforce The Stitch
Next, you need to reinforce those stitches. So, starting from the top of those stitches, go back down through the fabric and back up again. This gives those stitches the support they need and ensures they hold strong under pressure.
And there you have it! With those three large stitches and a bit of back and forth, you’ve created a solid bar tack that’ll stand the test of time. You can use this method for french tack stitch, too. But I mostly use this for pocket corners.
This technique is perfect for reinforcing areas like pockets or belt loops. So, feel free to use it wherever you need extra strength.
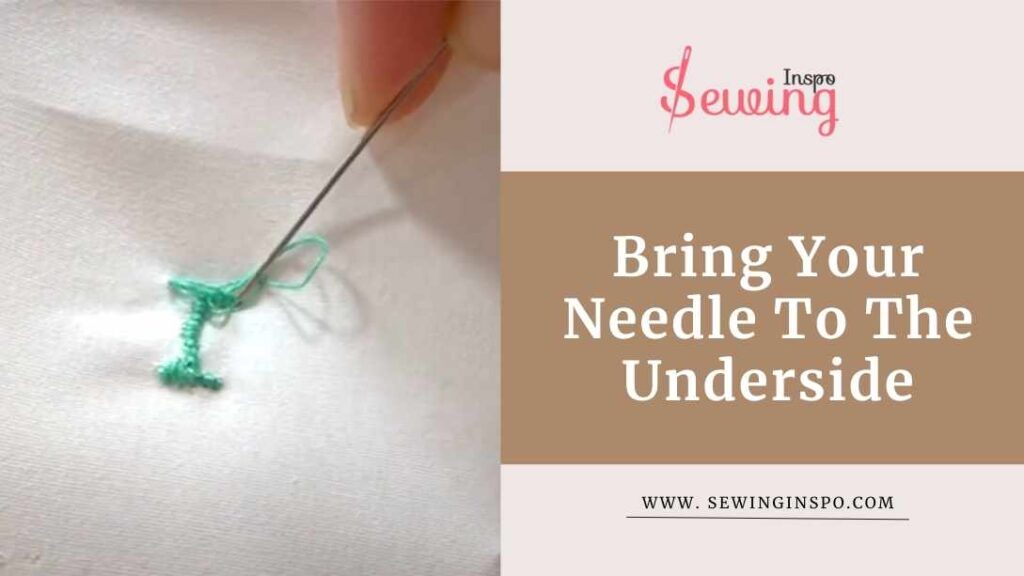
Bring Your Needle To The Underside
Bring your 5/0 to 9 size needle to the underside of the fabric and tie off the thread by creating a small knot.
You can secure the thread by looping it around the needle and pulling it through. If you want extra security, you can make a couple of knots.
Once you’ve done that, trim any excess thread close to the knot. But be careful not to cut too close to risk unraveling your bartack stitch.
And tada, your bar tack stitch is done!
Watch This Tutorial
If you still need clarification, then watch this video tutorial. This will make the bartack stitch process easy.
Bar tack stitch
Methods To Do Other Types Of Bar Tack Stitch
Yes, there are other types of bar tacks, just like other types of tacking stitches. I have taught you a basic bar tack; now let me show you other types. This type is for when you want to add a twist to your bar tack. Are you excited to learn? Ok, let’s begin:
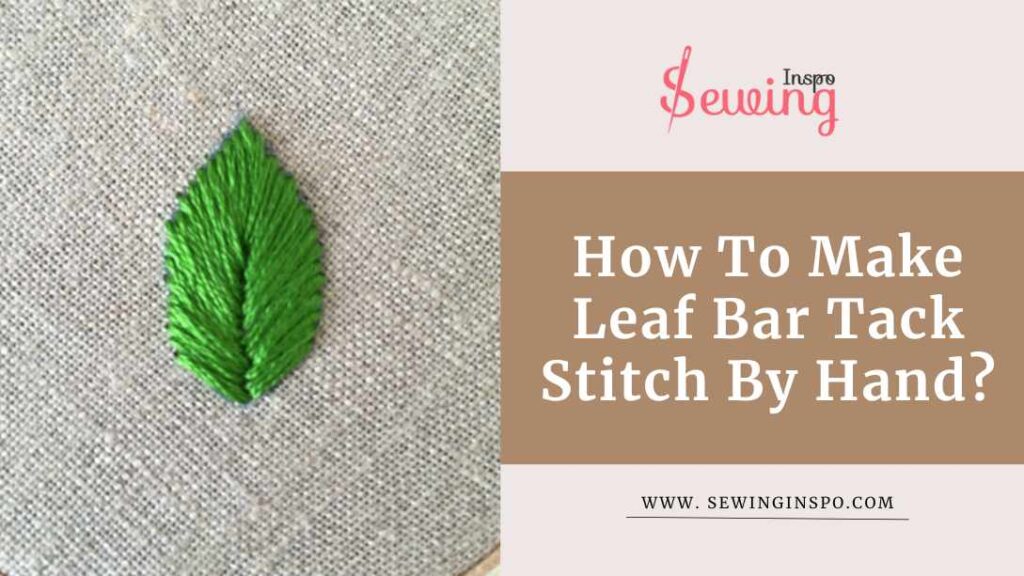
How To Make Leaf Bar Tack Stitch By Hand?
To make a leaf bar tack stitch by hand, you must create a series of closely spaced straight stitches in a leaf-like shape and then secure them with a blanket stitch, mimicking the appearance of leaf veins. These sewing Stitches Used For embroidery. Here’s how to do it:
- Mark the Leaf Shape: Lightly sketch the leaf shape outline you want on your fabric, including the vein lines. This isn’t like tailors tacking stitch so you can fill shapes with it pretty easily.
- Stitch the Veins: Sew along each leaf vein line using small, straight stitches. Keep the stitches very close together to create a solid foundation. You can create this bar tack stitch by hand.
- Blanket Stitch Over the Veins: Starting at the base of the leaf, use a blanket stitch to cover the straight stitches. Insert your needle close to the previous stitch to create a loop, then pull the thread through that loop to secure each stitch.
- Adjust the Stitch Density: Depending on your desired effect, you can adjust how closely you sew the blanket stitches. Closer stitches will create a denser look, while wider spacing can give a more lacy appearance.
And there you have it! You’ve crafted a beautiful leaf bar tack stitch! 🍁
How To Make Cross Bar Tack By Hand?
To make a cross bar tack stitch by hand, create a row of crossed stitches to reinforce an area while adding a decorative touch. If you know 20 types of stitches, then this stitch would be as easy as pie. Here’s how to do it:
- Mark the Area: Lightly sketch where you want the cross bar tack to be on your fabric, focusing on the center point.
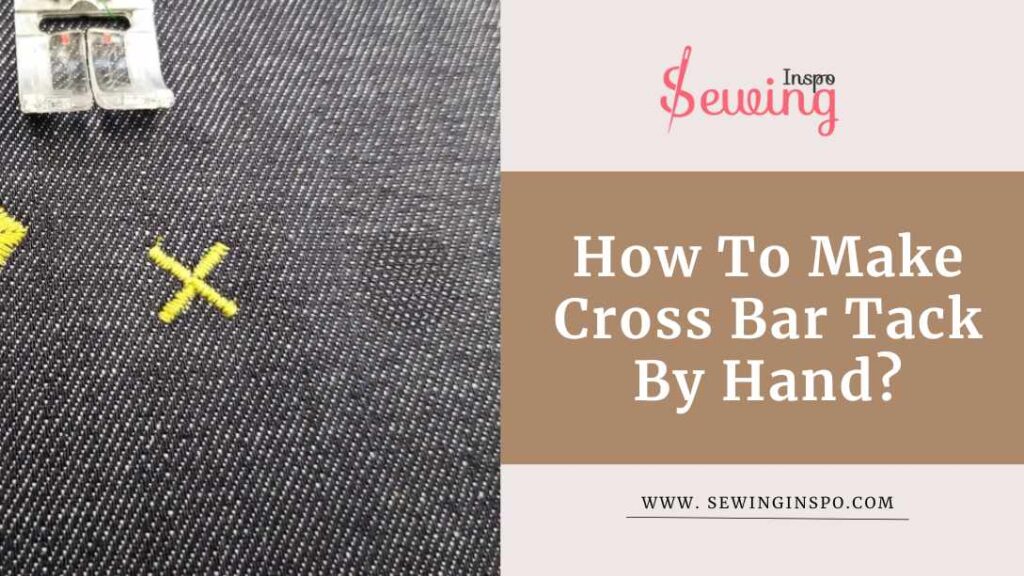
- Create the Cross Stitches: Bring your needle up through the fabric at the center point. Make a diagonal stitch to one side and down into the fabric, then bring the needle back up on the opposite diagonal, forming a cross. Repeat this to create multiple crossed stitches, working in a small square or rectangular area to build up the crossbar tack.
- Secure the Stitches: Once you have your crossed stitches in place, add more crosses on top of the first ones if you want a thicker, more pronounced look. Ensure your stitches are closely spaced for a strong reinforcement.
- Finish with a Knot: When you’re satisfied with the thickness, tie off your thread on the underside of the fabric. Make a few small stitches in place for security before cutting any excess thread.
And there you have it!
How To Make Decorative Bar Tack By Hand?
To create a decorative bar tack by hand, you can use either a blanket stitch or a back stitch method:
Blanket Stitch Method: Start at one end of the bar tack and apply blanket stitches perpendicularly over the existing threads and fabric. Place the blanket stitches side by side to cover the long stitches underneath. Continue this process until the entire length of the bar tack is filled.
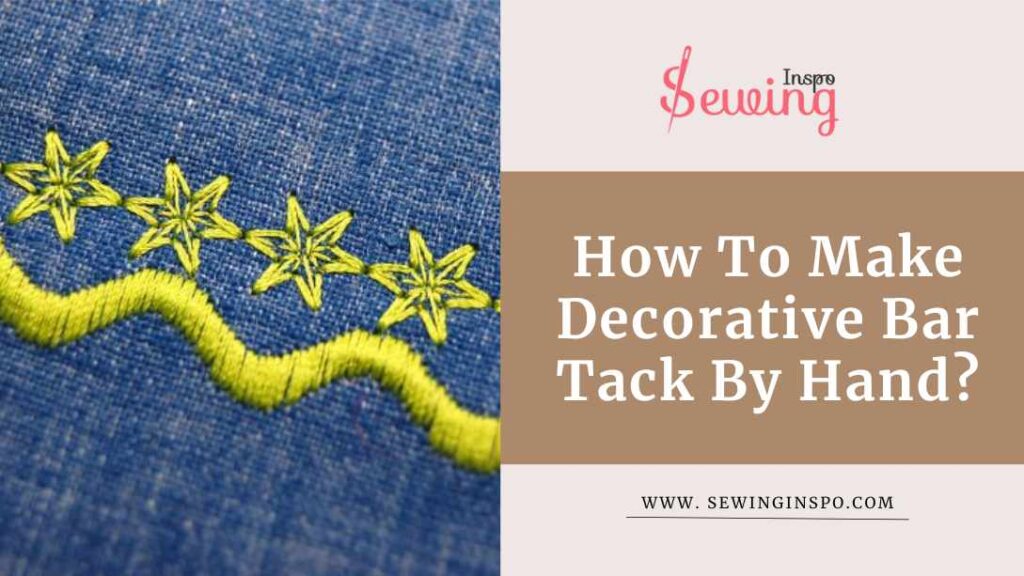
Back Stitch Method: Bring your needle through the fabric from the back to the front to create a series of strands. Sew around these stitches while passing through the fabric, creating a sturdy reinforcement.
They typically consist of tiny, closely sewn zigzag stitches, providing function and flair to your sewing projects.
How To Sew Bar Tacks In Webbing?
To sew bar tacks in webbing, gather strong thread and a heavy-duty needle. Lay the webbing flat and determine where to place the bar tack. Bring your needle up from the underside at the starting point.
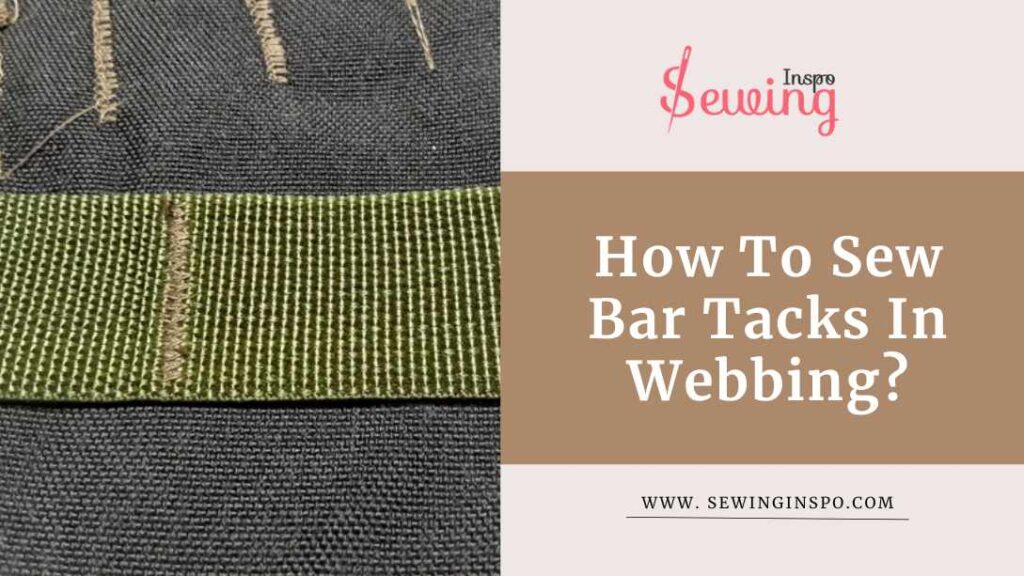
Then, create a series of closely spaced straight stitches along the length of the bar tack, going for about 3 to 5 stitches.
Once the base is complete, go back over the stitches in a zigzag pattern or simply back and forth for added reinforcement. Secure your stitching with a few small stitches in place.
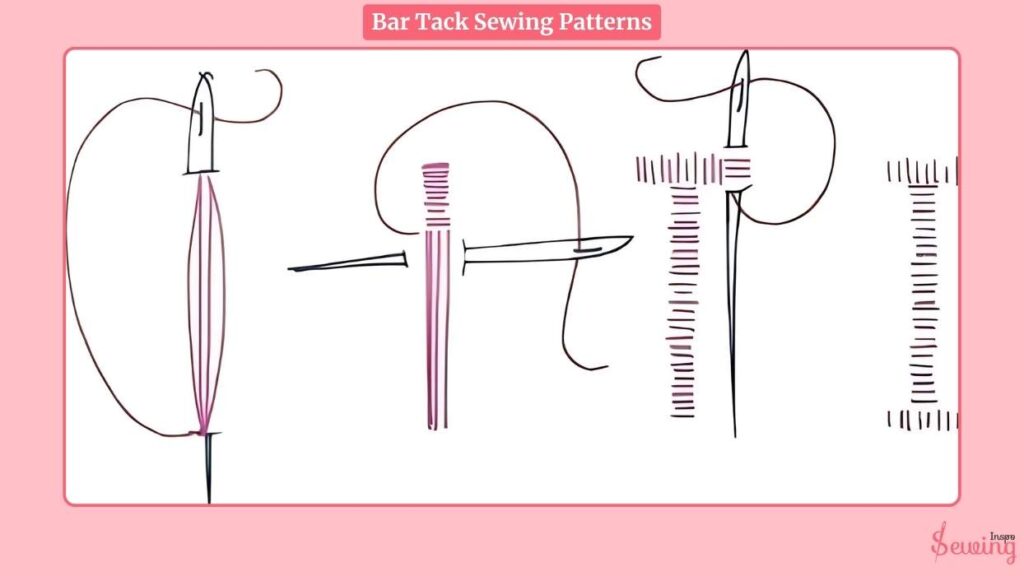
Bar Tack Stitch Patterns
Bar tack stitch short, tight, reinforced stitches that strengthen areas of high stress, like pocket openings, belt loops, or buttonholes.
The bar tack pattern typically consists of multiple parallel stitches in a small rectangular or square shape, creating a durable, secure hold.
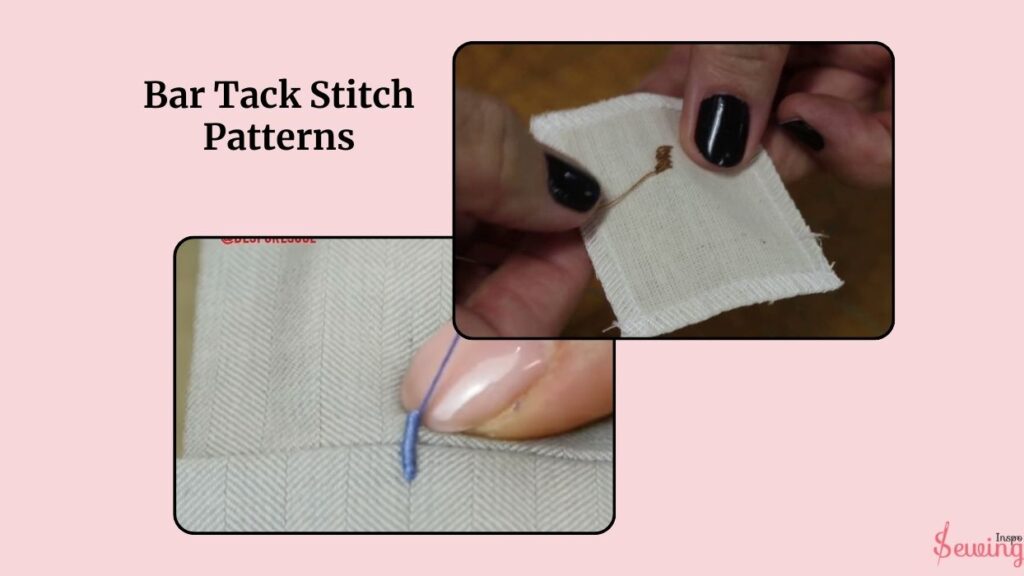
Bar Tack Sewing Patterns!
Frequently Asked Questions (FAQ’s)
What Materials Do I Need To Make A Bar Tack Stitch?
You’ll need a needle (preferably a strong one), strong thread (like polyester or nylon), and the fabric or webbing where you want to apply the stitch. Scissors for trimming excess thread and a fabric marking tool can also be helpful.
How Can I Ensure My Bar Tack Stitch Is Secure?
To ensure your bar tack stitch is secure, use closely spaced stitches, typically about 3 to 5 stitches in a row. Reinforce the area by going back over your stitches with additional rows or in a zigzag pattern. Lastly, tie off your thread securely to prevent unraveling.
Where Should I Use Bar Tack Stitches?
Bar tack stitches are commonly used in areas that experience stress, such as pockets, buttonholes, or strap attachments. They provide extra reinforcement to prevent tearing or wear, making them ideal for heavy-use items like bags or clothing.
Sum Up
That’s How To Do A Bar Tack Stitch.
Can you do it now?
Yes, then try it out and share it with sewing inspo.


Leave a Reply