
I was doing embroidery that day when someone came and said, ‘oh you are doing cross stitch! It’s so beautiful!’ I got annoyed and said it was embroidery, not crossstitch. 😒 she looked confused and said, ‘what’s the difference between cross stitch vs embroidery? Isn’t it the same?’
It’s not the same. There is a difference. For intense,
Cross-stitch is a type of stitch that uses X-shaped stitches on even-weave fabric, while embroidery is made with various stitching techniques.
She didn’t look very convinced, so I decided to sit down with her and have a clear discussion. And learn more about the difference between cross stitch and embroidery in detail, just like cross stitch vs needlepoint.
Main facts about embroidery vs cross stitch,
- Cross-stitch uses X-shaped stitches on a grid, while embroidery involves various freeform stitches.
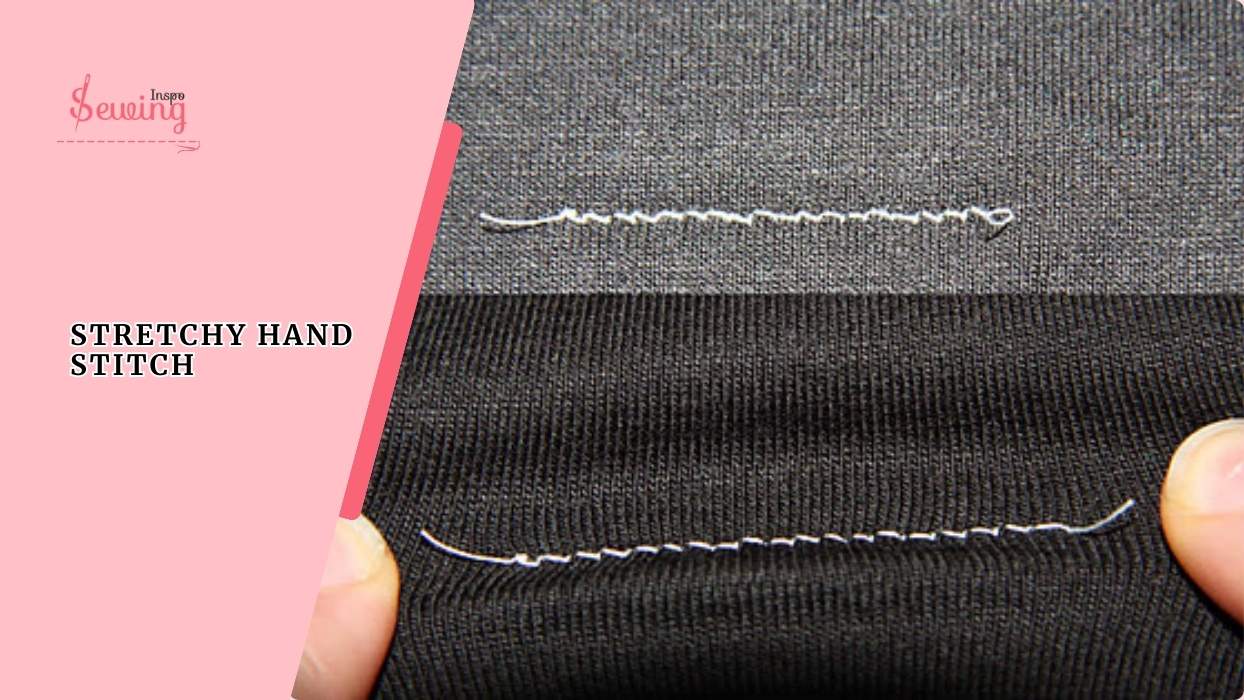
- Cross-stitch takes longer because of its structured design, while embroidery can be quicker, depending on complexity.
- Many stitchers combine cross-stitch, embroidery, and needlepoint for unique effects.
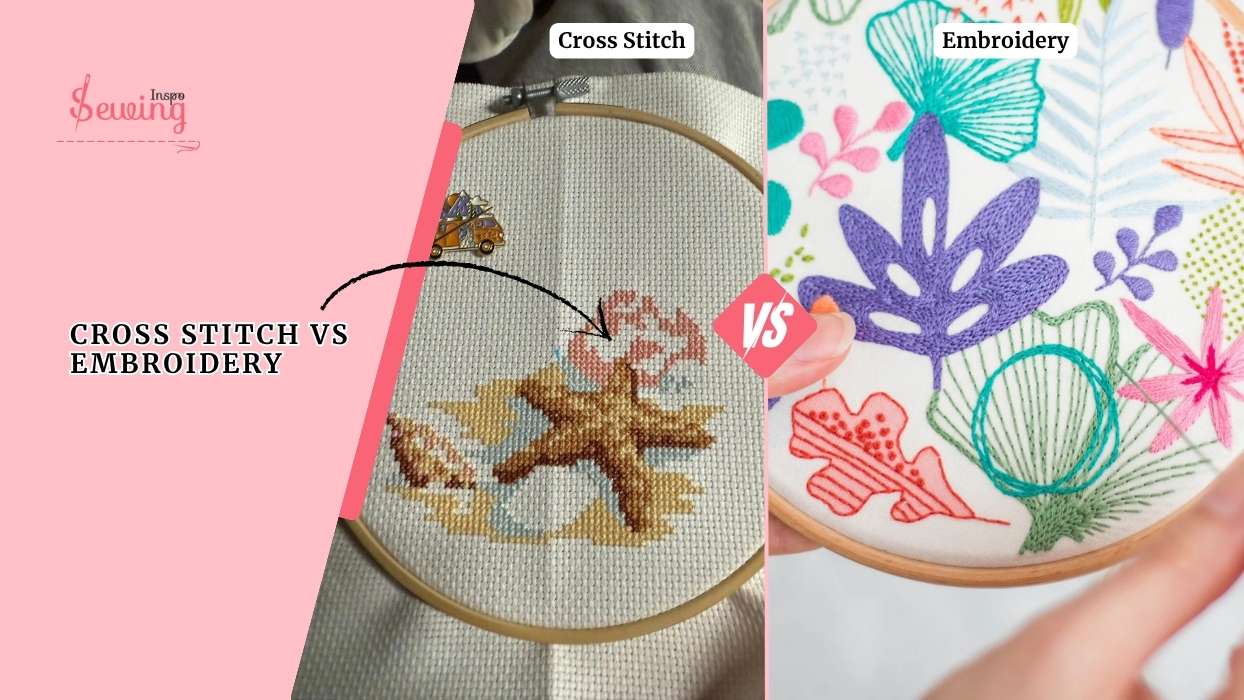
Table of Contents
Cross Stitch Vs Embroidery: What Makes Them So Different From Each Other
Cross stitch works are stunning. And it looks like an artwork. That’s why people tend to mix it with embroidery. But the reality is different. There are many differences between stitching vs embroidery.

| Feature | Cross-Stitch | Embroidery |
| Definition | A form of counted thread embroidery using X-shaped stitches on a grid. | A broad category of needlework using various stitches to create designs. |
| Stitching Style | Follows a grid pattern with uniform X-shaped stitches. | Can be freehand or structured, with different stitch types. |
| Fabric Used | Aida, Evenweave, and Linen (evenly woven fabrics). | Woven cotton, linen, silk, canvas, and other smooth fabrics. |
| Thread Used | Mostly stranded cotton (6-strand floss). | Cotton, silk, polyester, rayon, tapestry yarn, and even wool. |
| Needle Type | Tapestry needles (blunt tips) in sizes 20-28. | Sharp embroidery needles in sizes 5-10, depending on the fabric and thread. |
| Hoop Size | 6” to 8” hoops, or Q-snap frames for larger projects. | 4” to 10” hoops, depending on the design size. |
That’s the glance of difference. Now let’s talk about it in detail.
Cross Stitch Vs Embroidery Thread
They both differ in the thread usage too. Here is how,
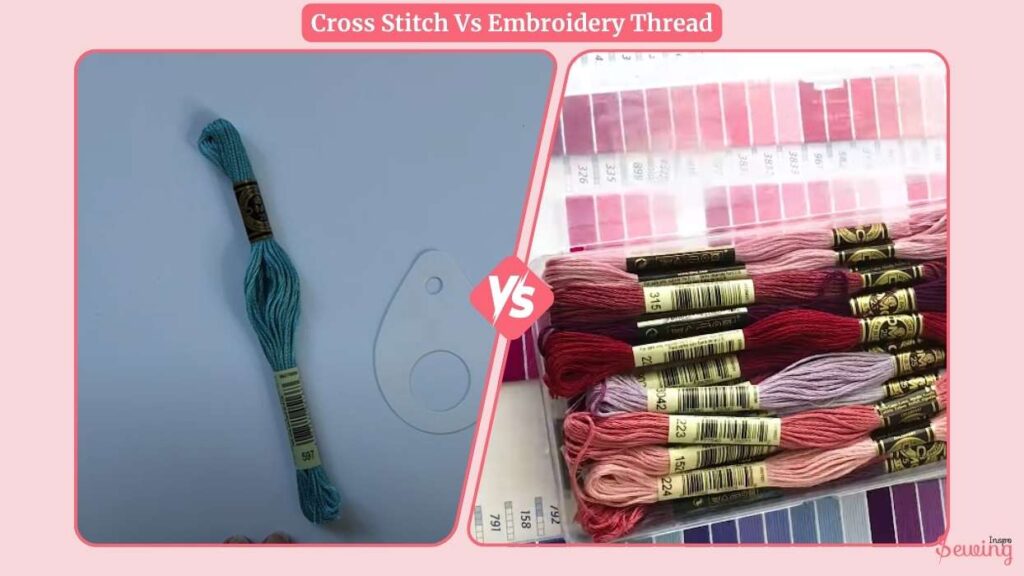
| Feature | Cross Stitch Thread | Embroidery Thread |
| Type | 6-strand cotton floss | Floss, perle, silk, metallic |
| Strands Used | Usually 2 strands | Varies (1 or more) |
| Use | X-shaped cross stitch | Many embroidery stitches |
| Thickness Control | Adjustable (separate strands) | Fixed (perle, silk, etc.) |
| Finish | Matte or light sheen | Matte, glossy, or metallic |
Cross Stitch Vs Embroidery Needle
The general rule for choosing an embroidery needle is simple: use a larger needle for heavier fabrics like canvas and a smaller needle for lighter fabrics. This also makes a difference between cross stitch versus embroidery.

| Needle Use | Recommended Type | Common Sizes |
| Embroidery (1–2 strands) | Embroidery needle | Size 9–10 |
| Embroidery (3–4 strands) | Embroidery needle | Size 7–9 |
| Embroidery (5–6 strands) | Embroidery needle | Size 5–7 |
| Dense Fabrics (e.g. leather) | Sharp/titanium needle | Varies |
| Cross-Stitch | Tapestry needle | Size 24 or 26 (common) |
| Fine Cross-Stitch | Tapestry needle | Size 28 |
Cross Stitch Vs Embroidery Fabric
There are differences in fabric use,s too. Just like punch needle vs cross stitch. The most commonly used fabrics for cross-stitching are 16 count Aida and Evenweave/linen. This fabric is easy to end cross stitch, too.
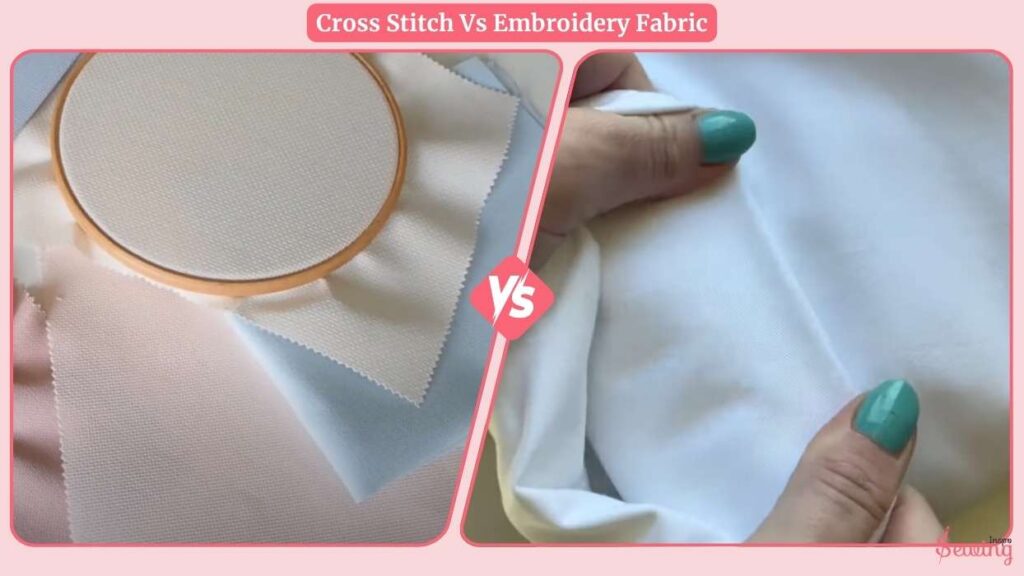
Both come in the same counts but are made from different materials—Evenweave is a cotton-modal blend, while linen is linen! These fabrics are ideal for cross-stitching because of their evenly spaced weave.
For embroidery stitches,
If you’re just starting, go for plain 100% cotton—keep it simple! Woven cotton has a tight, even weave with a smooth surface. It’s easy to work with and gives your stitches a clean, polished look.
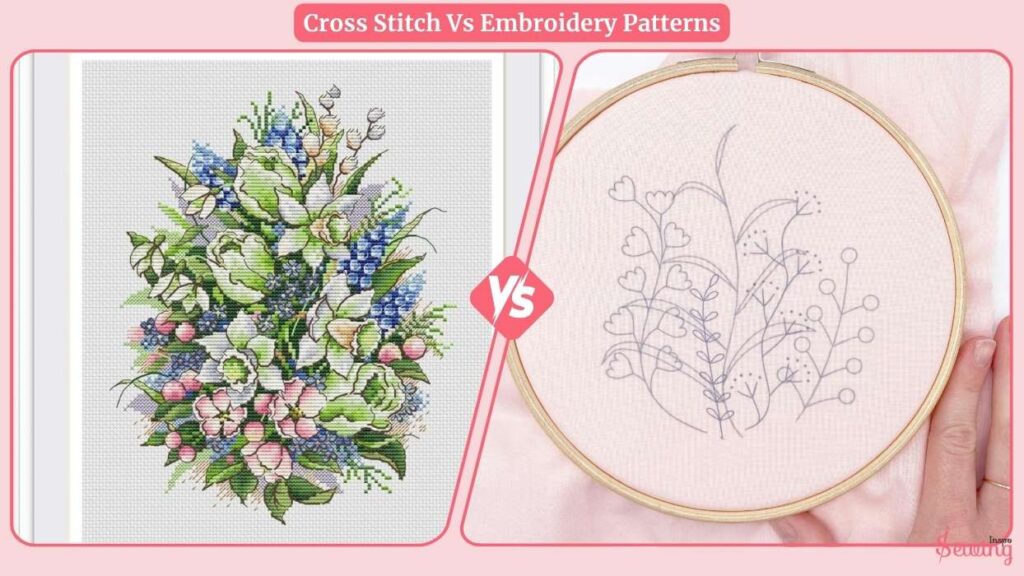
Cross Stitch Vs Embroidery Patterns
Just like the thread and needle, the difference is also very much visible in the pattern. I know at 1st glance it looks kinda the same, but if you take a closer look, then you will know. For example,
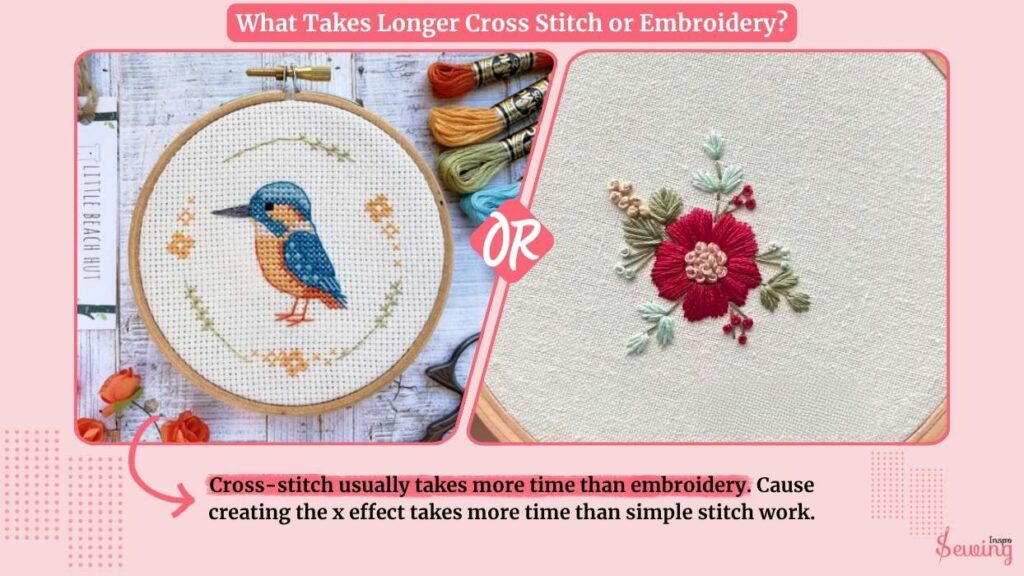
What Takes Longer Cross Stitch Or Embroidery?
Cross-stitch usually takes more time than embroidery. Cause creating the x effect takes more time than simple stitch work.
For example,
A small cross-stitch pattern, like a simple 2×2-inch design, can take 3-6 hours, while a medium-sized piece (around 5×7 inches) can take anywhere from 20 to 50 hours..
On the other hand,
Embroidery projects can be much quicker, especially for simple designs. A small outline or lettering piece might take me just 1-3 hours, while a moderate design with different stitches could take 10-30 hours.
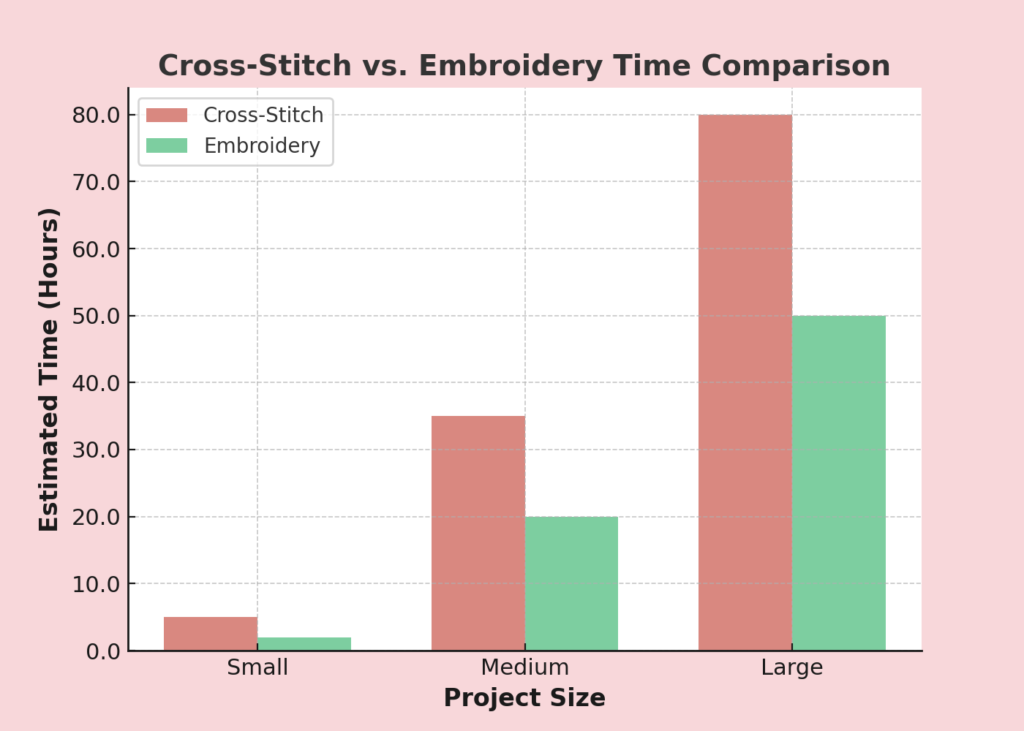
So, embroidery is usually the way to go if I’m looking for a quick project. But if I want something super detailed and structured, I know cross-stitch will take more time!
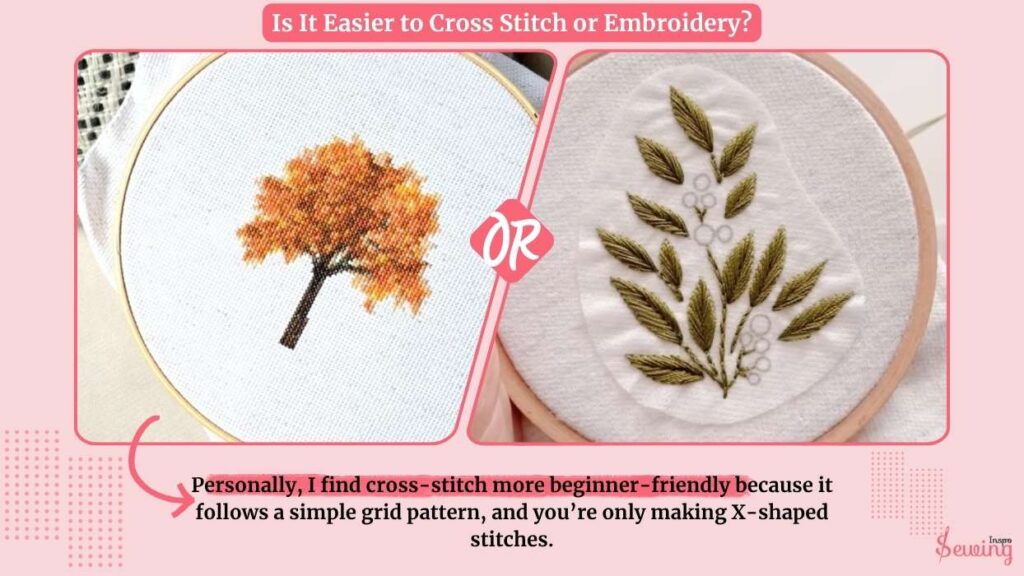
Is It Easier To Cross Stitch Or Embroidery?
So, cross stitch vs embroidery which is easier?
Personally, I find cross-stitch more beginner-friendly because it follows a simple grid pattern, and you’re only making X-shaped stitches. You’re good to go as long as you can count and follow a pattern.
The challenge arises with larger designs, color changes, and maintaining neat stitches. But overall, it’s a repetitive and relaxing process.
And
Embroidery is a more freeform art form that requires learning various stitches, such as satin stitch, French knots, and chain stitch. So, it will be hard to handle if you are a beginner.
Cross Stitch Vs Embroidery Vs Needlepoint
After clearing out the difference between cross-stitch and embroidery stitch. She shoots me with another stitching confusion. And that is Cross stitch vs embroidery vs needlepoint.

I laughed and said,
Just like cross-stitch and embroidery stitch differ. Needlepoint also stands on its kind too. All 3 are totally different from each other. Here is how,
| Feature | Cross Stitch | Embroidery | Needlepoint |
| Stitch Style | X-shaped stitches | Multiple stitches (satin, chain, etc.) | Tent stitch & other canvas stitches |
| Fabric Used | Even-weave like Aida or linen | Any fabric (cotton, linen, silk, etc.) | Stiff canvas (mono or interlock) |
| Needle Type | Tapestry needle (blunt) | Embroidery needle (sharp) | Tapestry needle (blunt) |
| Design Method | Counted patterns on grids | Freehand or pre-traced designs | Often printed on canvas |
| Texture & Look | Flat, grid-like design | Smooth or raised based on stitch type | Dense, textured surface |
| Common Use | Decorative art, samplers | Monograms, florals, custom designs | Pillows, upholstery, framed art |
Half Cross Stitch Vs Continental Stitch
I also got some comments about the confusion about other stitches. So I decided to answer it shortly.
The half cross stitch is a simple diagonal stitch that uses less thread but can distort fabric, while the continental stitch is more durable, covering the back fully for better tension and coverage.

Tent Stitch Vs Half Cross Stitch

Half cross stitch is lighter and thinner, so it won’t cover the whole fabric area. A tent stitch is a thick row of diagonal stitches. However, if you want to save time or work up a quick design, a half cross stitch will do the trick.
Frequently Asked Questions
Can I Use Embroidery Thread For Cross-Stitch And Needlepoint?
Yes! Stranded embroidery floss works for all three, but for needlepoint, you may need thicker threads like wool or pearl cotton for better coverage.
Which One Takes The Longest To Finish?
Cross stitch designs and needlepoint often take longer because they involve filling in designs with small, precise stitches. Embroidery can be quicker, especially for simple patterns.
Can I Mix These Techniques In One Project?
Absolutely! Many stitchers combine cross-stitch with embroidery for added texture or use needlepoint backgrounds with embroidered details.
Closing
So yes, that’s what makes cross stitch vs embroidery different. I rest my case there. She nobbed with a happy face and left, saying, ‘I won’t confuse the 2 things again ever.’ 😁

Leave a Reply