
When I was digging through an old sewing box my mom kept tucked away, I found a stack of yellowed pattern papers.
The kind that instantly transports you back to the ‘90s. You know, when skirts had personality flared hems, playful pleats, and stitches that told a story with every fold.
It got me thinking: why did we ever let those ’90s skirt stitching patterns fade away?
There’s something magical about that era. The mix of bold creativity and handmade charm. Each skirt had its own vibe, stitched with love and attitude. So, let’s bring them back!

Table of Contents
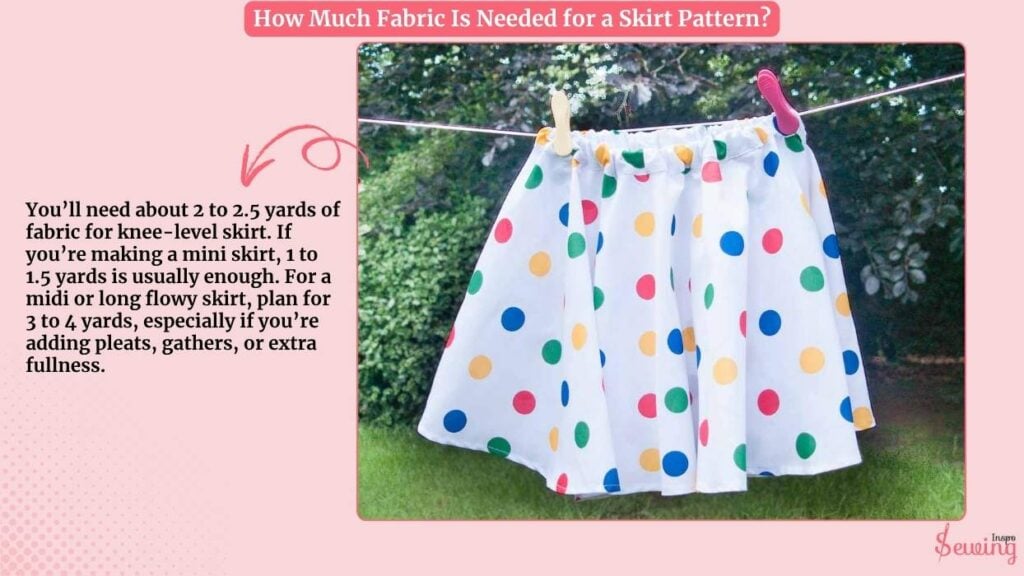
How Much Fabric Is Needed For A Skirt Pattern?
You’ll need about 2 to 2.5 yards of fabric for knee-level skirt. If you’re making a mini skirt, 1 to 1.5 yards is usually enough. For a midi or long flowy skirt, plan for 3 to 4 yards, especially if you’re adding pleats, gathers, or extra fullness.
If you are not sure, then follow this formula –
Measure your waist to the desired hem length, then double it for gathered or pleated designs. Add a few extra inches for seam allowances and waistband finishing.
I usually buy more than I need. Trust me, running short mid-project is the kind of heartbreak every sewist wants to avoid!
However, the fabric length does depend on the type of skirt you are making.
How To Make Skirt Stitching Patterns?
To make a Simple skirt stitching patterns follow the below steps-
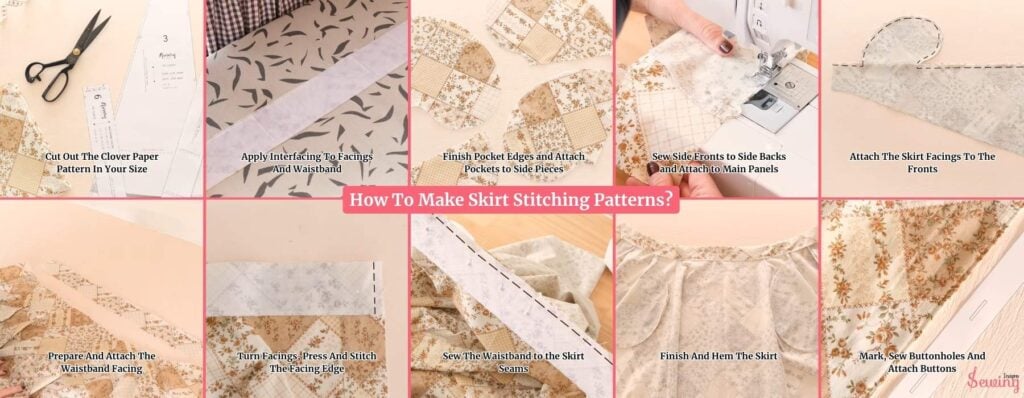
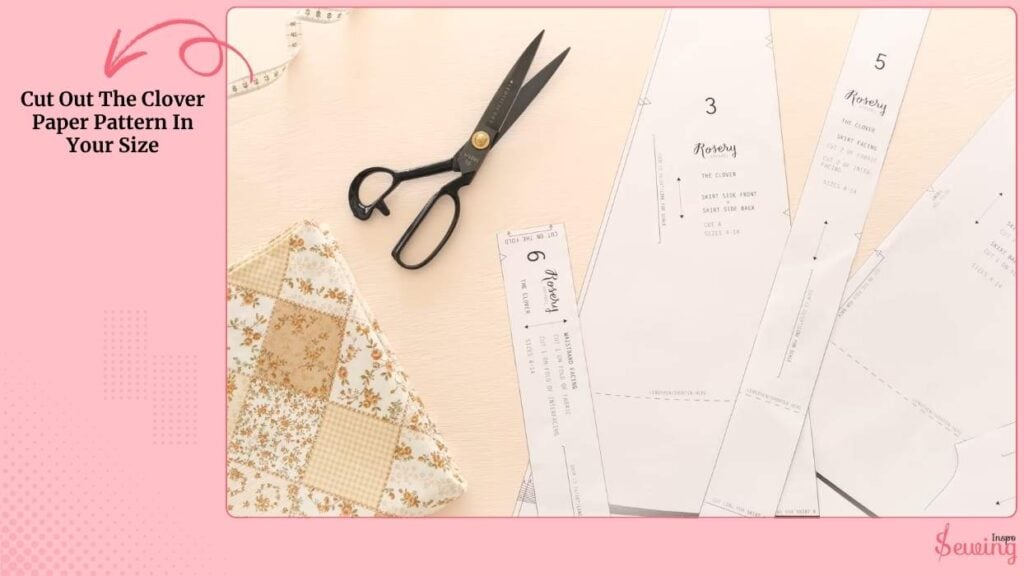
Cut Out The Clover Paper Pattern In Your Size
First, cut out the Clover paper pattern in your size. The front and back of the skirt use the same template piece. However, the back must be cut on the fold, while the front is cut twice (two mirrored pieces).
The side front and side back are the same template, too.
Cut four pieces in total (two for the front side, two for the back side). If you want the mini version, cut along the marked mini/shorten lines on the front and back templates.
Lay your fabric flat, follow the template instructions.
Where it says “cut two” cut mirrored pieces, and where it says “cut on fold” align the edge to the fold. Take your time here. Make sure to accurate cutting sets you up for a neat skirt.
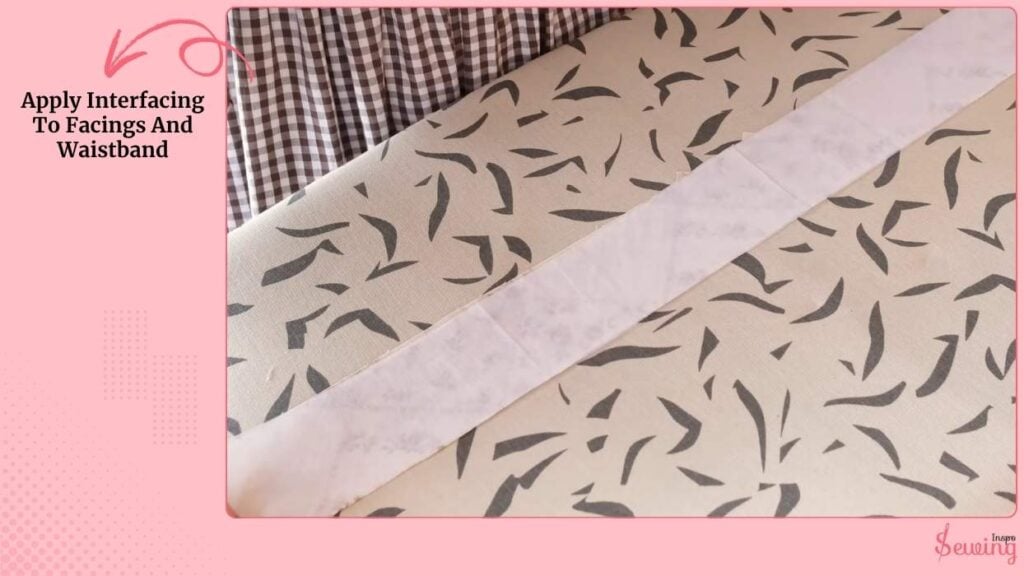
Apply Interfacing To Facings And Waistband
Before sewing, press light fusible interfacing to the wrong side of the skirt facings and the waistband facing. I usually fuse it by starting in the center and pressing outward so no bubbles form.
The interfacing gives the facings structure and makes the button area stronger. So, the buttons won’t pull through the fabric later.
Use an iron on the appropriate setting for your fabric and let it cool before handling.
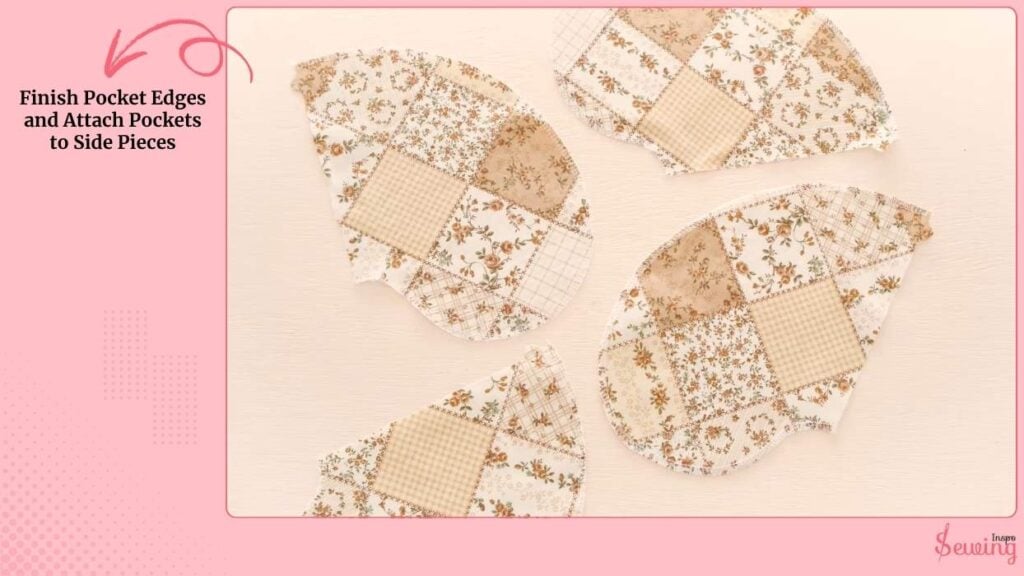
Finish Pocket Edges And Attach Pockets To Side Pieces
Overlock or zigzag the curved raw edges of all four pocket pieces to prevent fraying. With right sides together, pin and stitch each pocket to the corresponding skirt side, matching the double notches.
I stitch slowly around the curve, trim seam allowance if the curve is bulky, then press the pocket out flat.
After stitching, overlock or zigzag the raw seam to keep the inside neat. Pressing the pocket flat now makes the next assembly steps easier.
Sew Side Fronts To Side Backs And Attach To Main Panels
With pockets attached, place each skirt side front onto its matching skirt side back, right sides together, matching notches and pocket edges, and stitch along the side seams.
Press the seam allowances toward the back piece. Next, place the side backs onto the skirt back (right sides together), line up the notches, and stitch.
Repeat for the skirt fronts: stitch the skirt fronts to the side fronts, matching notches carefully so the curved seams line up. Press each seam after stitching.
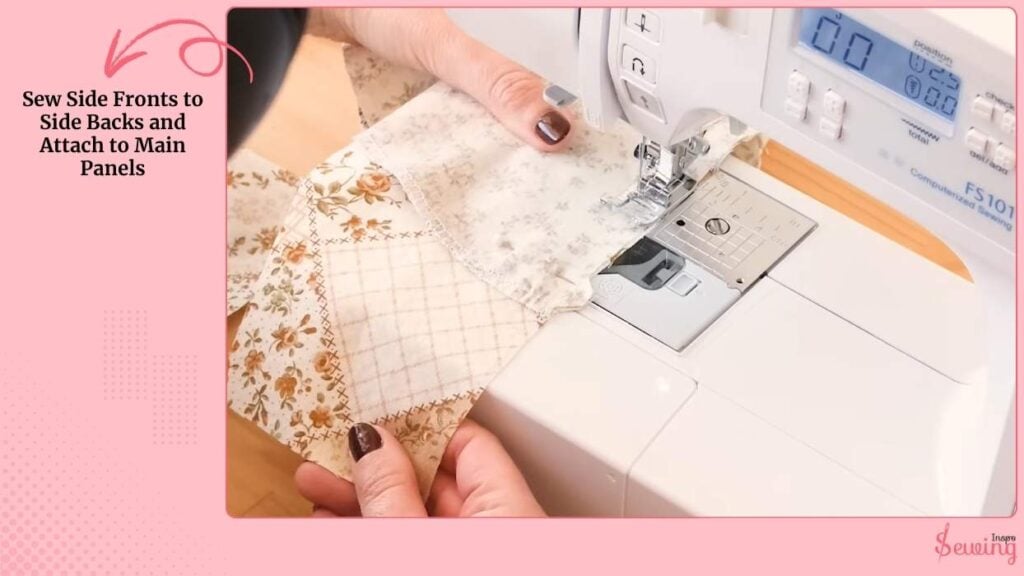
I overlock or zigzag the raw edges after each seam to prevent fraying and keep finishes tidy. I do this for purse making stitches, too.
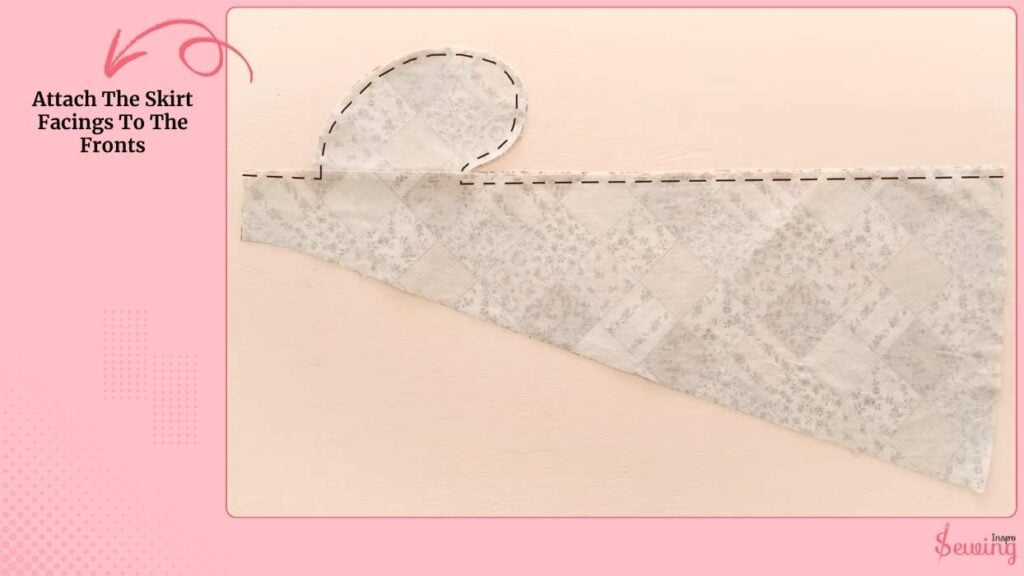
Attach The Skirt Facings To The Fronts
Take the skirt facing pieces and place them right sides together with the skirt fronts, matching notches.
Pin the facing in place and stitch along the top edge where indicated by the pattern. Once sewn, press the seam allowances toward the facing.
This step creates a clean, enclosed edge at the top of the skirt and prepares for the waistband.
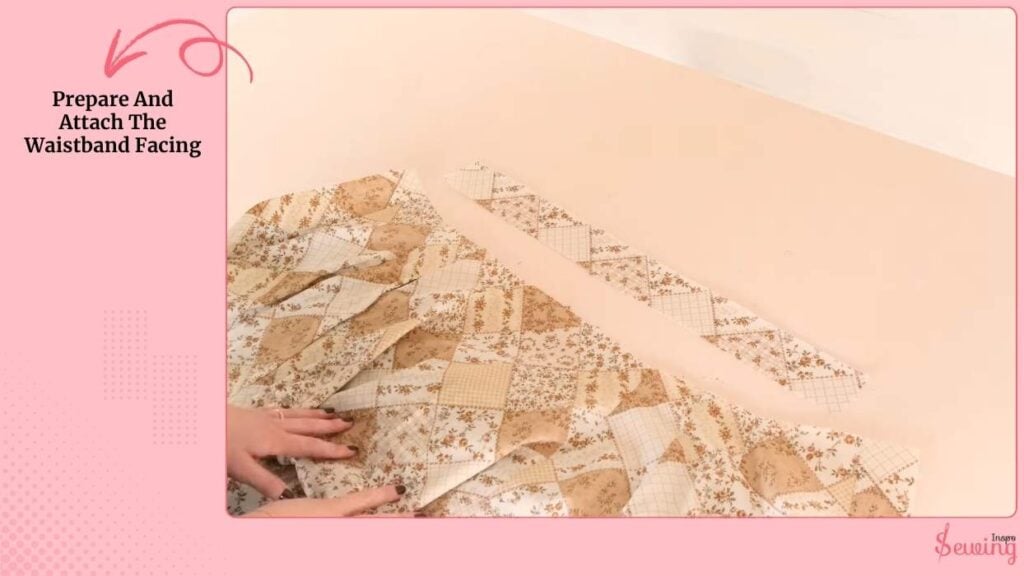
Prepare And Attach The Waistband Facing
Overlock or zigzag the raw, non-notched edge of the waistband facing so it’s tidy. With right sides together, pin the short ends of the waistband facing the skirt facings, aligning the notches.
Then pin the waistband facing around the waist edge, folding the skirt facings onto the skirt fronts so the facing sits neatly.
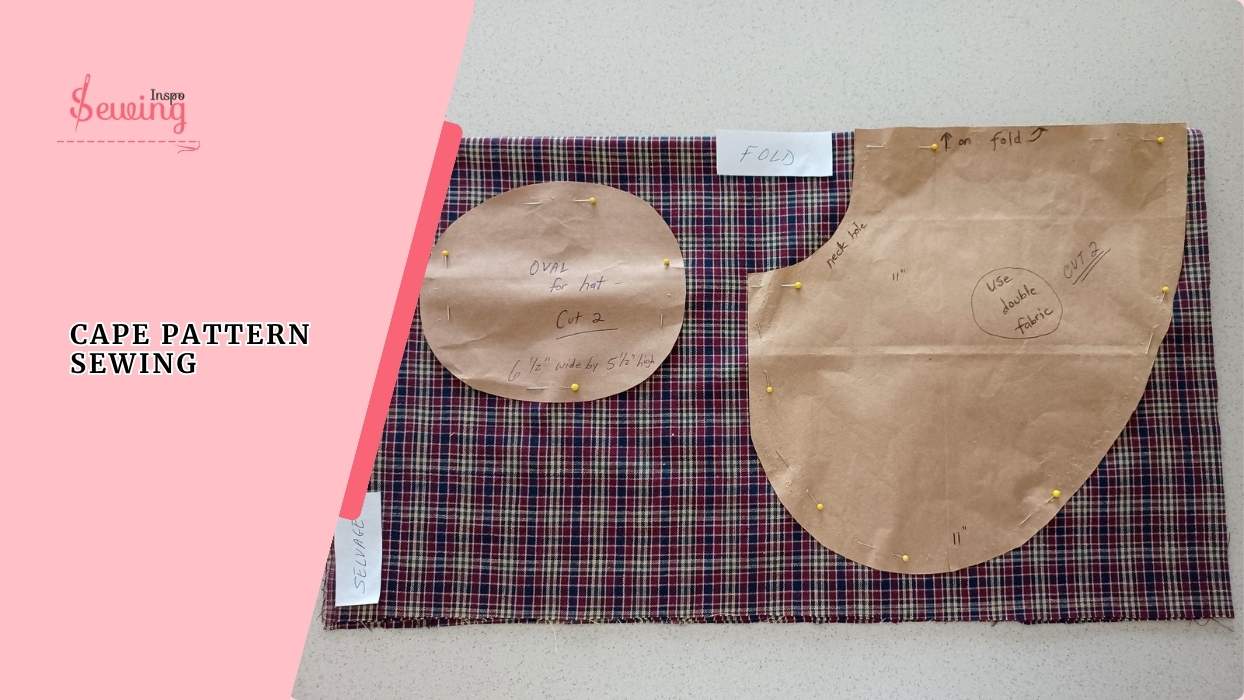
Stitch the waistband facing in place following the seam allowance indicated on your pattern, like a cape pattern.
Turn Facings, Press And Stitch The Facing Edge
Turn the waistband facing the right side out. As you do this, the skirt facing will also flip, and the raw edge will be enclosed behind the facing.
Press the folded edge flat so everything sits smoothly, and then stitch the folded edge of the facing down close to the inner fold (either by hand or with a topstitch) to secure it.
I also press the waistband so it lies flat and topstitch along the seam lines to anchor the facing to the skirt and prevent it from flipping out.

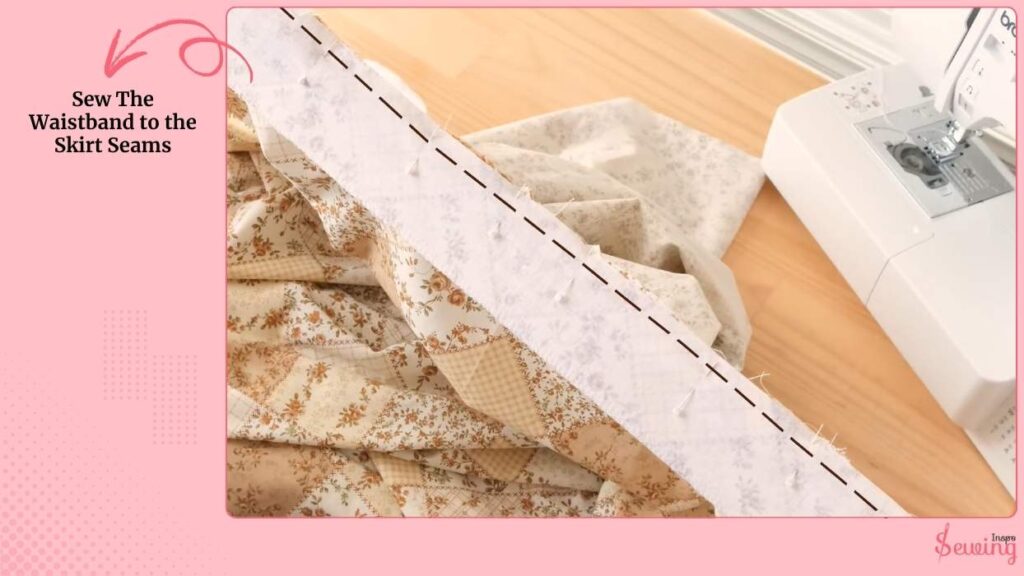
Sew The Waistband To The Skirt Seams
To secure the waistband, stitch it in place along the skirt seams, catching the facing and the skirt body. So, the waistband is anchored evenly like waffle stitch blanket pattern.
Stitch slowly where seams meet so the joins are neat.
After stitching, press the waistband and check that the facing is hidden and the top edge looks smooth on the right side.
Finish And Hem The Skirt
To hem, first overlock or zigzag the raw edge of the skirt’s bottom to prevent fraying.
With right sides together, fold the bottom edge of the skirt facing onto the skirt front and stitch along the shorter edge of the facing as shown by your pattern.
Turn the facing right side out; this will automatically fold the bottom edge up into a neat hem.
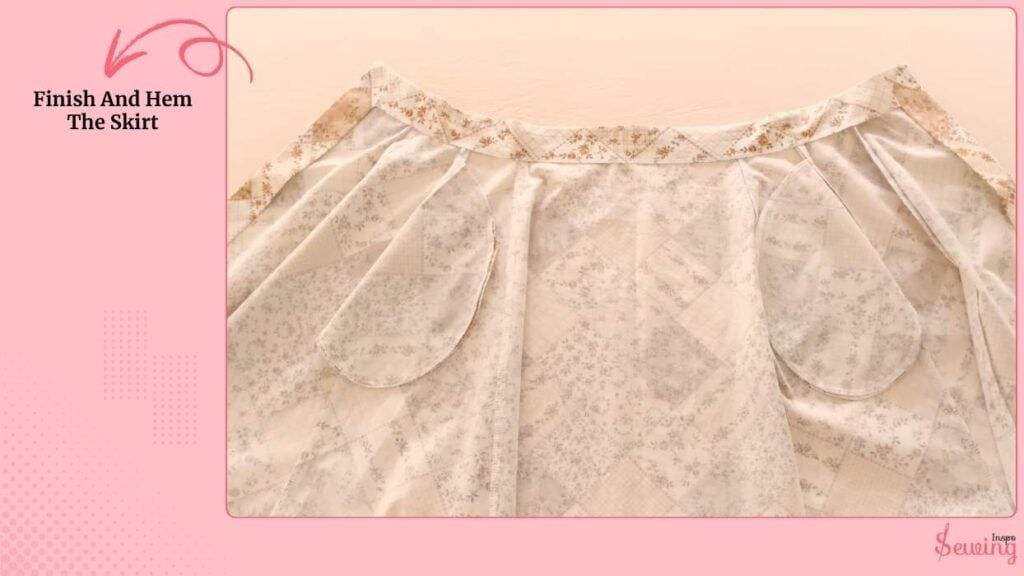
Press the hem flat, then topstitch the skirt facing in place and stitch the folded bottom edge to secure the hem.
The result is a neat, enclosed hem that looks professional.
Mark, Sew Buttonholes And Attach Buttons
For the long version you’ll need about ten buttons; the mini uses seven. Using a buttonhole guide, mark the positions of the buttonholes on the right side of the skirt front.
Test the buttonhole settings on a scrap of the same fabric first so the size matches your button (15–25 mm buttons are recommended).
Stitch each buttonhole with your machine, then carefully open them with a seam ripper, starting from each end and working toward the middle.
Overlap the facing edges, and mark where each button will land.
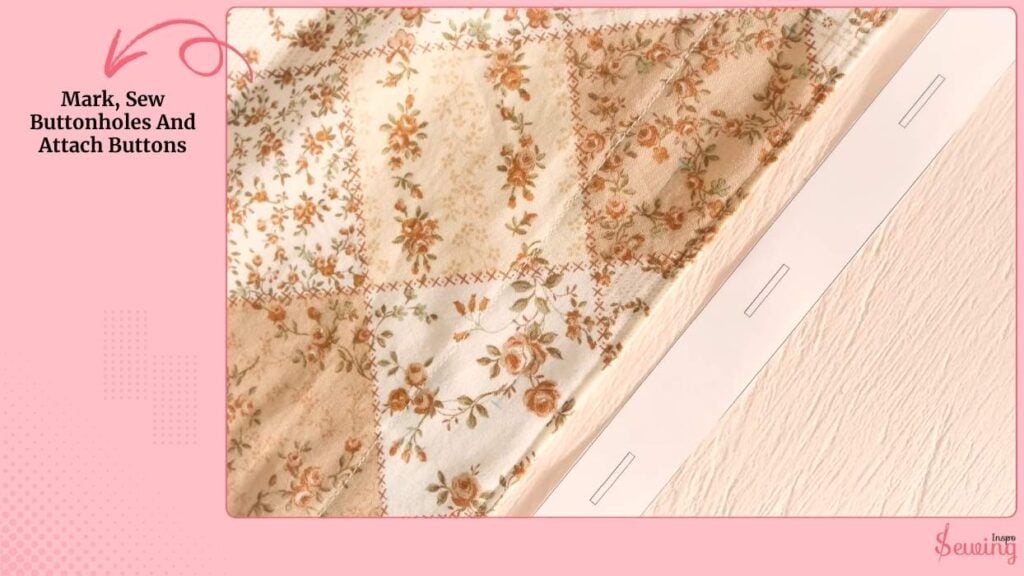
So, they line up with the holes, and sew the buttons in place by hand using doubled thread, or by using your machine’s button sew function if it has one.
Ensure the buttons fit snugly through the holes.
And that’s it! You got your 90s-style script within just a few hours.
If anything feels overwhelming, then watch this video
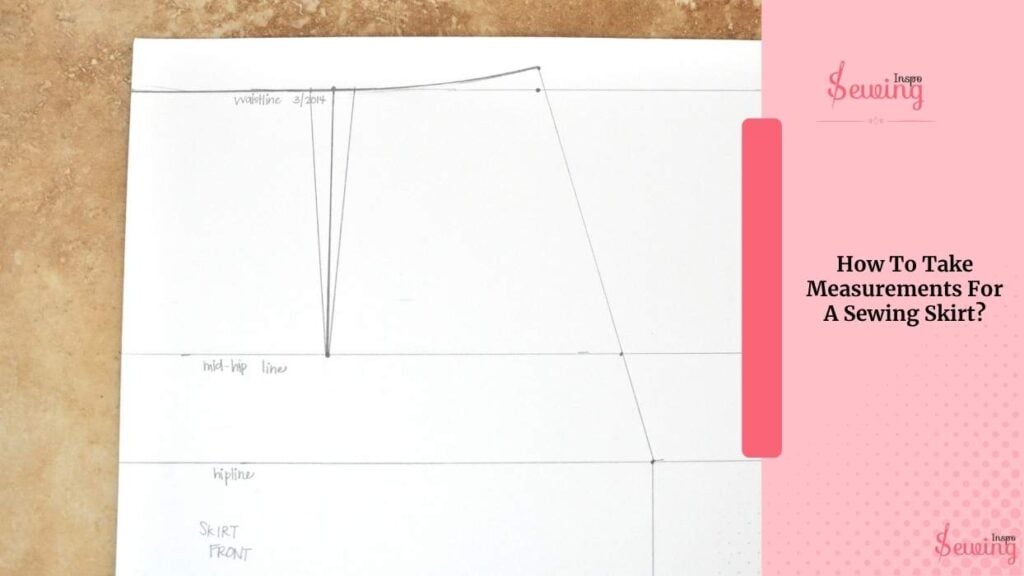
How To Take Measurements For A Sewing Skirt?
Taking accurate measurements for a skirt is one of those small steps that make a huge difference in how your final piece fits. Here’s how I like to do it;
- Grab a soft measuring tape, a mirror, and maybe a friend to help for more accuracy.
- Wrap the tape around the narrowest part of your torso.
- Keep it snug but not tight
- Stand straight with your feet together.
- Measure around the fullest part of your hips and bottom
- Place the tape at your waist and measure down to where you want the skirt to end
- If unsure, measure the length of a skirt you already love for reference.
- Measure from your waistline down to the fullest part of your hips.
After this, write your measurements down!
It’s easy to forget small numbers, and having them handy saves time later. Once you’ve done this, you’ve basically built the foundation for a perfectly fitted skirt pattern. No guessing, no gaping, just a clean, comfortable fit.
Free Skirt Sewing Patterns PDF
If you are few, then all the measuring things may feel overwhelming. So cut down the hassle short with Skirt stitching patterns free PDF.
FAQs
Should I measure my waist tightly for a better fit?
Not really! Your tape should be snug but not tight. A too-tight measurement will make your skirt uncomfortable and restrict movement.
How often should I take new measurements?
It’s a good idea to re-measure yourself every few months, especially if your body shape changes or you haven’t sewn in a while.
Do I measure over clothes or directly on my body?
For the most accurate results, measure over thin clothing or directly on your body. Bulky clothes can add extra inches and throw off your fit.
Conclusion
Skirt stitching patterns aren’t just about holding fabric together. They define the style, shape, and personality of your skirt.
Once you start experimenting with different stitching patterns, you’ll realize how much they can transform even a simple skirt into something unique and beautiful.
So grab your fabric, thread your machine, and let your stitches tell their own story.


Leave a Reply