
I remember struggling to cover stitch with my regular sewing machine for months, trying to get those hems just right. I tried everything.
I tried using different stitches, adjusting tension, even switching to a zigzag stitch.
But nothing worked the way I wanted for the cover stitch. That’s when Grandma came and said you need a cover-stitch sewing machine to do it. You can easily do it, just you gotta do,
Coverstitch
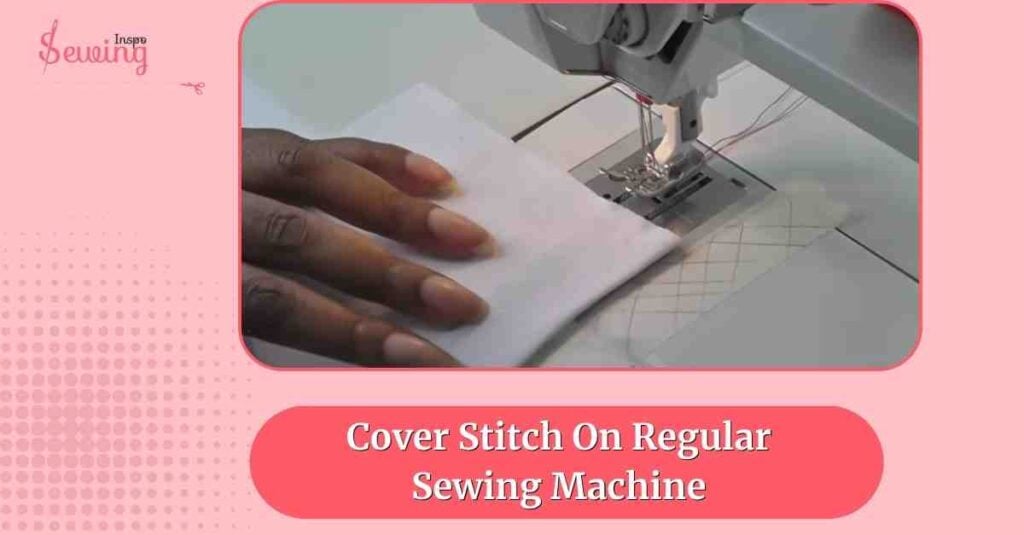
To use a cover stitch sewing machine, simply thread the machine, set it for the appropriate stitch type, and sew along the edge of your fabric.
After that, I tried my own and then used the machine. But I wanted to know if I could do it on a regular sewing machine. Can it be done? Let’s try coverstitch machine stitches.

Table of Contents
What Is A Cover Stitch On A Sewing Machine?
A cover stitch creates two straight lines on the top and a wide zigzag stitch on the bottom with a twin needle.
This stitch helps the fabric stretch without breaking or gathering. It is perfect for clothes like leggings or shirts. I sometimes even use this to close stitches. This machine can handle complicated machine stitches, too.
You need a special cover stitch sewing machine to do the stitch. A regular sewing machine can’t handle the cover stitch machine.
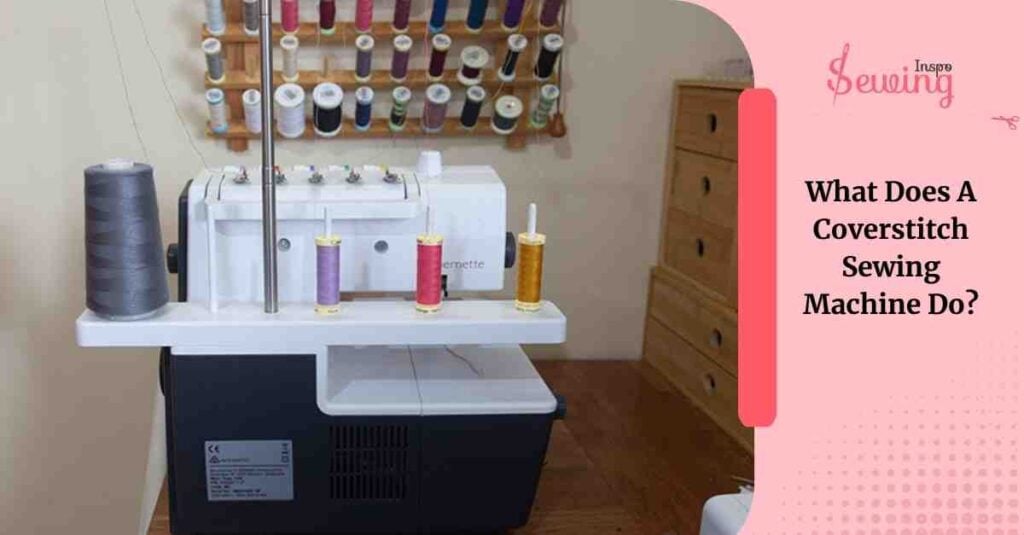
What Does A Coverstitch Sewing Machine Do?
An industrial coverstitch sewing machine creates professional-looking hems and stretchy seams. It is mainly used for knit fabrics
It stitches on top while forming a stretchy, durable looper stitch underneath. It is perfect for T-shirts, leggings, and activewear.
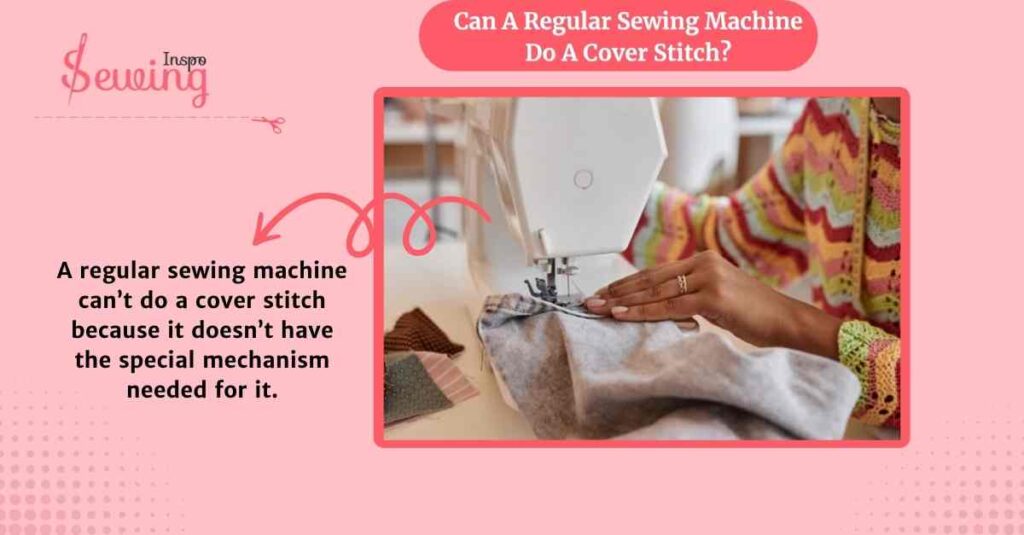
Can A Regular Sewing Machine Do A Cover Stitch?
A regular sewing machine can’t do a cover stitch because it doesn’t have the special mechanism needed for it, just as not all machines can’t do a chain stitch. Cause,
Cover stitch machines use two or three needles and a looper, which work together to create a stretchy, durable stitch on the back of the fabric.
On the other hand, Regular sewing machines mainly use one needle and bobbin thread to make lock stitches that aren’t stretchy or designed for hemming.
But with a trick, you can actually do it like a lockstitch sewing machine. 😉
I will show you how, but let’s start with the basics.
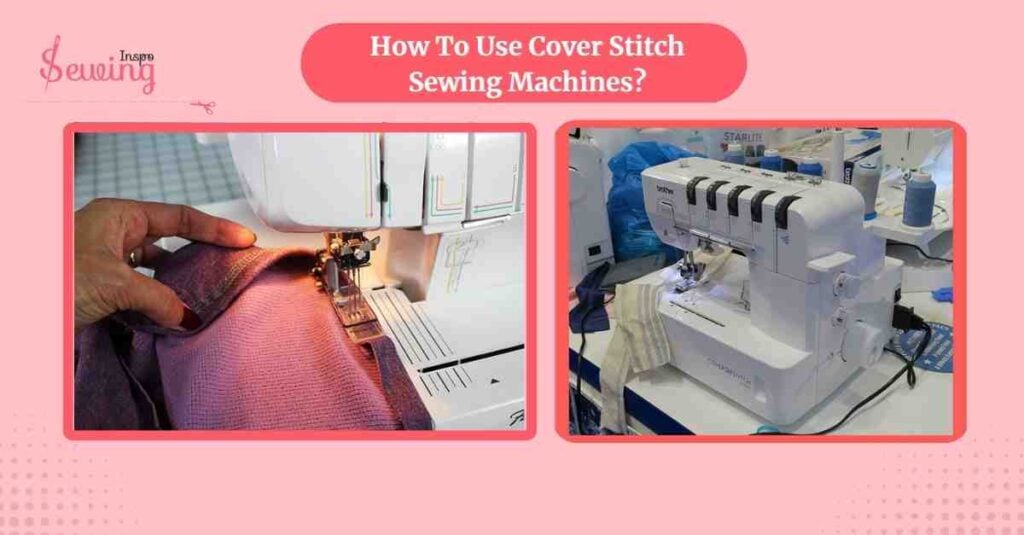
How To Use Cover Stitch Sewing Machines?
Before experimenting with regular sewing machine, i tried with the cover stitch sewing machine.
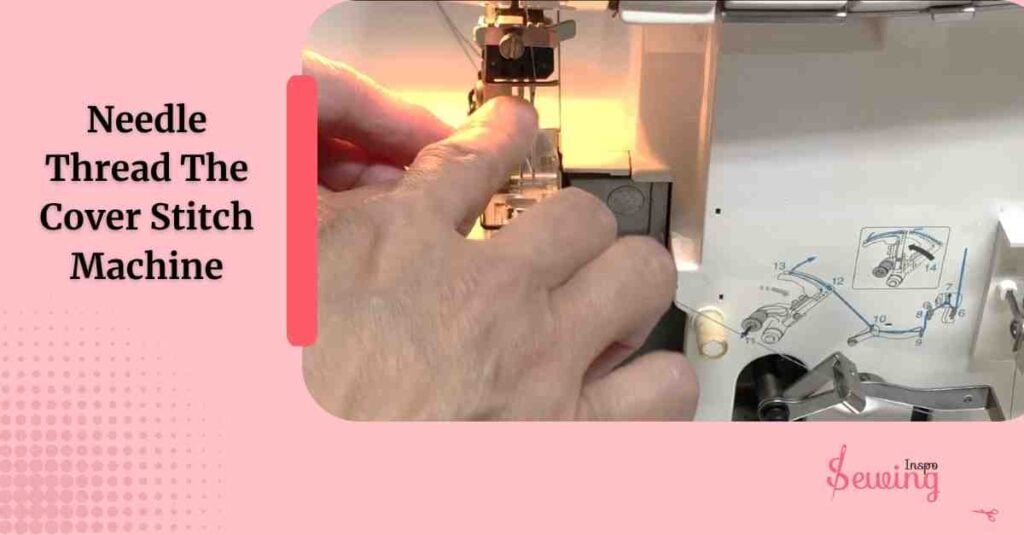
Needle Thread The Cover Stitch Machine
Okay, first, I need to thread the cover stitch machine. I grab my needles, usually two or three, depending on my desired stitch.
I’m using a ballpoint needle because I’m working with knit fabric. But if I were doing something else, I’d use a universal needle. This can also be used as machine appliqué stitches.
Now, I follow the threading diagram on the machine to thread the top needles. In that case Janome cover stitch machine is easy to handle.
I must ensure that each thread goes through the correct guides, and don’t forget about the looper thread. The looper creates the zigzag stitch on the back of the fabric.
So, it’s super important. This can also help you do the double coverstitch.
Once that’s all set, I ensure everything is threaded properly and ready to go!
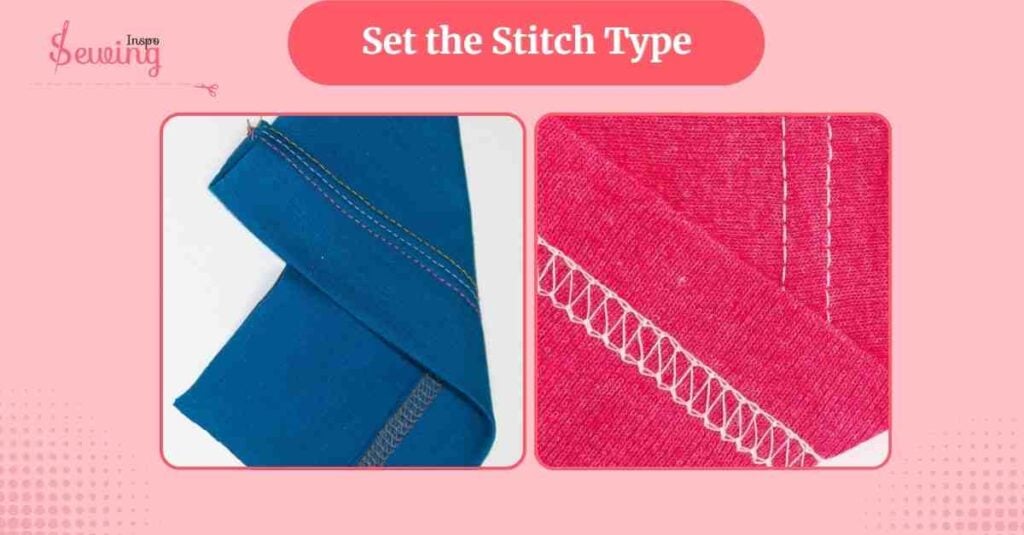
Set the Stitch Type
I want a two-needle cover stitch for my hem, so I selected that in the machine’s settings. If I were looking for more durability or a thicker look.
I’d use the three-needle cover stitch, but for now, two will do just fine.
The great thing about a cover stitch machine is that it has all these cool options, and I can adjust it according to my needs.
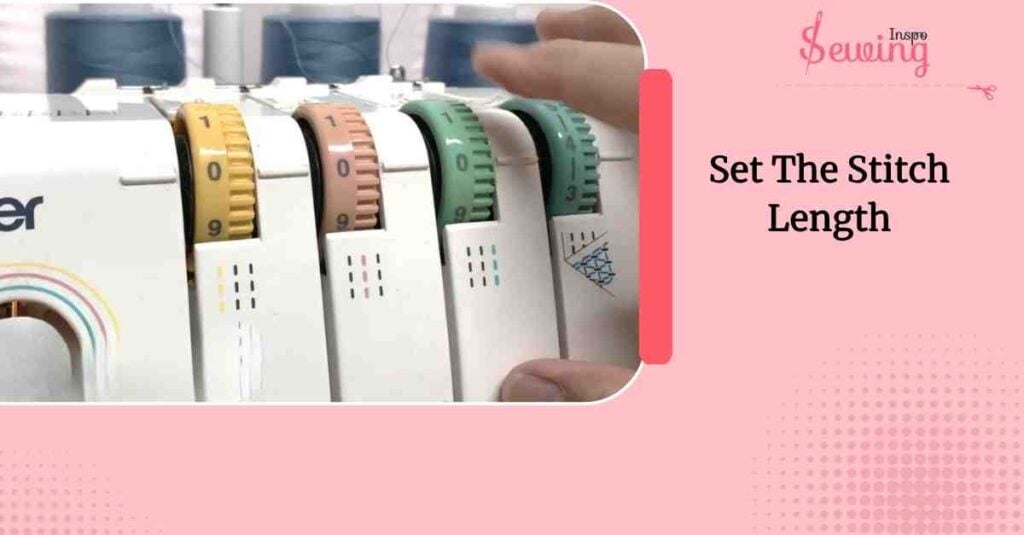
Set The Stitch Length
I usually choose a shorter stitch length, around 2, for stretch fabrics to keep them nice and flexible.
I tend to choose a stitch length of 4 for a cleaner, more polished look for knit and woven fabrics. This length is also perfect for top stitch.
I always test my settings on a scrap piece of fabric first to ensure everything looks right before stitching on the actual garment.
Fold The Fabric Hem
I grab the fabric I’m going to work on, and here’s the important part, just like it is for blind hem stitch.
I fold the hem where I want it, press it with an iron, and keep everything neat. I’m working on knit fabric to ensure it’s stretched, not pulled tight, because the cover stitch needs some stretch.
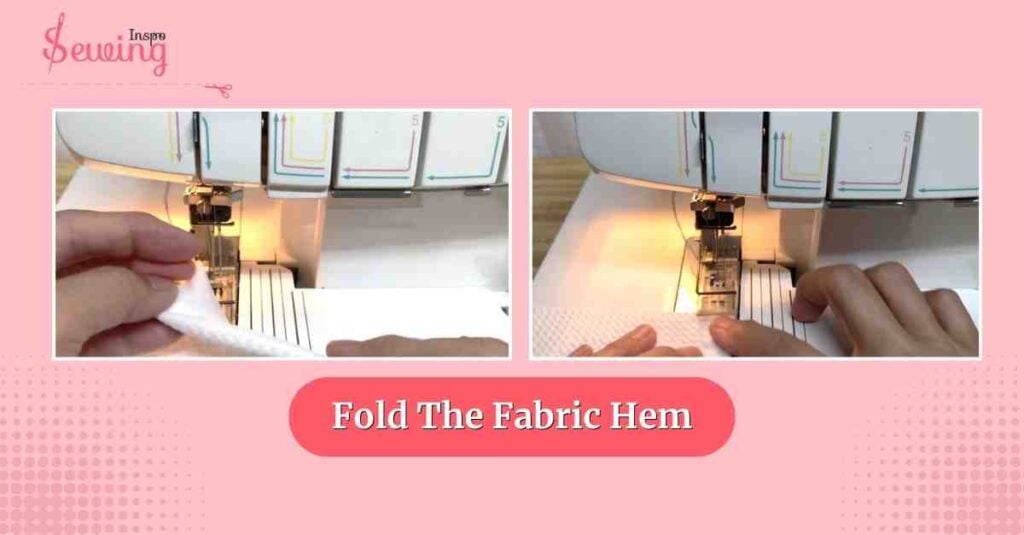
Next, I position the fabric under the presser foot. I line the folded edge up with the machine’s guide so I know my stitch will be nice and even across.
Lower The Presser Foot Onto My Fabric
Okay, time to start stitching! I lower the presser foot onto my fabric and press the foot pedal gently. The machine starts stitching, and I guide the fabric through.
I’m ensuring that it remains aligned with the guide on the machine.
The cool part?
The machine is doing its thing, creating two parallel lines of stitching on top and the zigzag stitch on the back. You don’t have to do anything.
It looks just like the hems on store-bought clothes! As I sew, I try to keep the pace steady.
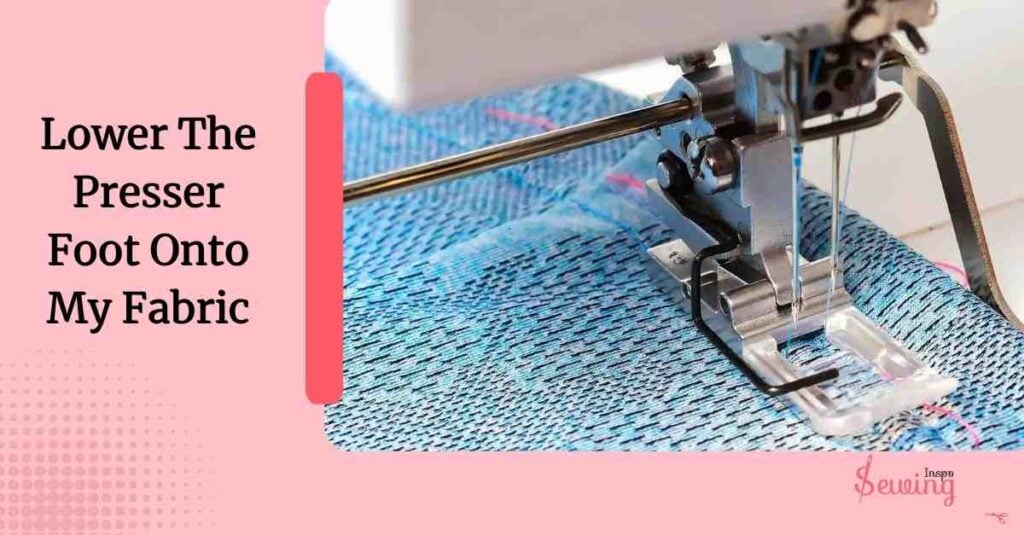
It’s not too fast so the stitches stay even, and not too slow so I don’t get any bunching.
Let Off The Pedal
When I reach the end of the hem,
I let off the pedal, and the machine stops. I lift the presser foot, and I can see my work. Looks good so far.
I leave a few inches of thread at the end, then carefully snip the thread.
If needed, I tie a knot at the ends to keep the stitches from unraveling. I sometimes even use a hand needle to pull the loose ends back into the hem for extra security.

Finally, I gave the hem a little press with my iron to set those stitches. It looks super professional now. That’s what a sewing machine is for. It makes the stitching looks so damn easy.
Cover Stitch On Regular Sewing Machine
Now I know not everyone can afford a whole sewing machine for just one stitch. I knew this struggle, so I found a trick for you and me.
So to do a cover stitch on regular sewing machine, follow those steps,
Prepare the Hemline
Start by deciding on the desired length of your hem. Turn up the edge of your fabric and press it in place. You can use fusible interfacing to help stabilize the hem and give it a crisp, professional look. For the best result, do this on just half of the fabric first to compare the difference.
Place A Piece Of Tape Along The Side Of Your Machine
You’ll be sewing on the right side of the garment, so you won’t see the hemline while you sew. This can be challenging, but a simple trick can make it easier.
To help guide the stitching, place a piece of tape along the side of your machine.
Just like I did. Mark the edge of your hemline with a pencil or chalk so you can see where to align the fabric. This tape acts as a visual guide to ensure you’re stitching evenly all the way around.
Place It Under The Needle And Lower It
Once the fabric is lined up with the tape, place it under the needle and lower it. Remember to backstitch at the beginning to secure your seam.
Now, just sew straight stitches along the hemline, using the tape as a guide.
You don’t need to worry about anything fancy. Just keep the fabric aligned with the tape to ensure a neat, even stitch all the way around.
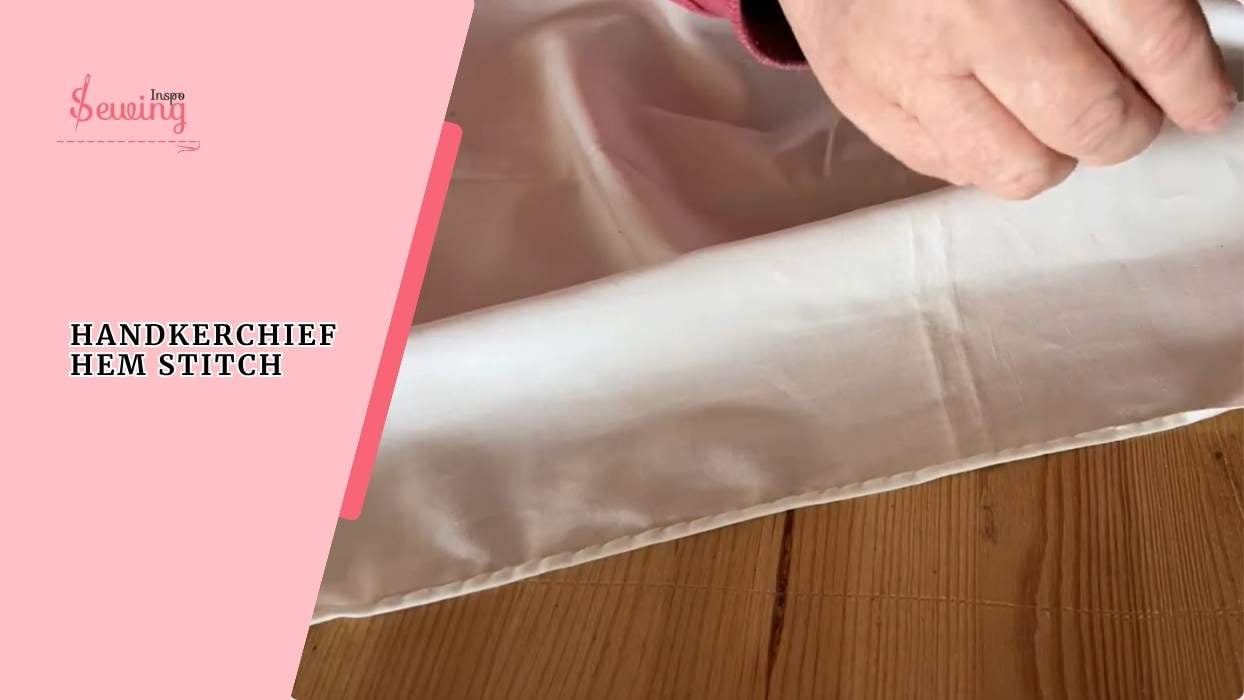
Once you’ve finished sewing, take a look at both sides of the fabric.
- You should have two parallel lines of stitching on the right side, giving a clean, professional hem.
- The zigzag stitch will appear on the wrong side. If you used the stabilizer, the back should be smooth and flat. Without the stabiliser, you might notice a rippling on the wrong side.
So, yes, cover stitch can be done on a regular machine. You just need to do it with tricks. Give it a try next time you’re sewing stretchy fabrics or hems! The cover stitch gives you that professional, store-bought look on all your homemade garments.
Frequently Asked Questions
What kind of fabrics are best for cover stitching?
Cover stitching works great on stretch fabrics like jersey, lycra, and spandex. It’s also used on woven fabrics if you want a neat, professional finish. Just make sure to use the right needle for your fabric type!
Can I use a cover stitch machine for more than just hems?
Yes! While it’s mainly used for hemming, a cover stitch machine can also be used for decorative stitching, attaching bindings, and even creating necklines or armholes that need extra stretch and durability.
How do I avoid rippling when using a cover stitch?
Fusible interfacing can help prevent rippling, especially when working with stretchy fabrics. Make sure your fabric is properly stabilized, and adjust the machine tension if needed for smooth stitching.
Final Thought
So that’s how i find a trick rather than cover stitch sewing machines.
Do you have any other tricks or ideas for it? If ye,s then feel free to share it with sewingisnpo.


Leave a Reply